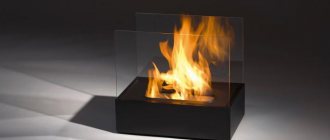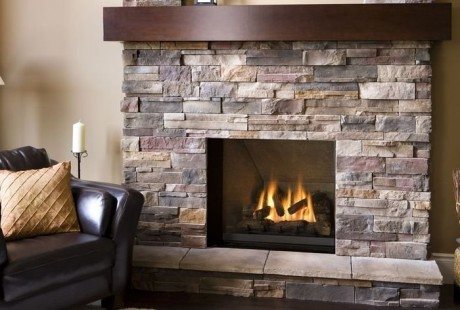


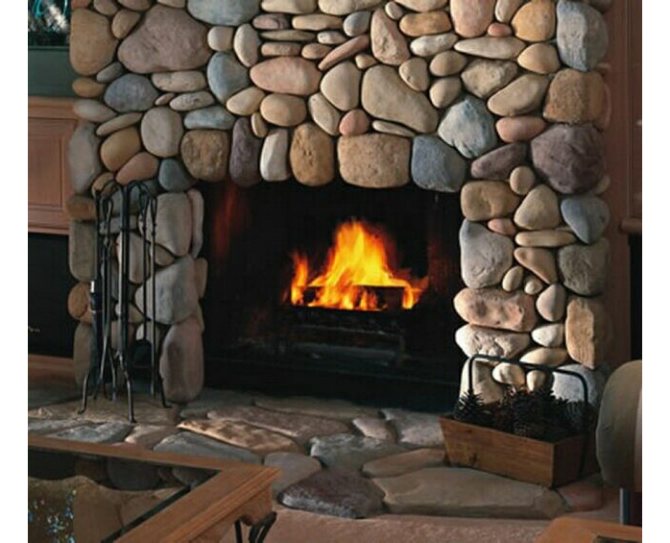
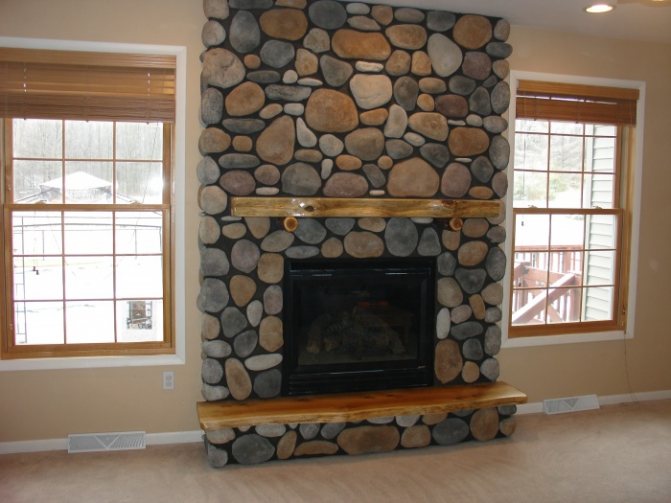
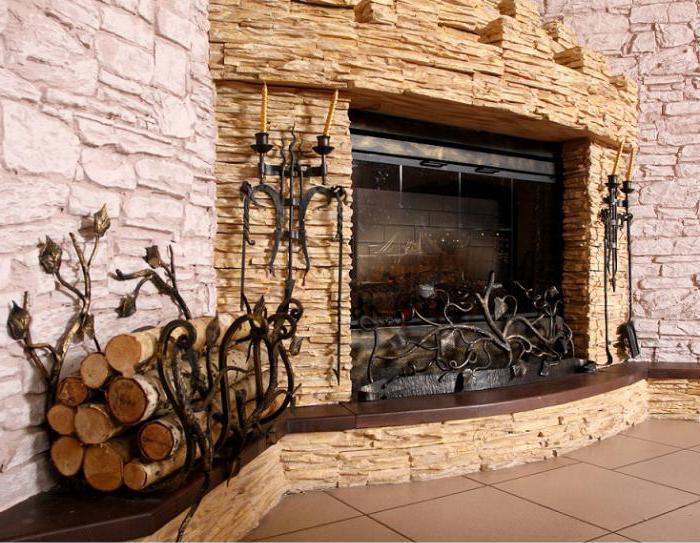
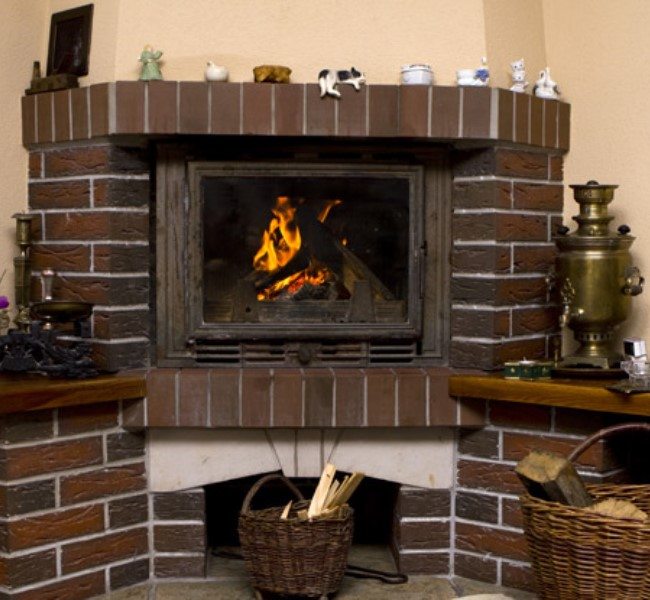
The fireplace is the center of attraction for any home. A cozy warm corner beckons the whole family. It is very pleasant here to talk about the past day, chat with guests or just relax. It can be a real heater or a decorative one, in any case it should look attractive. Therefore, special attention is paid to its finishing. Particularly popular is the decoration of the fireplace with decorative stone, which allows you to get an excellent result at a very reasonable price.
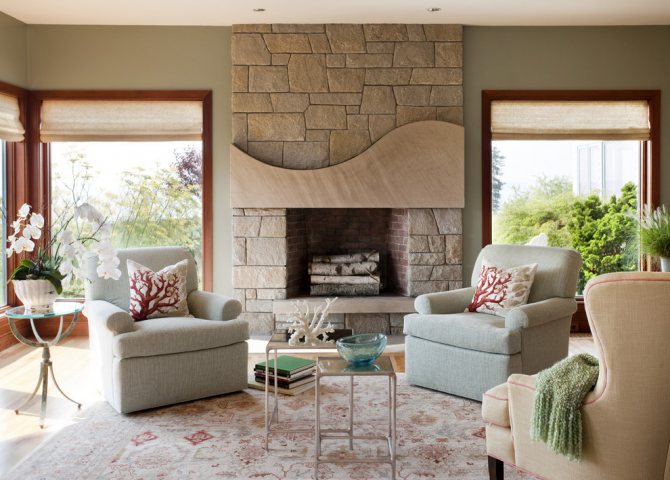
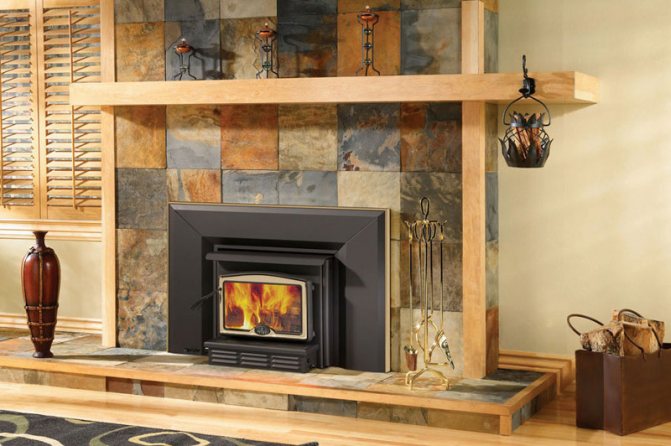
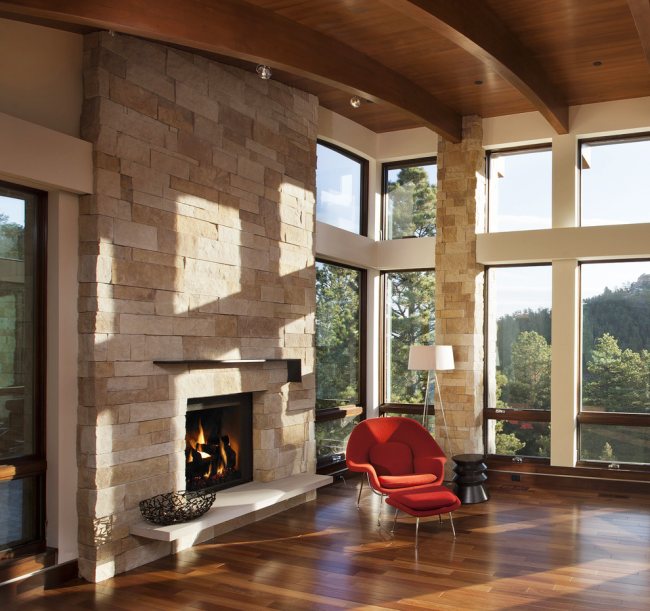
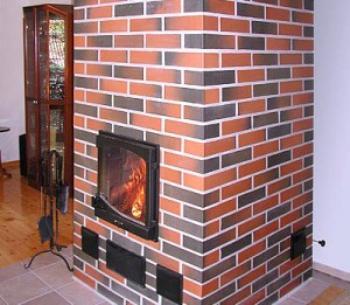
A fireplace lined with artificial stone is a real interior decoration
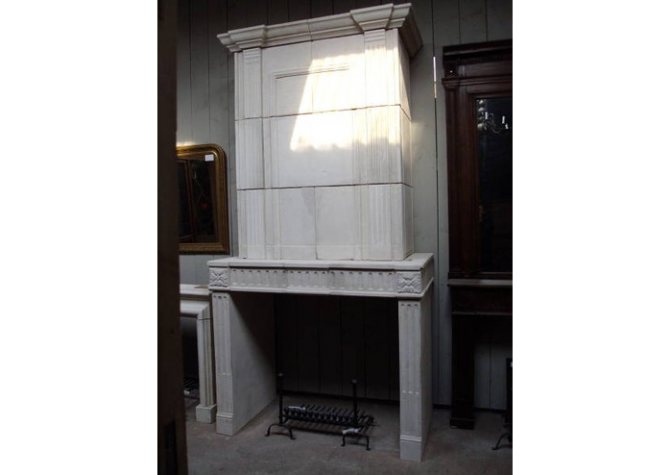
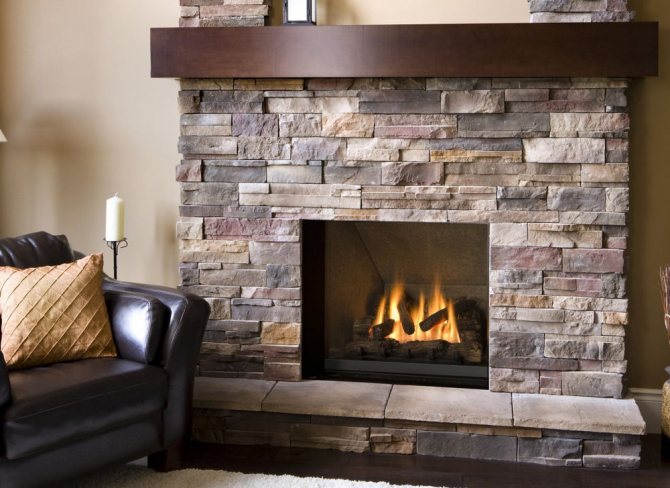
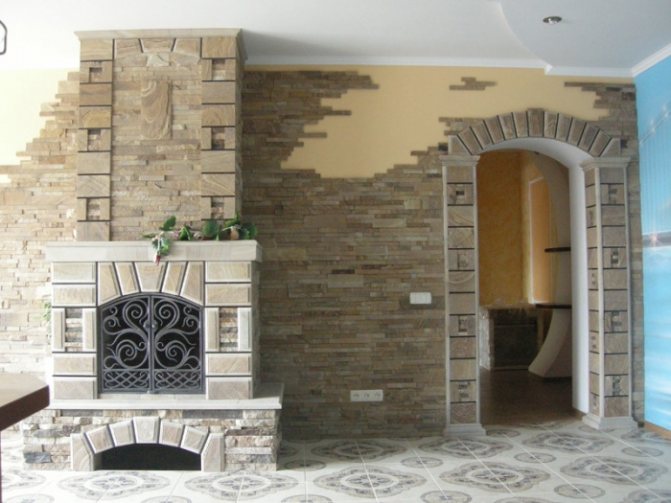
Fireplace decoration
There is a list of rules to be followed when working on decorating a fireplace with an artificial stone:
- d

This type of material can be used for cladding wooden, metal, brick and other structures; - finishing is performed when the air temperature in the room is at least +5 degrees;
- the artificial stone should be started from the top of the stoves, gradually going down. This is required to avoid contamination of the material at the time of facing;
- to fix the parts, it is recommended to use a solution or glue, which was advised by the manufacturer;
- to cut the stone, it is better to use a metal hacksaw with a small-bore tooth.
Benefits
The great popularity of natural stone is due to the following advantages:
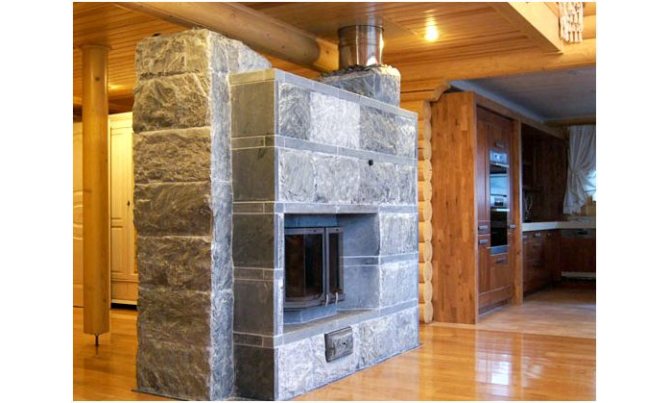
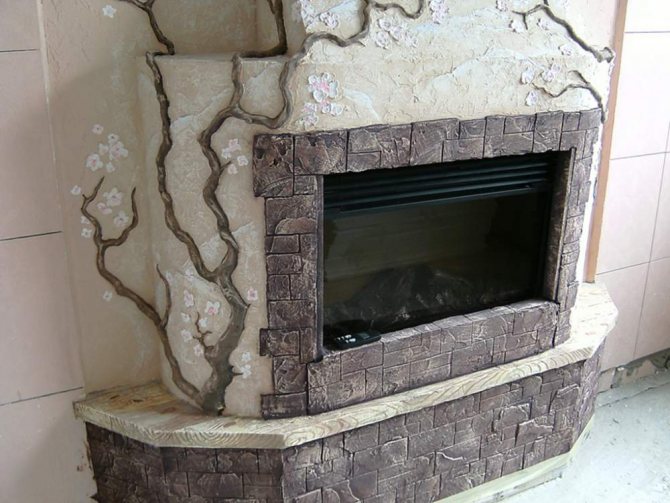
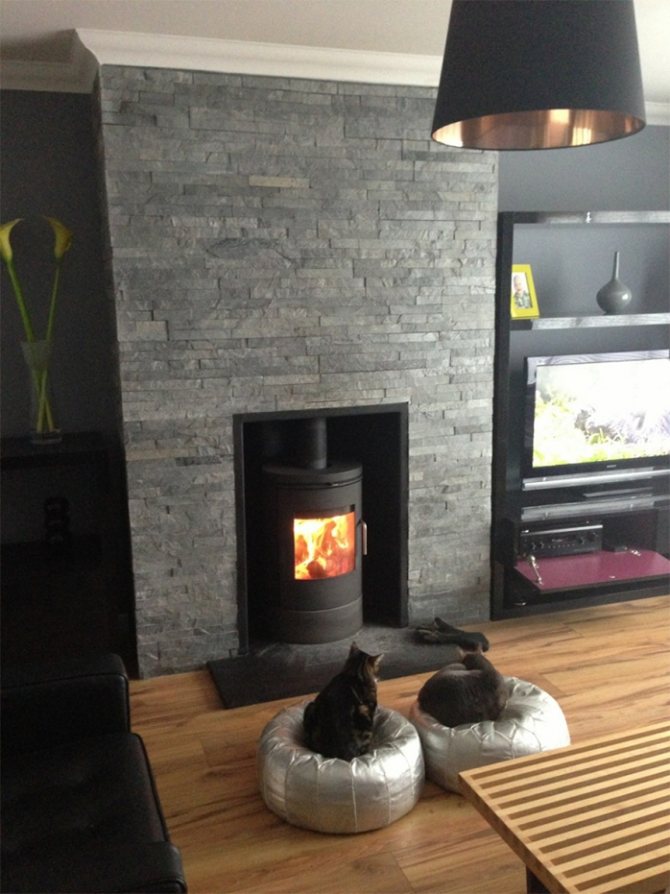
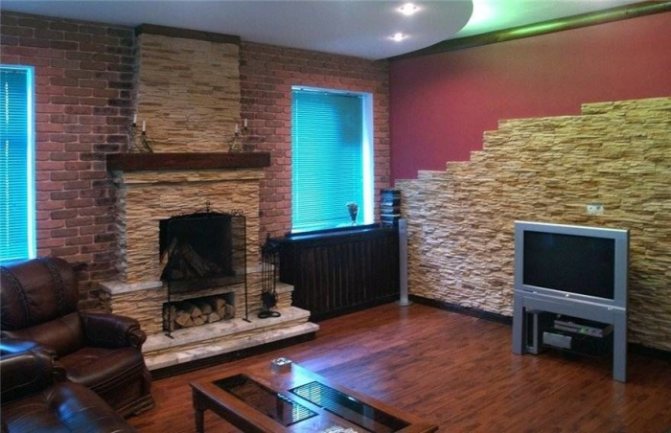
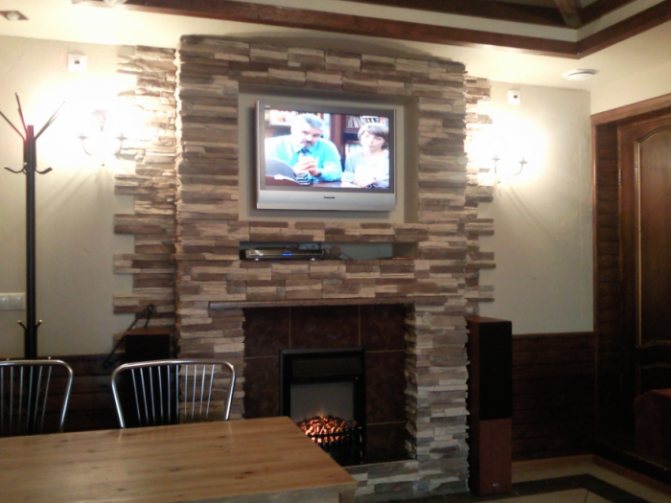
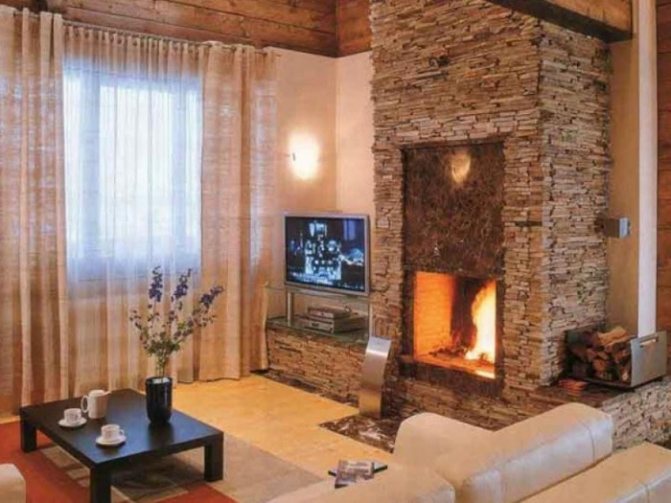
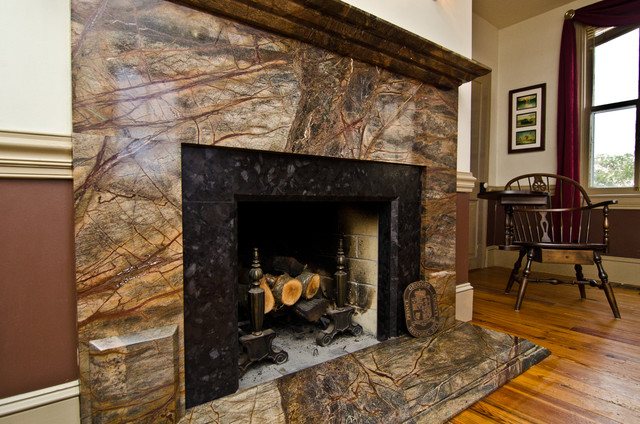
Living room in the spirit of modern
Surface preparation
You should understand what you need to pay attention to when making facing of different surfaces:
- wood coating is very susceptible to moisture destruction, therefore it should be covered with waterproofing, for example, pigment, before processing with artificial stone;
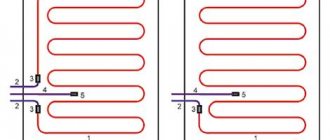
- an important next step will be the installation of the plaster mesh with special fasteners. To do this, you need to make holes in the masonry with a puncher and insert self-tapping screws into them. Caps should be put on caps. Under such circumstances, the mesh cannot fall off under load. The fasteners should be about 15 cm apart vertically, and horizontally - 5 cm;
- the plaster on the mesh must be adjusted in such a way that its layer is 1 cm. It must dry completely, after which it is worth continuing to work.
All the same actions can be carried out when laying artificial stone on a concrete or metal surface, with the only difference that waterproofing will not be required
Necessary tools for work:
- self-tapping screws or nails for fastening elements;
- spray gun for moistening before laying the fireplace surface;
- construction hammer and trowel;
- grinder, drill;
- a bar with a flat surface;
- utensils for mixing the solution.
It should be remembered that masonry is carried out only on material that can withstand high temperatures. Clay works well for these purposes.

Requirements for heat-resistant facing tiles
Heat-resistant fireplace tiles are exposed to high temperatures and therefore have a number of requirements.
Requirements:
- Have high strength. Some types are stronger than concrete.
- Be environmentally friendly. When heated, toxic substances should not be released.
- It should have a low-porosity base that prevents it from expanding when heated. The lower the porosity, the stronger the tile.
- It must withstand a temperature of at least 1000 degrees, otherwise it will deform.
- Moisture resistance. The level of moisture absorption is not more than 3%.
- The thickness of the product is greater than that of standard facing tiles (more than 8 mm.).
- The facing option must have a high heat transfer rate.
- Should look neat and attractive.
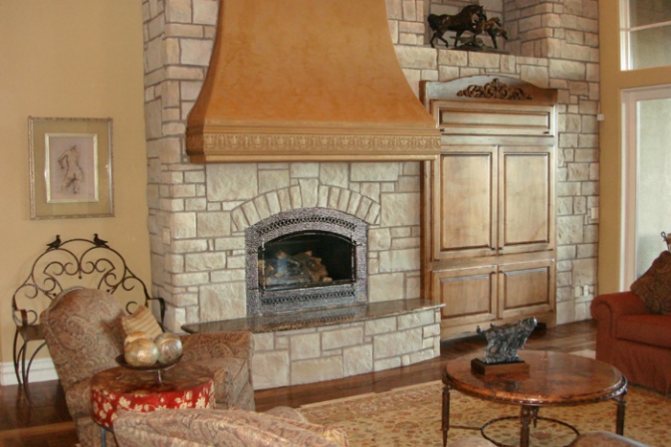
Facing materials for fireplaces should be selected according to certain rules and principles.
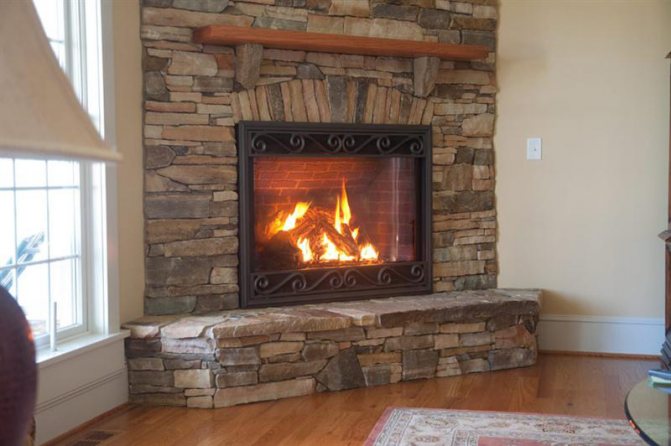
An important point of work is the beginning of brickwork

At the very beginning of the processing of the fireplace with artificial stone, the decoration begins from the corner of the fireplace. In the process, you need to alternate material that has different lengths.
First, the largest parts of the stone are attached, using a small amount of mortar for this. This will make it easier to lay the material in the future.
With a trowel, apply a solution of 1.5 cm layers on the stone. Make sure that the surface is evenly covered.
When laying the stone, lightly press on it, moving it to the desired position. This will fix the element better and fill the seam completely.
If you are doing the cladding in a very dry room, then the surface of the fireplace and the inside of the artificial stone must be moistened with a wet brush or spray bottle.
If you are using seamless masonry, then the material should be moistened, regardless of the room temperature.
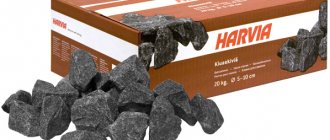
Materials (edit)
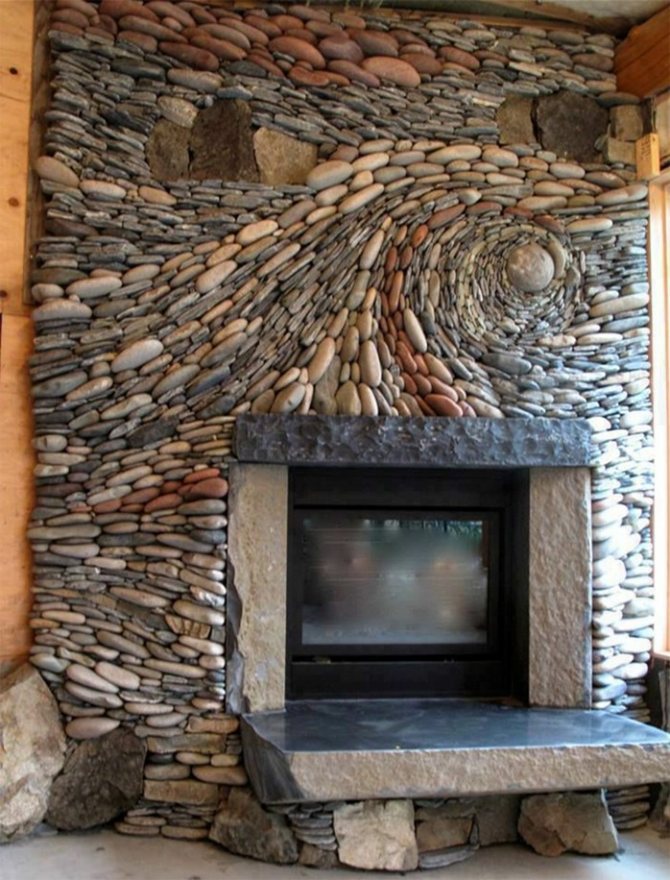
As a natural stone for decorating a fireplace, quarry, limestone, granite, marble, shell rock are used. Bout is called fragments of sandstone rocks weighing no more than 50 kg, but in the case of a chimney facade, it is optimal to take pieces of 15 - 45 cm, which weigh no more than 10 kg. This material has been used in construction work since ancient times, and its main advantages are excellent strength and availability. Booth, like a pedestal, is found almost everywhere, therefore it does not have a high cost, and the architectural elements faced with it look very representative.
Due to its uneven shapes and dimensions, it is difficult to build an even wall of rubble - you should select non-protruding elements that are combined with each other. The unevenness between the stones is compensated by the solution that binds them. This is a familiar mixture of cement and sand.
In recent years, not natural, but artificial rubble is increasingly used to decorate fireplaces. Its advantages are that it is lighter than natural, you do not need to look for grazing material or buy raw materials in a store, you can make smoother fragments for your needs. It can be made at home in shaped forms from dry mixtures based on silicone and pigments. You can make the basis for the solution yourself, but gypsum powder as a binder will not work, since it can collapse when the temperature drops. It is best to use traditional cement as a bonding agent.
How to properly perform artificial stone decoration
There is no big difference in cladding with artificial and natural materials, the laying is carried out according to an identical scheme.
For an effective cladding outcome, it is recommended to place all parts of the future structure at the place of work:
- when installing artificial stone, it is required to alternate types, size, change colors and texture of the material so that the fireplace looks natural;
- it is advisable to start laying from the top of the fireplace in case joining will be used in the future;
- the seams must be made when facing the same size, but make sure that they are not very even. Ideal result - seams of different thickness, located in the same plane. Avoid placing them horizontally one under the other;
- the stone may be uneven and thick. This does not affect the finished appearance of the structure.
When the artificial stone has a rectangular shape, special attention should be paid to the vertical seams, controlling the intersection of these lines with the horizontal ones. It should be done at a 90 degree angle.
Clinker features
Production technology and structure
The clinker brick for the kiln has been used for a long time, and it was on its basis that clinker tiles were developed.
By and large, it is made in the same way as other ceramic products, but a number of technology nuances cause significant differences in operational parameters:
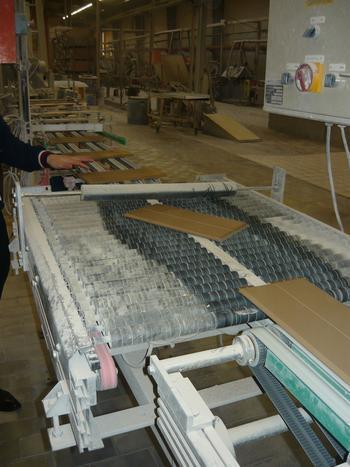
Shaped products on a conveyor
- The main difference between clinker is the composition of the material... At the first stage of production, several different types of clay are mixed in a special container with the addition of chamotte and natural baptists.
- The decisive role here is played by the purity of the raw materials: the less impurities in the clay, the higher the strength and heat resistance of the finished products will be.... Suitable clay is not available everywhere, therefore production facilities are usually located in the immediate vicinity of deposits (Germany, Poland, the Netherlands, Spain, etc.).
- Next, the tile itself is molded.... Sometimes the technology of semi-dry pressing is used, but clinker for facing furnaces and fireplaces is made mainly by the extrusion technique. To do this, the raw material is placed in a hopper (analogue of a large meat grinder) where it is crushed, moistened and passed through a special extruder with a vacuum press.
Important! The clinker obtained using the semi-dry pressing technology is cheaper, but at the same time it has lower thermal conductivity: in some cases this is an advantage, but when facing furnaces such tiles “steal” part of the heat. But for fireplaces "semi-dry" clinker is also suitable.
- The formed tiles are pre-dried and then sent to the kiln for firing... The processing temperature is important here: if ordinary ceramics are exposed to heating up to 9000C, then the clinker is fired at 11000-14500C.
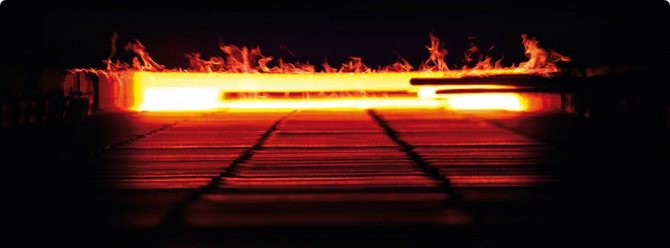
High-temperature firing gives products strength
As a result, products are obtained that are distinguished by the highest thermal stability, a solid margin of safety and almost complete chemical inertness. And the abrasion coefficient of such a tile is very high, so even after ten years the lined stove will look like new - if, of course, you do not forget to clean it from soot!
Main advantages
Clinker cladding tiles are usually seen as an alternative to terracotta, majolica, tiles and other decorative materials. For products made by extrusion and high-temperature firing of clay mass, quite tangible advantages are characteristic. My experience of using clinker allowed me to highlight the main ones, which I will describe in the table below:

Even such thin tiles have a high heat capacity.
| Advantage | Description |
| High mechanical strength | Everything is quite obvious here: during firing, the clay hardens, while high-temperature processing provides a complete structural transformation of the material - the so-called glazing. The tiles are much stronger than ceramic tiles, therefore clinker cladding will be much more durable. |
| Low coefficient of thermal expansion | When heated, even very strong, clinker cladding does not deform. This means that the tiles, fixed to the base of the oven with a special mortar, will hold very firmly. |
| Low water absorption | This parameter is relevant primarily for clinker, which is used for cladding floors and steps, however, stove finishing can also suffer from high humidity. So the low water absorption of the tiles is an obvious plus, as it extends the life of the cladding. |
| High heat capacity | The fine-pored structure of the material ensures long-term storage of heat transferred to the tile from the wall of the stove or fireplace. Thanks to this, the clinker-clad stove does not cool down for a long time, maintaining a comfortable temperature in the room. |
| Environmental friendliness | No toxic substances are used in the production of tiles - moreover, almost all manufacturers prefer to work exclusively with natural raw materials. As a result of this approach, when the products are strongly heated, the material does not emit volatile compounds that can cause intoxication. |
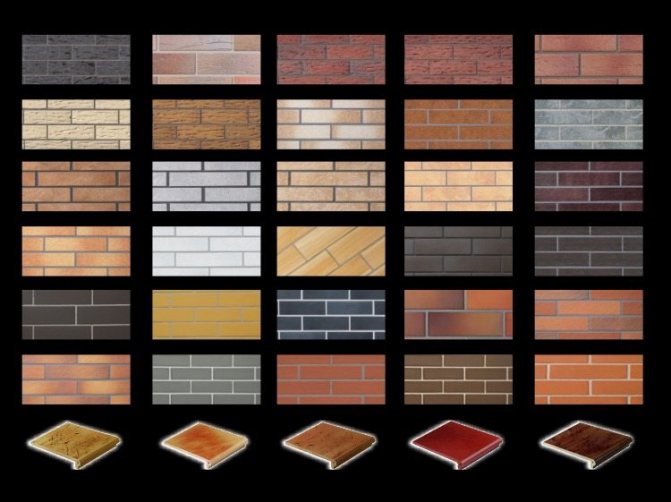
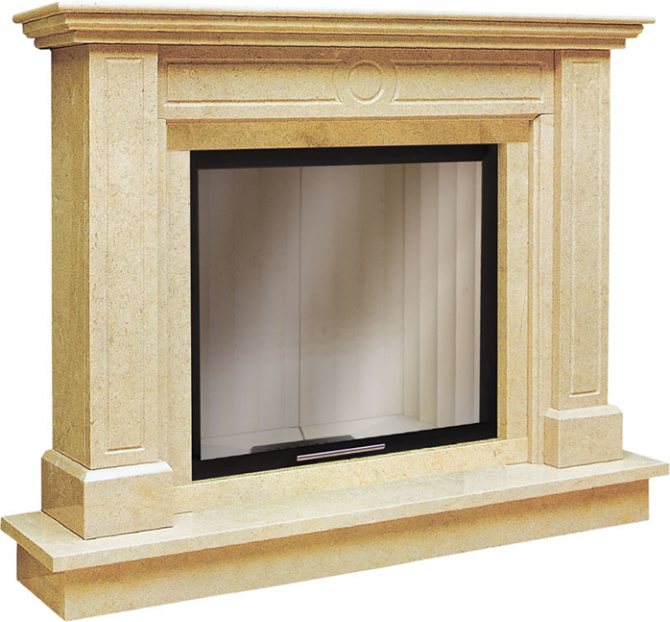
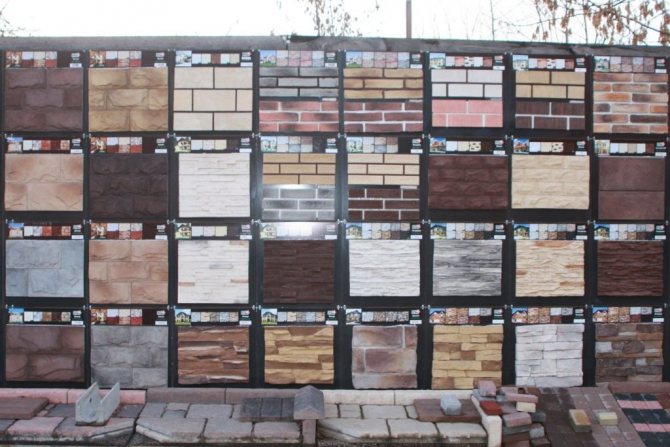
The range of kiln clinker is limited to natural shades, but at the same time it is very extensive
In addition, tiles made using clinker technology are distinguished by an attractive appearance: the use of natural dyes allows obtaining a fairly wide palette of shades, ranging from sandy yellow to chocolate.
Clinker also has a drawback, due to which many master stove-makers do not favor this material. This disadvantage is the low thermal conductivity of the product.
But here, too, not everything is so simple:
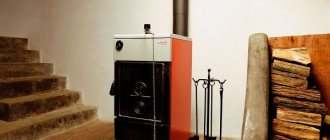
It is not easy to heat such a stove, but it will keep warm for a long time.
- on the one hand, low thermal conductivity leads to the fact that more fuel must be used to warm up the furnace;
- on the other hand, due to the gradual heating of the clinker, the risk of burns is reduced: the tile accumulates heat inside itself, and its front surface will not be as hot as in the case of other ceramic material;
- the mentioned drawback is relevant mainly for furnaces with a closed firebox. The fireplace, which heats the air in the room due to the open burning of wood, can be safely lined with clinker panels - heat losses will be minimal;
- finally, low thermal conductivity is accompanied by high heat capacity, which I mentioned in the list of advantages. Everything is obvious here: the oven will heat up for a long time, but it will also cool down much longer, gradually giving off heat.
For my part, to compensate for the low thermal conductivity, I recommend covering the stoves with panels no more than 6 - 8 mm thick. But for fireplaces, you can take tiles with a thickness of 9 to 12 mm, since quick heating is not so important here.
Clinker is much better for fireplaces than for stoves
It seems to me that here the pros and cons balance each other perfectly. So usually the decisive argument when choosing a material for cladding is the price: if the budget allows, then you can safely take clinker, if not, then you should not be upset, other ceramic products are quite suitable for cladding.
Note! On average, clinker tiles are somewhat more expensive than terracotta tiles: about 1,500 versus 800 rubles per square meter, if we talk about domestic products, or 3,000 versus 1,200 - 1,500 rubles, if we talk about imported (Germany, Poland) material. However, with a tight budget, you can find cheaper models, but I would be wary of them - it is quite possible that the reduction in price is provided by a decrease in production costs, which can "backfire" with problems in operation.
Correct implementation of jointing
Do not use mixtures with which the tiles are laid.
To fill the seam completely, you need to use a bag made from a regular plastic bag with one corner cut off, with the hole slightly smaller than the width of the seam.
After filling the bag, you should press on it and squeeze out the solution as little as possible so that it does not fall on the outside of the material.
After the mortar begins to harden, you need to remove the excess with a trowel.