How the hood works
The very name “hood” means drawing hot, polluted air from the kitchen and removing it from the room. The air is removed into the ventilation ducts of the building, therefore, when buying or making a hood with your own hands, you need to take care of the proper condition of ventilation throughout the house. The efficiency of the system is directly dependent on traction.
Along with proper ventilation, it is necessary to ensure sufficient air flow into the room. For example, if you have metal-plastic windows with a high level of tightness installed, then for efficient operation of the hood, experts recommend using the micro-ventilation function, or installing supply ventilation valves on the windows.
What kind of ventilation would be the best option
For people who are building a large country house or making repairs in an elite apartment, we can recommend an expensive, high-quality and efficient ventilation system with heat recovery. Owners of expensive real estate are installing a powerful hood, and the outlet for the exhaust air should be made in the wall. Instead of a gas stove, it is better to use an electric household appliance due to lower emissions of carcinogens.
For developers with limited financial resources, the best option would be to use natural ventilation, which is supplied to the kitchen, bathroom and toilet, as well as auxiliary rooms. If in a private house the work of the hood installed above the kitchen stove will be used, then the channel for removing the spent air masses is made not in the vertical direction to the roof, but in the wall. A check valve is installed on the fan, it prevents the penetration of cold air from the street into the room.
Types of kitchen hoods
The modern technology market offers a large number of models of hoods. It is quite natural that before making a cooker hood in the kitchen with your own hands, you will familiarize yourself with what they are in general in order to choose the best design option.
Mode of operation
All devices for this purpose are divided into two large groups:
- Passive hoods are dome-type. They remove air solely by upward thrust. There are no electric motors or fans inside such devices. The hood of this type will work only if the ventilation ducts of the house are in good condition or due to a high ventilation pipe.
- Active hoods are hoods, the operation of which is provided by an electric motor installed inside. These devices work stably, but they also consume a lot of electricity.
Connection
By type of installation, hoods are distinguished:
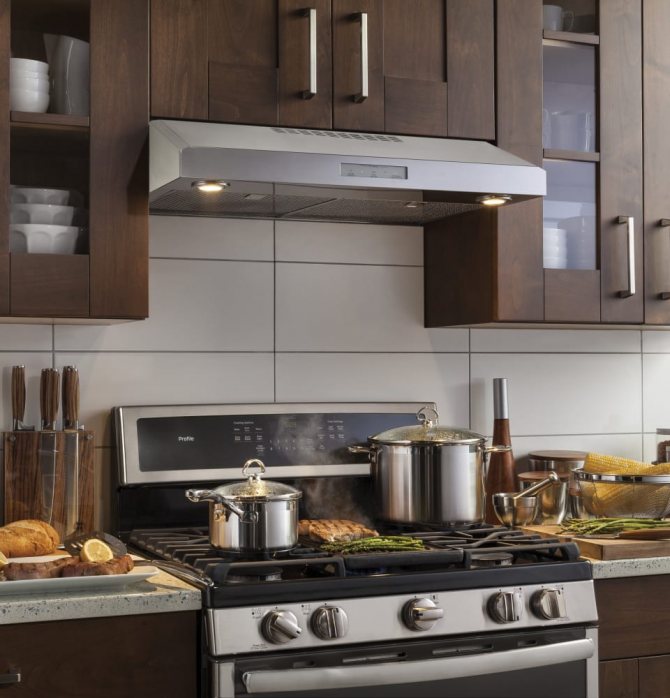
- Suspended (flat) fastened under the cabinet above the stove.
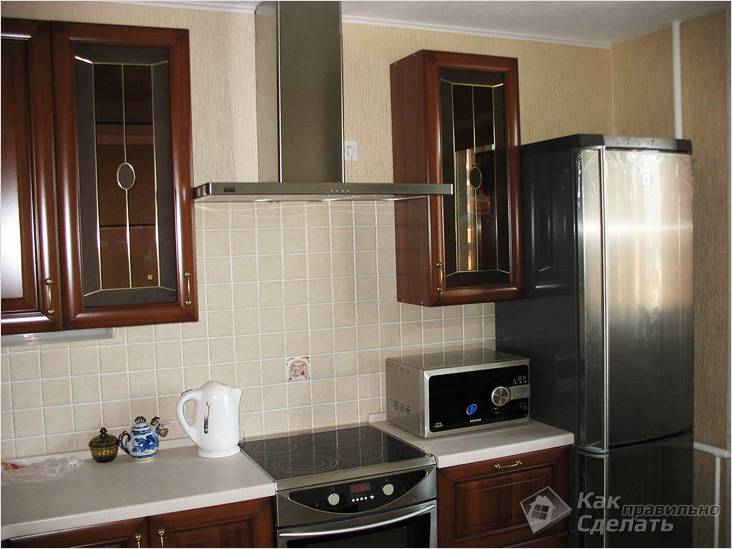
- Wall-mounted - mounted above the slab on the wall. The case design may vary.
- Built-in - fit into any design, as they are installed inside a wall cabinet or on a table.
- Corner - installed in a corner.
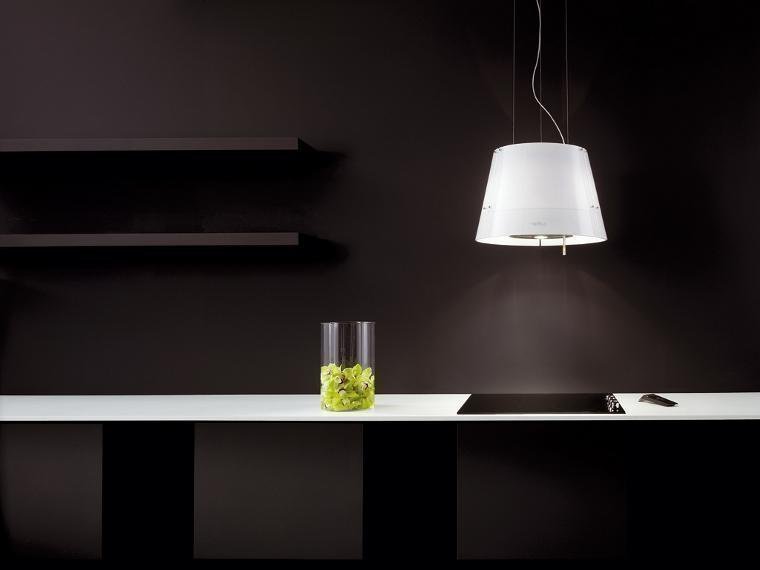
- Island hoods. This type of device is intended for kitchens with an island. You can fix the device anywhere in the room by hanging it from the ceiling.
Advice: The installation of a kitchen hood, regardless of the type, should be 70 cm above the hob and 80 cm above the gas stove.
Ventilation method
According to the ventilation mode, the devices are divided into:
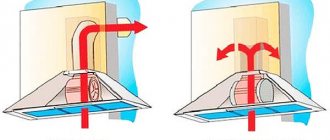
- Flow-through - they draw air from the kitchen into the ventilation shaft. This type of ventilation is called exhaust ventilation. It is the most productive and efficient.
- Circulating hoods - pass air through the charcoal filters located in the housing.Fresh air is discharged at the outlet. For such a device, ventilation in the kitchen is not required, so its installation is much easier, but the hood itself is less effective in terms of cleaning. The disadvantage of such hoods is the lack of fresh air, since as a result of processing by filters, the same, but purified air enters the kitchen. In addition, filters need to be cleaned and replaced periodically.
Tip: When choosing a cooker hood that you make with your own hands, consider each of these points. Only in this case you will provide yourself with comfortable cooking conditions and convenient operation of the equipment.

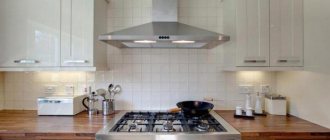
How to install a cooker hood over an electric stove?
Another important issue is how to install the exhaust system above the electric stove. Everything needs to be done in stages, starting with the preparatory work to find the exact installation site and markup. In general, the installation of an exhaust system for an electric stove is no different from that for a gas one.
The markup is done according to the following rules:
- we do the markings exactly above the stove, measuring the distance upwards of about 75-85 centimeters;
- we plan the location of the future ventilation pipe, which will then be connected to the exhaust system.
Next, the hood is fixed above the stove, and if it is of a built-in type, then you will have to tinker a little with the cabinet where it will be fixed. After that, we connect the exhaust system to the ventilation system.
Passive drywall hood
If you already have certain skills in assembling various household items, you should not be afraid of a new job. You will completely master this task and be able to make a high-quality cooker hood for the kitchen with your own hands. To do this, follow the scheme below.
You will need:
- Moisture resistant drywall. From this material we will make a box for placing the air duct, as well as the dome of the device.
- Galvanized metal profiles. This material will be needed for the frame of the dome and box itself.
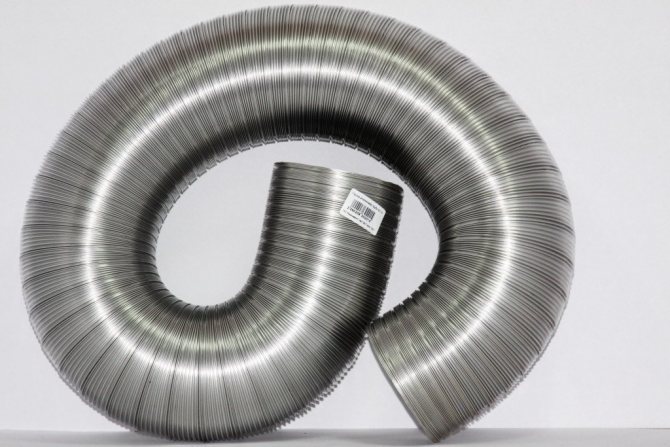
- Corrugated pipe. We will use this material as an air duct.
- Perforated metal corner - to decorate the corners of the fixture.
- Fasteners.
- Insulating material (for wrapping corrugated pipes).
- Paint and putty for finishing the dome.
- Tool set: Perforator;
- Metal scissors;
- Screwdriver;
- Level and tape measure;
- Brushes, spatulas.
Stage 1. Room layout
You will need to place not only an extractor hood on the wall, but also an air duct hidden in a drywall box, so find a ventilation hole in the kitchen:
- if the ventilation is above the stove itself, then the markings are almost ready;
- if the hole is to the side, then it is necessary to mark the position of the duct on the wall for laying the air duct.
Tip: If the repair plans include a suspended plasterboard ceiling, then the duct can not be hidden, but run under the ceiling sheathing.
Stage 2. Fabrication of a frame for an air duct:
- Mark the bottom of the duct surface on the wall.
- At the level of the lower part, attach a galvanized metal starter profile. For fastening, use an anchor with a plastic sleeve 6 mm.
- Attach the starting profile to the ceiling according to the marked markings.
Tip: If you have planned a curved duct box, then cut and bend the profile before fastening.
- Down from the starting profile, lower a few vertical fragments of the main profile.
- Use self-tapping screws to attach the vertical pieces to the starting profile.
- Form the frame for the box: install another panel of the starting profile on the prepared suspensions.
- Place the cross bars on the bottom of the resulting profile.
Stage 3. Manufacturing of the hood body:
- Make the lower frame of the hood from the starter profile.
- Secure the frame to the kitchen wall.
Tip: If you are installing a kitchen hood in a niche, it is quite easy to fix it, and if in a different place, then additionally fix the side parts of the frame to the box.
- Cut out the frame elements of the future structure from the main profile.
- Connect the frame pieces to the bottom frame.
- Reinforce the side surfaces of the hood with crossbars from the profile. This will add reliability to the design.
- Connect the air duct (corrugated pipe) to the ventilation hole.
Tip: To keep the air duct from making noise during operation, wrap it with batting or prepared soundproofing material.
Stage 4. Hood finish:
- Cover the housing and duct box with plasterboard.
- Protect the corners of the structure with a metal perforated corner.
- Treat the drywall structure with putty, mask the joints of the drywall sheets, as well as the fasteners.
- Paint the hood in any color of your choice or decorate in any other way.
Tip: The above-described hood manufacturing technology is suitable not only for a passive device, but also for the production of an active type hood. It is enough to install an electric motor inside the housing at the inlet to the air duct and connect it to the network.
Installing a built-in hood in a cabinet
The built-in hood is almost completely hidden in the cabinet made for it. It is attached in the same way as described above - on screws, only they are screwed into the walls. Only beforehand in the shelves located above it is necessary to make holes for the air duct. This is done after the hood is purchased, since the location of the air outlet depends on the company and model.
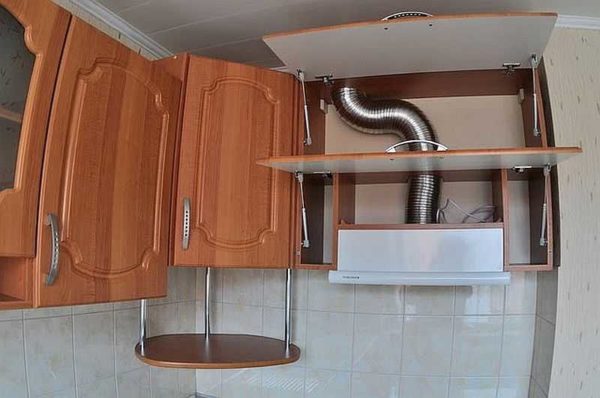
Installation example of a built-in hood
If the locker is hanging, it is better to remove it. Install the hood in the removed cabinet, mark the location of the air outlet on the bottom shelf, cut it out. To do this, it is easier to use a jigsaw and a file with fine teeth. Almost no chips are left by the laminate file. If you wish, you can seal the cut point with a plastic C-shaped furniture profile. They are tough and flexible. Flexible to use is simple - it bends at any angle, rigid ones will have to be warmed up with a construction hairdryer before installation. These profiles are "set" on glue, most often "liquid nails" are used. After installing in place, remove the remnants of the glue (with a damp clean cloth), fix it with masking tape to the shelf. We cut off the excess profile with a file with a fine tooth, clean the cut with fine-grain sandpaper.
Active extraction from plywood
Another way to make a kitchen hood with your own hands from improvised means is also very simple to perform. Choose the option that is more convenient for you and proceed.
You will need:
- An old but workable hood (an inexpensive new model can be purchased);
- Thin plywood for dome walls;
- Glue;
- Putty;
- Paint, varnish;
- Electric motor;
- Clamps with soft plastic (or rubber) attachments;
- Brushes, spatula.
Assembly instructions
- On the basis of the old hood, we assemble the main elements: a lower frame with an exhaust grille, an electric motor.
Tip: Do not worry about the appearance of the structure, as all the details will be hidden behind the cladding.
- Place the frame elements made of curly planks on the base.
Tip: You can make any shape of the frame, if only the air duct fits inside the dome.
- Cut the walls of the hood from thin plywood.
- Cover the frame with the made elements.
Tip: For a neat bonding of the dome, use the clamps with attachments.
- Allow time for the adhesive to fully cure.
- Apply a putty to the plywood dome.
- Paint the cooker hood in the color of your choice or treat it with varnish.
- Attach the fixture to the wall.
Tip: If you were using the old structure, then the wall mounts should have been preserved.
- Connect the air duct to the device.
- Cover the duct with a decorative box. We described above how to do it.
Rules and guidelines
When arranging any system for the exchange of air masses, the following points must be taken into account:
- When choosing equipment, it is necessary to calculate the efficiency of air exchange. The frequency of air exchange according to SNiP 2.08.01-89 should be at least 6-8 times per hour. Those. within an hour, the air must completely change 6 times;
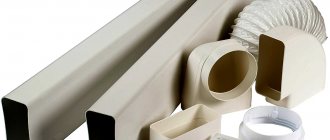
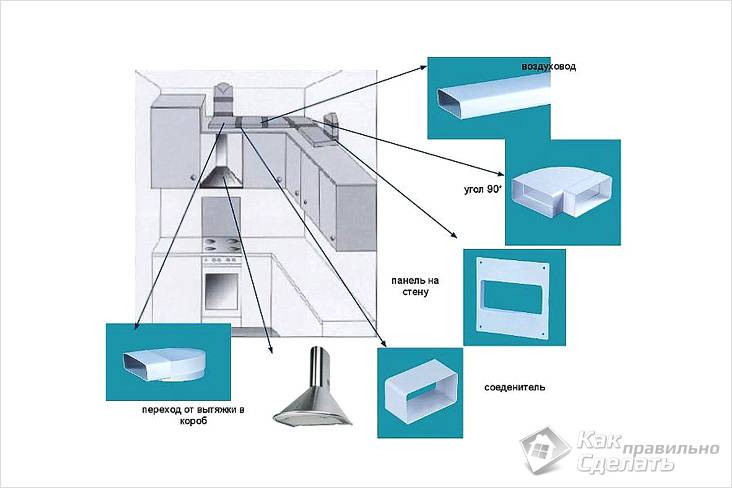
- For the arrangement of the channels, special plastic pipes (air ducts) should be used that meet the fire safety requirements. The duct cross-section can be either round or rectangular.
I must say that rectangular air ducts are usually used to connect the hood, since they take up less space and are generally less noticeable;
If desired, the duct can be hidden altogether by making a drywall box for it.
- Before starting the installation of the air exchange system, it is necessary to draw up a project. This applies not only to the calculation of the power of the equipment, but also to the location of the air ducts.
Thus, you can calculate in advance how many ventilation pipes should be in the system and where they will pass;
- Newbies are often interested in whether it is possible to combine the ventilation of the kitchen and toilet? In principle, it is possible to combine the system, but for this it must be correctly designed and calculated.
If, for example, the exhaust equipment will be at the outlet, i.e. a common channel from the kitchen and toilet will be connected to it, then there will be no problems. If the ventilation is combined in a natural system, and a powerful hood is installed in the kitchen, then the air flow from the kitchen can flow into the toilet;
- For air exchange to take place not only in the kitchen, but throughout the house, there must be a small gap between the kitchen door and the floor.
Hoods for the kitchen are of two types - standalone and connected to ventilation. Hoods for a kitchen with a ventilation outlet can be used if the system is natural, exhaust or supply. If in private, for example, in the country there is no ventilation at all, you will have to install an autonomous hood with a filter.
Here, perhaps, is all the basic information regarding air exchange in the kitchen, which I wanted to share with you.
obustroeno.com
What do you need to know for ventilation to work efficiently?
In order for a self-made kitchen hood to be effective and you do not have to be puzzled by the problem of optimizing it in the near future, carefully read the information below.
Required device power
First of all, the power depends on the size of the kitchen - its area and height. If the hood is curved, then the power of the air ducts is lost by a third. Therefore, it is necessary to calculate the power and depending on the shape of the device.
Tip: Power is the cleaning performance. It is measured in cubic meters per hour. According to the established norms, the air in the room must be renewed 12 times per hour. Calculate the required power using a simple formula:
Kitchen area * ceiling height * 12
For example, if your kitchen has an area of 10 m2, and the ceiling height is 3 m, then the calculation looks like this:
10 * 3 * 12 * 1.3 = 468 m3
(If the shape of the hood is straight, then you do not need to multiply by 1.3).
Electrical safety
During operation, grease and splashes enter the hood, which can cause a short circuit. Moisture accumulates in the kitchen and, with constantly high humidity, the chance of electric shock increases if the device is incorrectly connected to the network, so a hand-made hood must be connected to the network with three wires:
- land;
- phase;
- zero.
The standard ground should be colored yellow and have a green stripe.
Tip: To make it easy for you to cope with the task, consider the following recommendations:
- If the house has a ground loop, and there are euro sockets, then there are no problems: when connecting the device, connect the wire to the ground terminal, which is designated by the word “ground” or strips of different lengths.
- If the equipment does not have a connector for grounding, then screw the wire to the metal case.
- If you do not have euro sockets, then do it yourself: connect it to a dead neutral.
- You cannot connect a neutral wire to pipes and batteries.
Installation preparatory work
Installation of a hood in the kitchen begins with the preparation stage, which consists in installing a ventilation duct. In order for the hood to work normally and to cope with its task without hindrance, it is better to make the outlet direct, bypassing the central ventilation system (that is, bring the air duct directly to the street). For this, a channel of minimum length is laid; a circular pipe with one or two turns is optimal.
To prevent the channel from leaking and freezing, check valves are installed. Before installing the exhaust unit, you should decide on its exact location.
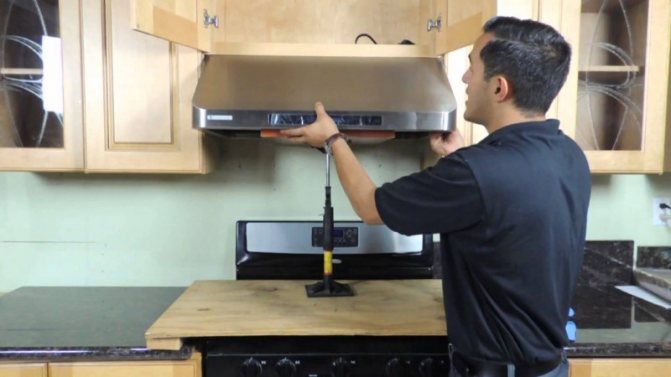
Size and placement
When choosing and installing the hood, the type of stove, the place of its installation, the number of burners and the size of the room are taken into account.
On a note... In a room with high ceilings, even a small hood will be an excellent element of the interior.
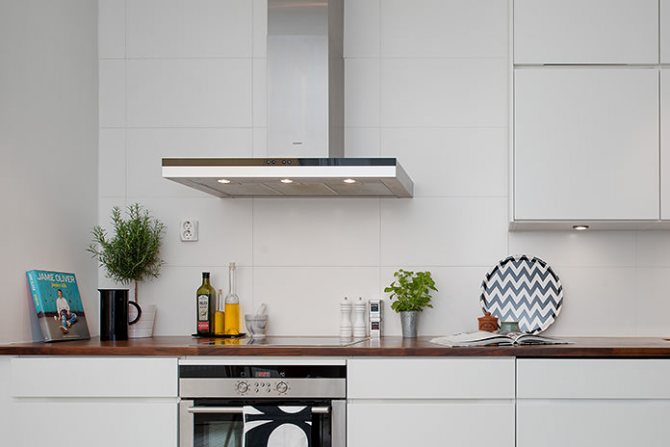
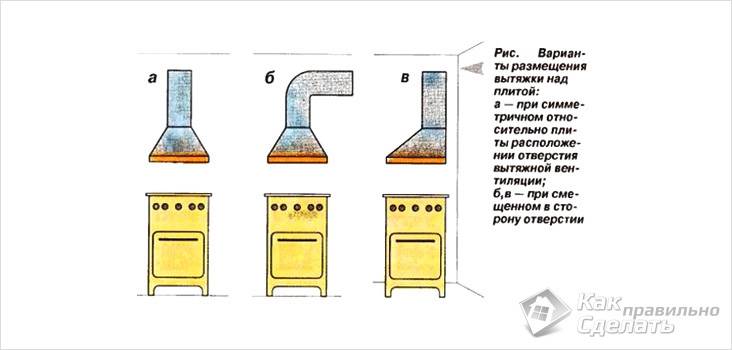
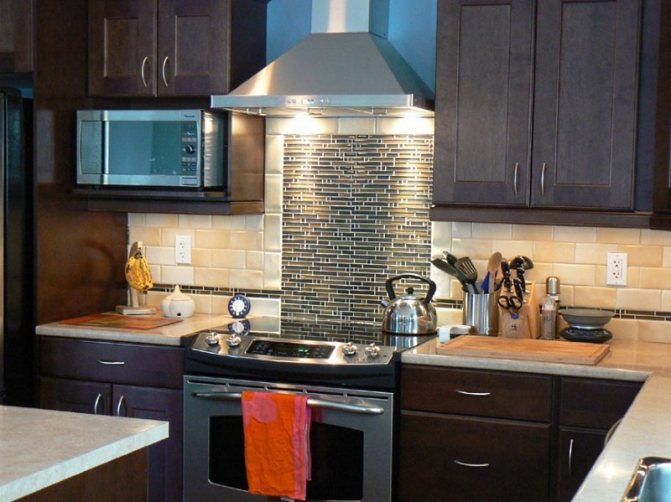
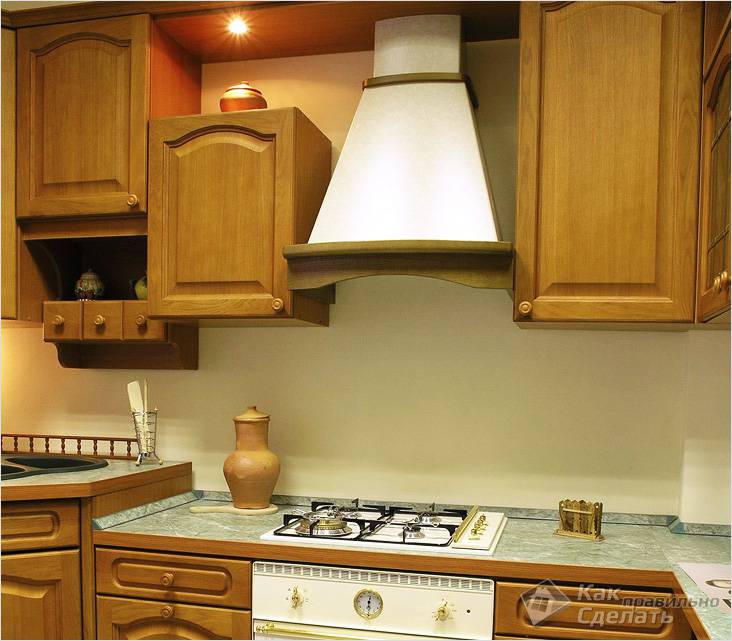
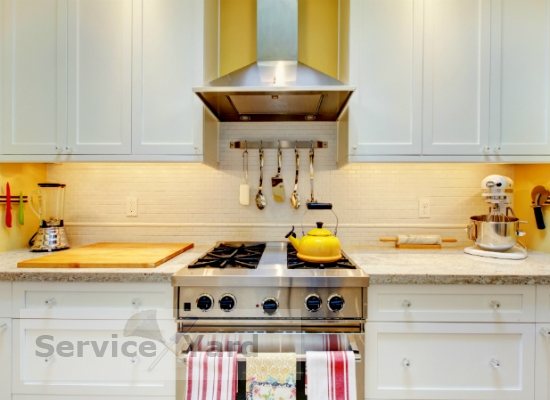
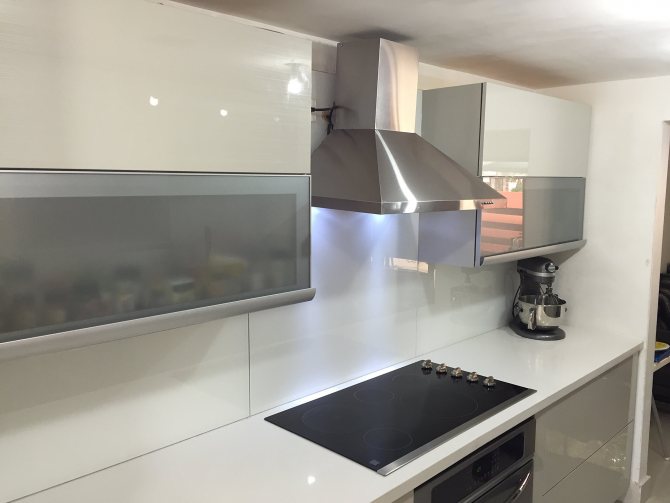
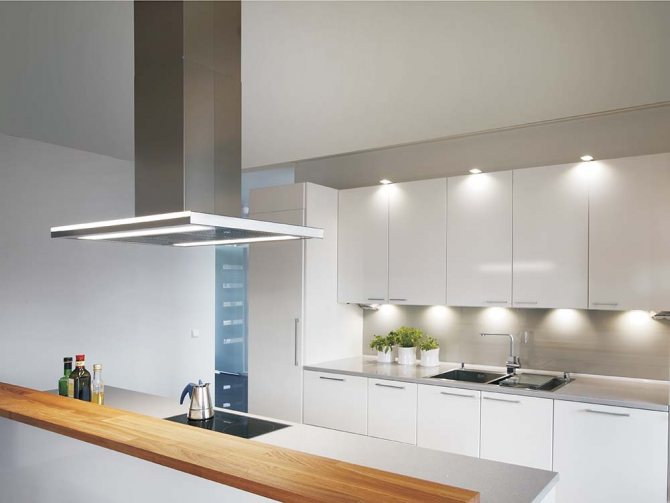
According to the method of installation, the hoods are wall-mounted, corner and island:
- In the first variant, the dome is adjacent to the wall, while being above the slab.
- The corner option means mounting the unit in a corner. The method significantly saves space and makes the hob more accessible.
- The latter version is installed above the kitchen island if a stove is placed on it. This option is possible with a spacious kitchen.
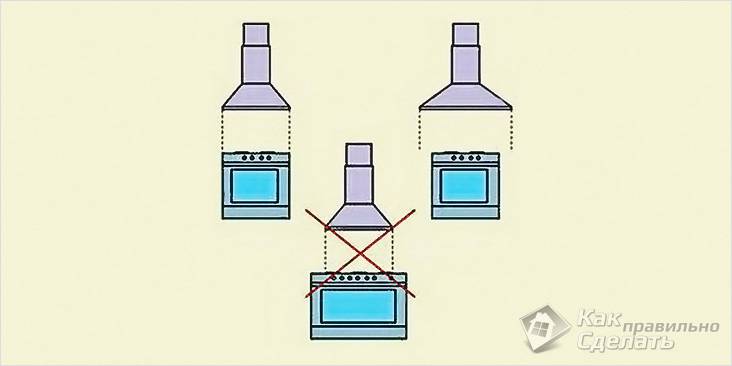
The hoods are flat, domed and inclined in shape. The size of the unit must not be less than the area of the hob. Ideal when the hood protrudes 50 mm above the hob on all sides.
Important! When choosing the size of the hood, as well as determining the height of its location, keep in mind that it should not interfere with the use of the stove.
The cost of the hood depends on the power of the unit, its mounting method and the availability of additional functions, for example, a timer, clock, backlight, etc.
The contact connection for power supply of the hood is installed above the nearest upper module or inside it. It is not uncommon to see a socket in a cover masking an air duct. It should be installed at a height of approx. 180-190 cm.
The choice of material for the ventilation duct
Do-it-yourself installation of an air duct for a kitchen hood begins with the choice of material. Experts recommend paying attention to a round galvanized steel pipe. Galvanizing is excellent for both an in-wall duct and for arranging a concealed air duct.
Insulate the steel pipe with any materials. The main requirement for insulation is moisture resistance. Most often, penofol is used for these purposes. On the outside, an umbrella is installed to protect the ventilation duct from precipitation.
On a note... To prevent condensation from forming in the ventilation duct, it is recommended to use at least two valves - an internal and an external one.
For the device of an internal ventilation duct, the following are most often used:
Plastic pipes are available, lightweight and easy to install. Please note that when heated to temperatures above 120 degrees, the plastic releases chlorine.
Important! In a cold room (from +5 and below), PVC becomes brittle, losing its strength. Therefore, many people prefer polyethylene products to plastic.
Reinforced vinylurethane with steel inserts is considered the most durable material.It is flexible, resistant to mechanical stress and is not afraid of damage.
Preparing the air vent
To know exactly where to place the channel, make a dimensional design on a piece of paper. Then transfer the marks for the hole from the drawing to the wall, make precise markings.
Ventilation issues
Installing a kitchen hood almost always disrupts regular ventilation in an apartment. Most often, it is recommended to break through an additional window for it, leading either to the ventilation duct or to the street. Both of these methods do not solve the problem.
Its cross-sectional area does not increase from the additional window in the ventilation course. In the best case, the hood will throw three quarters of the kitchen child into the ventilation, and a quarter will go back to the apartment. And in case of strong wind or traction from the lower floors, everything can come back. Or get to the neighbors, who, as you know, are far from always tolerant and benevolent.
Emission to the outside, firstly, requires a project agreed with the operator of the building, since the load-bearing wall is affected. Secondly, in this case, condensate settling in the duct and on the fan motor is inevitable, which brings the probability of breakdown closer to 100%.
Meanwhile, the way out of the situation has long been known: an additional section of the air box with a clapper valve. Its structure is clear from the figure. Let's give just some explanations:
- The window for the exhaust duct is square with a side equal to 3/4 of the duct diameter. In this case, its cross-sectional area will be equal to that of the duct, the perimeter will be slightly less than the circumference of the duct, and the connection will not cause difficulties.
- The damper is made of 0.5 mm aluminum (better) or thin and rigid sheet non-combustible plastic: fiberglass, also 0.5 mm thick, or fluoroplastic. But the best damper is aluminum. The lower the specific gravity of the damper material, the more accurately the clapper works.
- The damper is pulled up by a thin weak spring so that it, forcibly lifted to the upper position and released, smoothly lowers into place. A stiff, slack spring will not work. The diameter of the wire from which the spring is twisted is recommended 0.2 - 0.3 mm, the diameter of the spring is 3-5 mm, and its length is 120-150 mm.
Note: craftsmen familiar with electronics sometimes make a damper controlled by an electromagnet that is triggered when the exhaust fan is turned on. There is no sense in this: the spring-loaded damper is self-adjusting. If, when the hood is turned on, the natural outflow of air increases, the flap raised to the stop will lower to a certain intermediate position, and as much air will always flow into the ventilation duct as it is able to pass.
About odor neutralizers
The hood above the stove is often equipped with an odor neutralizer. There are three types of neutralizers on sale: chemical, electro-ionization, and ultraviolet. Let's consider which is preferable.
- Chemical neutralizers require periodic, and rather frequent, replacement: their active element is drawn in by a film of fat, not yet having exhausted its resource. In addition, chemical neutralizers themselves emit vapors into the air, odorless, but which can be harmful to health.
- Electroionization neutrazizers are designed according to the same principle as a conventional air ionizer. But, since the concentration of impurities in the air above the hob is much higher than in the living room, the discharge has to be created stronger, up to the "crown" visible to the eye. The ionizer itself is closer to the person working at the stove, and he may be under the influence of an electric field with an intensity higher than the allowable one.
- Ultraviolet neutralizers require periodic cleaning of the lamps from burning deposits. Lamps have to be changed about every two years, and their price is not cheap.But an ultraviolet neutralizer is completely harmless and safe: lamps emit ultraviolet radiation several times less than the sun on a clear summer day. Along the way, the issue of illumination of the hob is also being solved: in addition to ultraviolet radiation, the lamps also emit visible white or slightly bluish light.
Which is the best to choose
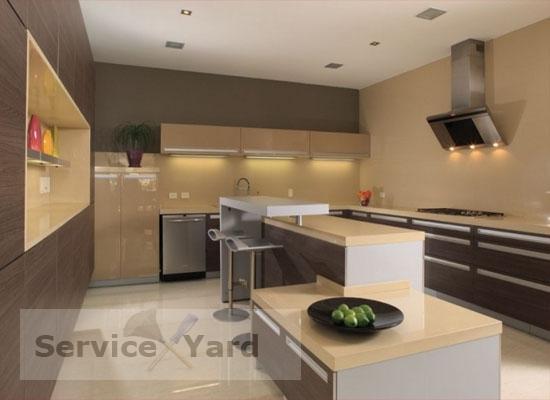
There are many brands of kitchen hoods on the market - Hansa, Krona, Hephaestus, Elikor and many others. The existing models differ in design, size, principle of operation, method of installation. When deciding which hood is best suited for a particular kitchen, they are usually guided by the following criteria:
- type of exhaust system - recirculation, flow-through (direct-flow) or combined (can operate in both recirculation and direct-flow systems);
- its appearance, how much it fits into the overall design of the kitchen set;
- the material from which the equipment is made - it affects both the appearance of the device and its durability;
- such technical characteristics as the power of the equipment and the noise level that it emits during operation;
- dimensions - it is strongly recommended that the dimensions of the system throat do not exceed the dimensions of the surface of the plate, and in addition, the air ducts must fit into the existing ventilation openings;
- the method of installation, on which the installation of the hood significantly depends - there are suspended, built-in, corner, telescopic, island models that are attached in different ways.


There is exhaust equipment with push-button, mechanical and touch controls. Different types of controls do not provide any advantages; their choice is a matter of personal preference of the user.