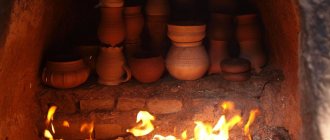
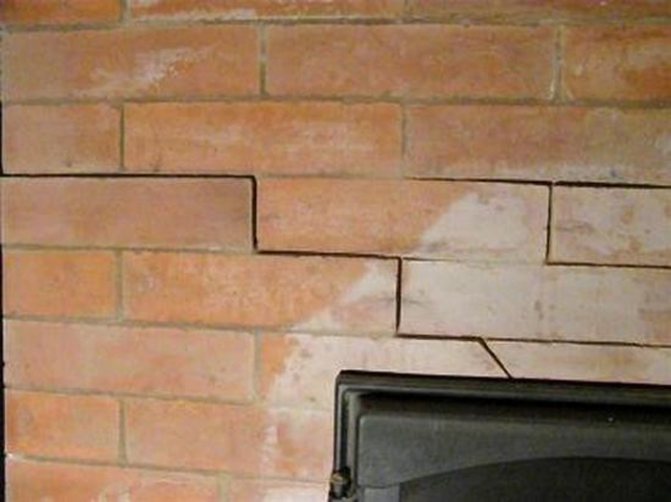
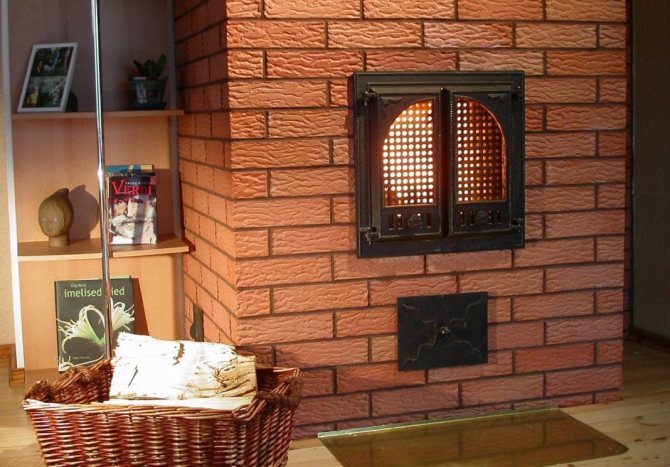
Over time, cracks can form in the masonry of a brick oven. This is due to a number of reasons:
- the influence of temperature difference
- uneven heating of refractory bricks bonded with chamotte clay
- poor quality putty used in the construction of the furnace
- furnace slump
- improper oven drying
- poor quality work in finishing
- condensation formed on the walls of the stove
Deep cracks pose a threat of collapse of the structure, as well as penetration of poisonous carbon monoxide, dangerous to human health and life. A natural question arises - how can you cover up the stove so that it does not crack? If only installing a new foundation will help to get rid of cracks resulting from the sinking of the furnace, then in other cases you can get rid of them.
How can you cover up the stove so that it does not crack
If the damage is small, superficial, you can remove the old finish from the bricks to re-plaster. If the damage is through, you will have to dismantle the damaged area and restore it.
Several options for what you can cover up the stove so that it does not crack:
- chamotte clay composition
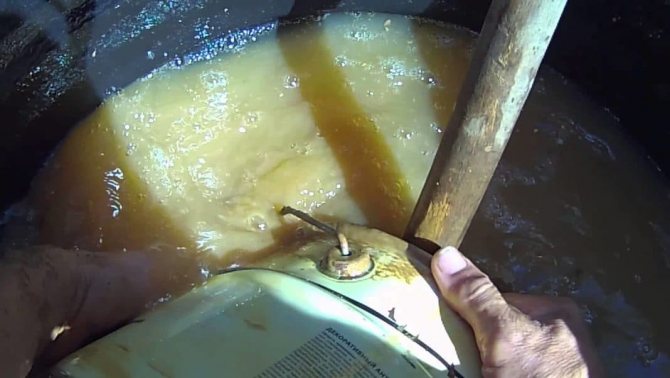
It is a widely used material for restoring oven surfaces. Before use, fireclay clay should be kept in water for about two days.
- clay and sand composition
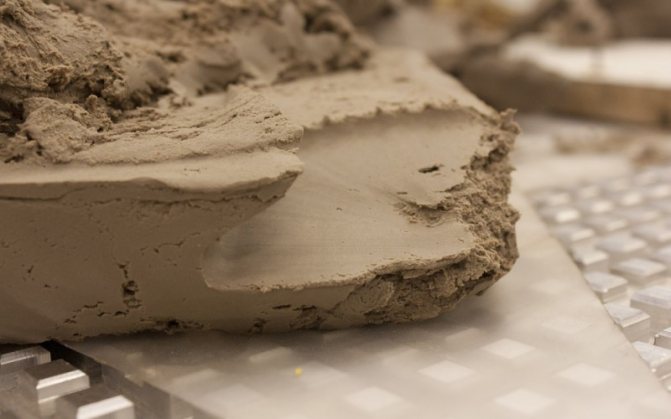
The cheapest version of the material, often used due to the ductility and viscosity of the mixture, as well as the durability after firing. For a high-quality solution, you will need any clay, the main thing is that it does not contain any impurities. You can prepare it as follows:
- Clay is poured with water in a ratio of 1 to 3, after which it is infused for at least a day.
- After it has been infused, it must be mixed with the addition of water. Then strain through a fine sieve and let it brew again.
- A properly prepared mixture should have a thick consistency.
- Mix clay and sand in a ratio of 1 to 2.5.
After mixing the solution, you can check its readiness by rolling a small ball. If it cracks, then there is not enough liquid in the solution. To increase the strength of the clay mortar, you can add asbestos, cement or gypsum to it.
Stove mix
- oven glue
This material can be purchased at the store and is durable and flame retardant. The composition of the kiln glue includes fireclay powder and refractory cement. It is of two types: solid and plastic mixture. The first type is rubbing the entire surface of the furnace, the second one is used to putty the seams and cracks. To prepare the glue solution, you need to dilute it in small portions, because it dries up quickly. For 1 liter of plastic mixture, it is necessary to knead 5 liters of solid. A plastic mixture is applied to the wetted bricks, all defects are repaired. Then a finishing coat is applied in the form of hard oven glue.
- special compounds for grouting ovens (you can purchase or make yourself).
If it is not possible to purchase a ready-made oven grout, you can prepare it yourself. For this, as in the first two cases, it is necessary to soak the clay, let it brew for 24 hours. Then add sand in a ratio of 1 to 4 and stir thoroughly. In the process of stirring, it is necessary to gradually add finely chopped straw, at the end add a pack of salt.
How to cover the stove with clay so that it does not crack?
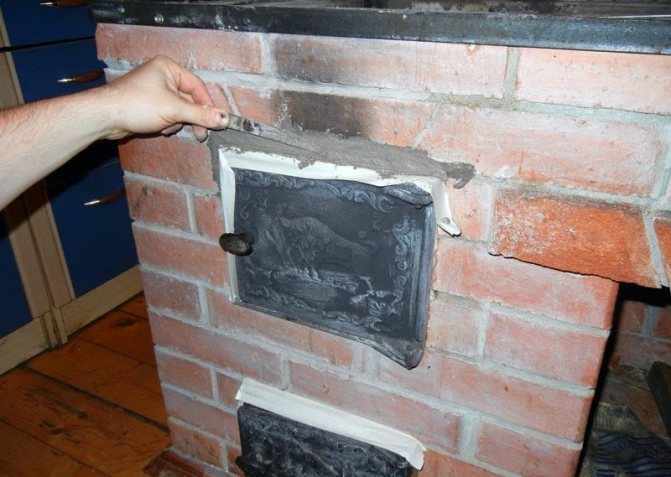
All existing cracks must be knocked out with a chisel, the brick must be cleaned. If the surface is completely plastered, the seams must be cleaned to a depth of about 1 cm.Before covering up the stove so that it does not crack, it is necessary to moisten all cracks, seams and cracks abundantly with water or a primer.
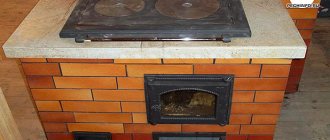
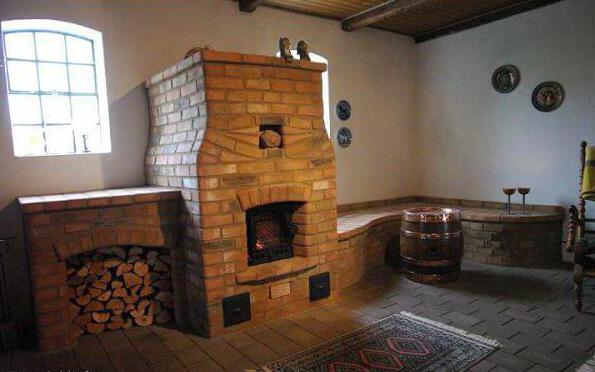
Stove
Before you coat the stove with a solution of clay, you need to heat it up to such an extent that its surface warms up a little. Then the stove is covered with a thin layer of liquid clay solution, left to dry for a while. Then the surface is reinforced: burlap or a thin metal mesh is applied, this will strengthen the plaster. The burlap is glued with an overlap, starting from top to bottom, and the mesh is attached with nails in the seams between the bricks. This sequence of actions is the same both for plastering the entire surface area, and when it is necessary to cover up individual areas.
Next, two layers of plaster, 5 mm thick, are applied. Too thick layer will be uneven and uneven. When the surface is dry, it is rubbed, and after complete drying, it is covered with a lime mortar. If you do not plan to whitewash the stove, you can add a little lime at the stage of mixing the clay solution, the clay will become lighter.
After the coating is completely dry (this will take at least 7 days), you can start heating it, but not earlier, otherwise it will continue to crack.

Reasons for the failure of the oven
Before looking for the best solution to a malfunction, it is necessary to determine the causes of cracks. This could be:
• poor quality of the solution used;
• violation of finishing technology;
• shrinkage of the brick structure;
• non-observance of the rules of operation of the furnace.
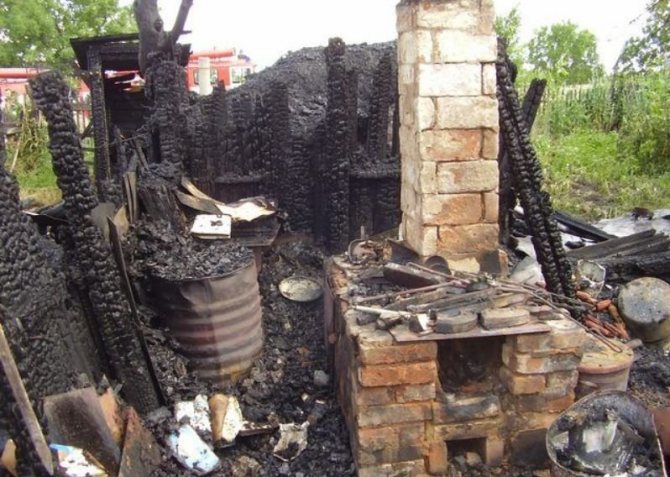
If the stove sags due to an incorrectly poured foundation, smoke will pour out of all the cracks during the furnace, the doors will stop closing tightly, and the brick will gradually begin to collapse. If you find such problems, you should immediately disassemble the entire structure, strengthen the foundation and lay it out again. However, in some cases, drastic measures can be dispensed with.
All other reasons can be easily eliminated, it is only important to figure out how to cover the stove so that it does not crack.
Alternative ways
A more radical way to get rid of cracks is to install an aluminum frame or other metal. This requires two metal sheets, scissors for cutting metal, as well as corners. The size of the sheet is measured along the height and length of the surface to be repaired, cut out and applied to the furnace. On top and on the sides, the sheet is fixed with metal corners. After installation, the frame can be painted.
In addition, you can make ceramic tiles on the stove surface. It can also be attached on top of the frame, but if the cladding is of poor quality, cracks will still appear on the stove, only under the tiles.
Elimination of cracks on a metal surface
If a metal stove begins to crack, welding will be the best solution for repairing it. If it is impossible to use this option, you can prepare a heat-resistant mixture for sealing defects:
- Clay-based mortar with the addition of metal filings, manganese dioxide, salt and borax in a ratio of 30 to 4: 2: 1: 1
- A mixture of liquid glass and magnesite in a ratio of 3:10. Also, on the basis of water glass, a mixture of two parts of manganese oxide, zinc white and borax is made in one part. The glass is added until the desired consistency is obtained. Whitewash is used dry.
- Colloidal sulfur, metal filings and ammonium chloride are mixed in a ratio of 1.5: 96: 2.5.
- Based on natural drying oil: you need graphite, lead, manganese oxide in a ratio of 5 to 1 to 1. Lead is used in the form of a calcined oxide. Another solution with graphite, lead and chalk is diluted in a ratio of 12: 4: 3. Elimination of cracks on a metal surface
How to cover up the oven with your own hands - step by step instructions
After all the necessary materials and a set of tools have been prepared, you can start the process of plastering the stove with your own hands. Plastering a brick oven can be done according to a simple scheme, consisting of five basic steps:
- Heat the oven. Before starting work, the walls of the stove must warm up well. This step is mandatory even during the hot summer season.
- Surface preparation.
- Application of the first layer. It is necessary to moisten the surface to be plastered with water (with a brush or by means of a spray gun), and then apply a thin layer of liquid clay (for this, a wash brush is used). Before the next step, this plastered layer should dry out a little.
- Reinforcement. The specifics of performing this step depend on the selected material:
- Reinforcing mesh. To fix it in the center of the bricks, you need to drill holes, the depth of which should be about 5 cm. The distances between them should be no more than 0.5 m, and the holes should be staggered. In each of the holes you need to insert a wire with a diameter of 3 mm (its length should be 100 mm). Each of the pieces of wire is bent in the middle at an angle of 900, and inside the bricks they are fixed with a cement mortar. After the cement has hardened, you can lay the reinforcing mesh over the oven - it must be fixed at the free ends of the wire. In order to do everything right, we advise you to watch the video on fixing the reinforcing mesh to the furnace:
- Sackcloth. The material must be cut and soaked in a solution of liquid clay. After that, it must be distributed over the oven: the laying process is carried out in the direction from top to bottom, the overlap should be about 50 mm. If such material is used for reinforcement, the furnace must be protected from overheating during operation;
We offer you to familiarize yourself with the Roof of a bath with your own hands: practical advice on how to make a roof of a bath
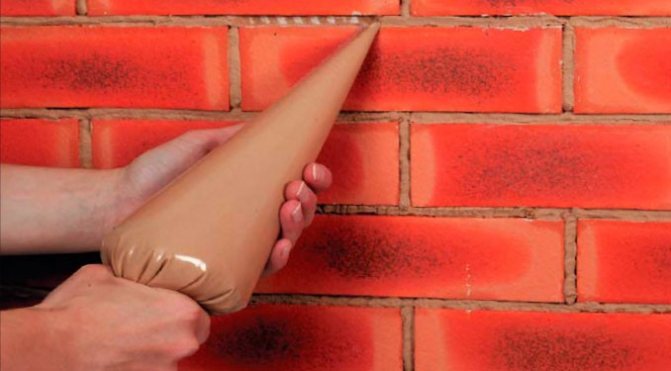
After finishing the application of the plaster, it must be allowed to dry. If cracks appear, they can be widened with an ordinary knife, then moistened with water and covered with a solution (if a clay-based solution was used, for this purpose, you can use the remains of plaster, which can be stored in an airtight container).
Subject to all stages of the technological process, you can independently plaster the oven correctly so that the decorative finish does not crack.
At this stage, a complete cleaning of the surfaces from the old solution, dirt and dust is carried out. Seams between bricks or stone are cleaned with a trowel and hammer to a depth of 150 mm. This will ensure reliable adhesion of the surface to the plaster.
Important! Plastering of a new oven is carried out 3 weeks after the completion of the masonry work and the complete drying of the oven mortar. Failure to comply with the established deadlines can lead to the fact that the decorative layer begins to crack and deform
After dismantling the old cladding, the surfaces are cleaned with a wire brush and a clean dry cloth in order to avoid dirty streaks that can appear through the fresh plaster layer.
Prepared surfaces are treated with an antifungal primer. 10 cm nails are hammered into the cleaned seams at an angle with the heads raised above the surface up to 0.5 cm.The horizontal step between the nails should be 15 cm, the vertical step - every 2 rows. A wire is fixed to the nails, and a metal mesh on top.The reinforced base will provide good adhesion of the plaster to the treated surface.
To align the outer corners of the structure, steel corners are used, fixed with an adhesive mixture.
You can plaster the stove with ready-made store-bought or home-made mortars.
If a ready-made dry composition is used for work, then the batch is carried out according to the instructions:
- Water is poured into the container. Next, the dry mass is added in the proportions indicated on the package.
- Kneading is carried out with a construction mixer until a viscous homogeneous mass is obtained.
- The finished mixture is kept for a quarter of an hour, re-mixed, and then used for surface treatment.
For self-mixing mortar for plastering surfaces, traditional components are used, which are mixed in the required proportions. Homemade recipes are listed above.
The finished solution should turn out to be plastic and viscous, without air bubbles, lumps and dry inclusions.
Depending on the condition of the surfaces, plastering the furnace structure can be done in one of two ways.
Plastering the stove with clay looks like a whole rite of passage from antiquity. It is not surprising, the operating conditions of the stove are the most difficult in the house, therefore, it needs much more attention than other furnishings. Before plastering the stove, prepare all the necessary tools and materials: a wooden float, a mixing container and spatula, reinforcement materials that make up the mortar.
There are several ways to cover the stove yourself. The choice depends on what you decided to cover up the cracks in the oven. Nevertheless, there is a step that will be common for all methods - it is imperative to clean the brick of plaster and decorative layer. And only after that you can start processing the unit with the selected solution.
When working with oven glue, you should follow these instructions:
- Prepare a small amount of plastic mortar (remembering that it dries quickly).
- Treat every crevice and crack with water.
- Treat all defects with a mixture.
- Prepare a solid solution.
- Treat the entire surface of the stove with it.
- Keep the glue completely dry (this takes about 30 minutes).
After the treatment is completely dry, you can safely proceed to plastering and applying a decorative layer.
If a mixture based on clay is used in the work to combat furnace defects, then the points in the instructions will be slightly different:
- Due to the different density of all ingredients, they can separate from each other in the solution, so before work, be sure to mix everything again (once will be enough).
- Check the mixture for quality - take a little in your hands and roll the ball, if cracks begin to appear on it, then you need to add water.
- Treat all cracks and crevices with water.
- The solution should be pushed into the slots as much as possible (it is more efficient to do this with your hands).
- Plaster whitewash the stove.
Important! After all the manipulations, it is recommended to start heating the oven when the treatment is completely dry. The instructions for processing the heating unit are very simple, so everyone can cope with such a repair, the main thing is not to miss anything.