Oil heaters do not often fail as they are reliable classic appliances. But there are times when you need to do a quick repair of the oil heater with your own hands.
The occurrence of a breakdown of an oil cooler, as a rule, is accompanied by the appearance of extraneous sounds inside the case. Also, a slight oil leak may appear or protection will work, and the heater will simply turn off.
The first thing to do is to disconnect it from the power supply. If possible, you need to take it to a service center for repair, but this is not always possible. Therefore, you need to try to repair it yourself.
At first glance, it is impossible to repair an oil heater at home. But as practice shows, in 60% of cases, the breakdown can be eliminated with your own hands. To do this, you need to carefully understand the cause of the breakdown.
When repairing an oil heater, all safety measures must be observed and the instructions and rules for operating the device must be followed. Failure to comply with any of the points may result in personal injury.
Repair of oil heaters and the main types of their breakdowns
The process of repairing an oil heater depends on the type of breakdown or malfunction.
There are three most common areas of deflection in heater operation:
- Whistling, harsh sounds occurring inside the heater.
- Damage to bimetallic plates.
- Failure of the heating element.
- Deviations in the work of the electrical part.
A whistling sound may indicate that the correct oil level inside the heater is not present. In this case, the heater must be carefully inspected from all sides for damage. Also, the cause of the whistle is often an incorrectly installed device. If the oil heater is frequently moved from place to place or tilted during transportation, air pockets may form inside.
Oil heating appliances do not like a sharp and prolonged position in an inclined state, therefore it is advisable to transport it vertically.
But if it really happened, you do not need to do anything, you just need to put the device in the room and let it settle for about an hour, so that the oil takes on the operating mode. The device can then be operated.
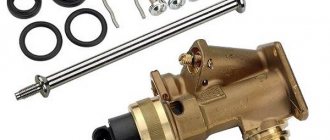
Damage to bimetallic plates. When disassembling the heater, damage to the bimetallic plates can be found. They are located on the knob of the temperature controller. To repair this structural part of the oil heater, you need to set the temperature control knob to the minimum heating position. Then the screws, fastening nut, frame, spring are removed one by one and the bimetallic plate is removed.
It is not being repaired, but replaced with a new one. This part of the regulator most often wears out during a long period of operation. To completely replace the bimetal plate, you need to remove the sensor rod and magnet. The thermostat is assembled in the reverse order and installed in place.
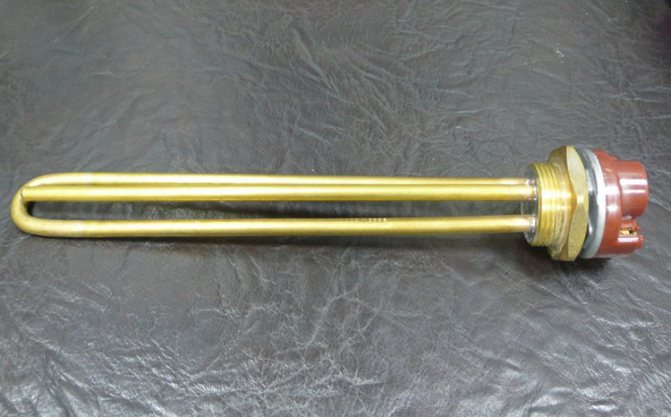
Failure of the heating element. Teng is one of the structural elements that is the most difficult to replace, since it can be either built-in or removable. How to repair the oil heater in this case? If the heating element is removable, you can do it at home by removing the mounting bolts and disconnecting it from the power wires. If the heating element is built-in, you need to bring the heater to the service center.
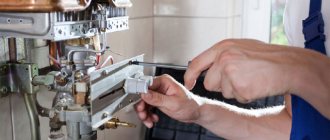
Deviations in the work of the electrical part.A heater malfunction may be caused by a lack of contact due to oxidation. To check this, you need to remove the heater from the base and unscrew the fixing screws. Using a screwdriver, remove the stop and adjacent washers. Then the anchor is removed, under which the contacts are located. If you see signs of an oxidative process, you need to remove the wires, strip them, and wipe the contacts with alcohol. After repairs, you need to collect everything in its original position and check the operation of the device.
Video
As you can see, such simple breakdowns in radiators, such as noises, faulty wires, oxidation of contacts, can be eliminated at home on your own. But if, after disassembling the heater, you find a more serious breakdown than described in the article, then it is better to entrust the repair of the oil heater to professionals. Listen to the opinion of the master, it may be easier and more profitable to even buy a new device than to repair the old one. Observing all the precautions and rules for the operation of oil heaters, you will significantly reduce the likelihood of any problems associated with the operation of the devices.
Repair of the casing of oil heaters
Holes in the casing result from corrosion of the heater walls or from mechanical damage from the outside. This breakage will be visible visually. The device must not be operated in this state. Those who decide to take on the repair of the heater with their own hands should remove all oil from the device and rinse the inside of the tank with alcohol. Refrigerator repair equipment should be used to repair the tank, and copper-phosphorus, brass or silver solder should be selected as the soldering agent.
Before soldering the case, it is imperative to clean the damaged area, cover it with an anti-corrosion liquid, and after it dries, degrease the surface with alcohol. The next step will be the soldering itself. To do this, the solder is applied to the place of damage and heated with a torch according to the principle of hermetic brazing of refrigeration equipment.
It must be remembered that synthetic oil cannot be combined with mineral oil. Mixed oils should not be mixed. Therefore, if you are not sure which type of oil was filled, it is best to replace the oil completely. If the type of oil is known, according to the passport data, it just needs to be topped up.
After a complete repair of the oil heater, it is necessary to fill the oil inside to 90% of the capacity, leaving 10% space for the air cushion (when heated, the oil tends to expand, and the air will contribute to this process). In the absence of an air cushion inside the housing, it may burst due to increased pressure.
When the housing is repaired, you need to check it for leaks. If the oil does not flow even when the heater is fully started, then the repair was done correctly.
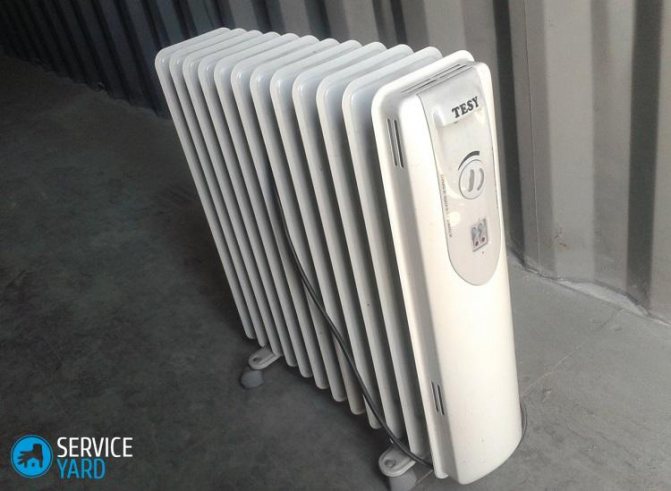
Oil heaters are massively used by summer residents for heating rooms in winter. They are efficient and do not burn oxygen, but the danger is that their body gets very hot. If misused, a number of problems can arise that are difficult to fix.
Elimination of oil leaks
Leakage of the main part of the radiator and oil leakage are the most frequent problems of these heaters. Oil may leak through an accidental hole or wall that is corroded. If the second option takes place, then it is better to purchase another radiator, since corrosion can destroy a larger area than seen. therefore after a while, oil will flow near the brewed or sealed place.
Holes or small holes, cracks can be:
The first option should be avoided.Soldering cannot provide a reliable connection, and with constant heating / cooling, strong contact between the solder and the metal of the tank will begin to crack. Therefore, it is better to weld the hole.
The preparation of the heater for brazing or welding is the same:
- Draining oil from the tank.
- Cleaning the problem area from dirt and rust. This can be done with sandpaper.
- Pouring water into the tank. This will avoid a possible fire (there was oil inside, and its remnants were definitely preserved).
- Turning the radiator into a position in which water will not flow out of the hole.
The device of the simplest oil cooler
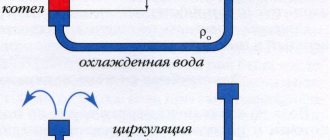
To correctly determine what is broken and repair, you first need to understand how the heater works. Its construction consists of:
- The bodies are accordions with technical oil inside. In addition, you need to be aware that there is a little air in most appliances.
- At the bottom of the device, a heating element is built on the side, which heats the oil. Most often it consists of two spirals. This is necessary to make it easier to adjust the power of the device.
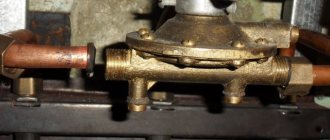
- Nearby is a security and control unit. Above the thermostat, it does not touch the case.
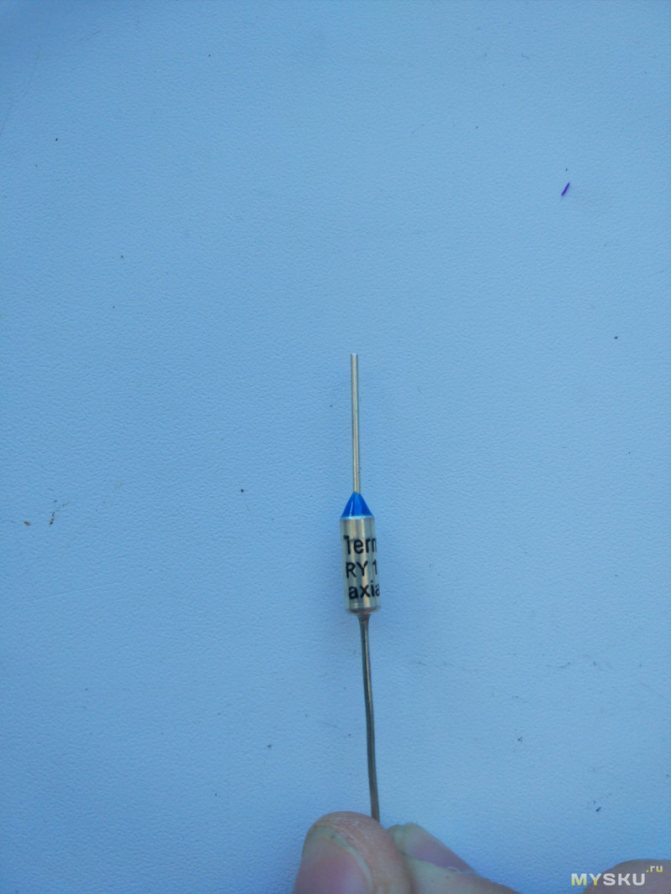
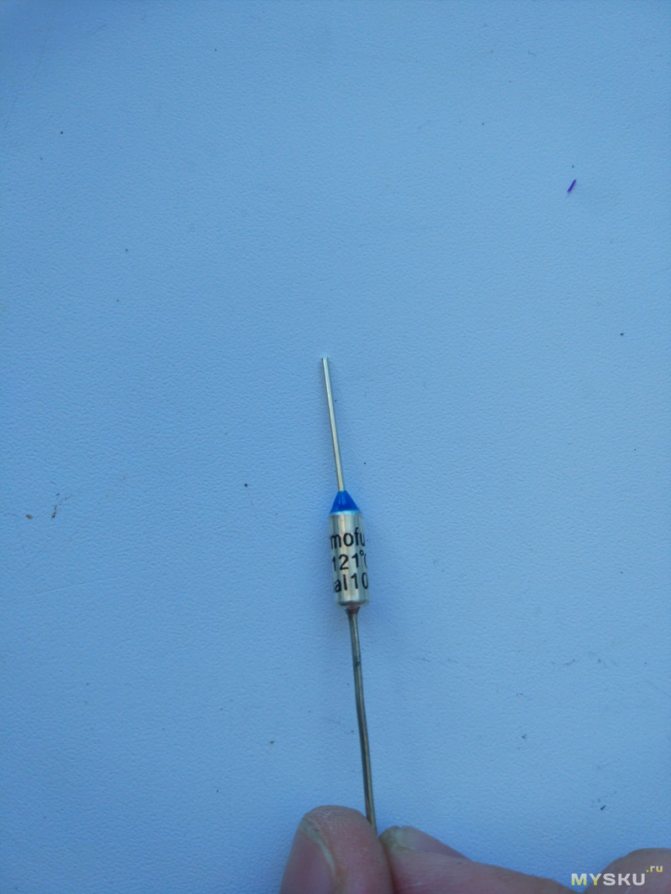
- And a fuse (turns off the device in case of malfunctions, for example, when oil leaks). Fuses can be disposable wire type and reusable (bimetallic).
- There are two illuminated switches. Three wires are suitable for each of them: phase, zero from the heating element and ground.
The wiring diagram for heaters is similar to the wiring diagram for other appliances: irons, kettles, etc.
Perhaps everyone knows that the garage needs heating. Some people prefer gas heating as the cheapest option. What should be a gas heater for a garage? Overview of industrial models and operational safety.
You may not know everything about IR heaters yet. Read about the dangers of an infrared heater here.
The climate in the house depends on the correct calculation of heating batteries. Here https://microklimat.pro/sistemy-otopleniya/raschet-sistem-otopleniya/kolichestva-sekcij-radiatorov.html you will learn how to correctly calculate the number of radiators by area and volume of the room.
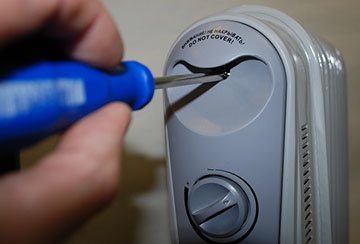
How to disassemble an oil heater
At first glance, it seems that oil heaters are a monolith that is not intended for disassembly. But it is not, you can disassemble it.
What can be useful for repairing an oil heater with your own hands and associated maintenance:
- a wedge-shaped object with which you can pry a plastic panel;
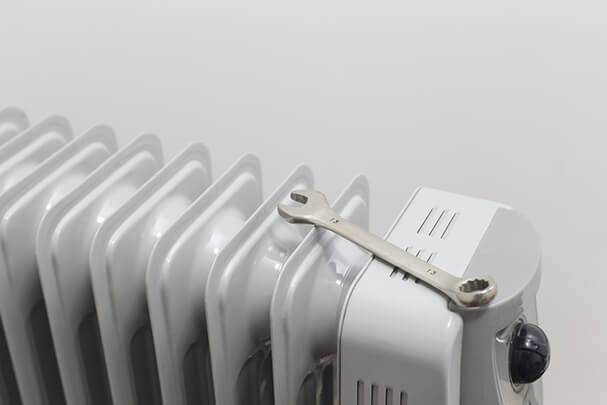
- screwdriver;
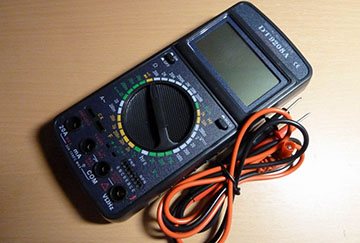
- tester or multimeter;
- sandpaper;
- soft cloth;
- alcohol, cologne or the like;
- file;
- brush.
Of course, the models of heaters are different, therefore, the standard parsing algorithm cannot be described. Inspect the heater control panel. Sometimes there are screws, brackets. Then the disassembly process will begin with them.
However, most often the plastic panel is secured by a spring latch. You need to walk around the perimeter of the panel with a plastic (or any other, if only you do not scratch the case) object. Gently, without sudden movements, so as not to break. By touch, you can determine where the latch is and, by pressing harder, bend it.
In addition, bolts and nuts are advised to be laid out in a row during disassembly. It will be easier to understand what was extracted for what.
But do not rush to disassemble the heater! Some breakdowns can be detected without looking into the device.
Major breakdowns
Extraneous noise
Cracking, hissing, etc. may occur while the appliance is in operation. This is the case when you don't need to disassemble anything: most likely, the heater tilted, fell, etc. There was a movement of oil and air. Place the instrument in an upright position for a few days. The problem will resolve itself.
Electrician
To begin with, plug the heater into a different outlet, suddenly the problem is in it, and not in the device.
If it is the heater that breaks down, arm yourself with a multimeter.
With its help, we check the health of the electrical part (you need to start with this, if the device does not heat, the indicator light does not light up).
- serviceability of the socket and plug;
- whether there is a short circuit between the parts of the radiator.
A common problem: burnout of the wires in the places where they are connected.
The de-energized device is checked for serviceability of all switch keys... This is done using a tester or multimeter:
- in the ON position, there will be a short circuit at the ends;
- and in the OFF position, nothing.
The thermostat is checked with a multimeter (there should be no short circuit, and the resistance should be small). The rest of the breakdowns can only be reached by disassembling the case.
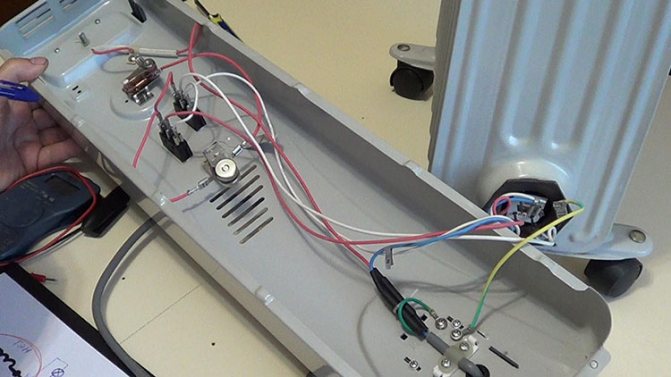
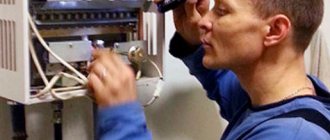
Disassembled oil heater
We inspect the contacts in the control unit: they can burn out, oxidize and weaken. Maintenance consists of cleaning with alcohol. Loose contacts are tightened with a screwdriver. The oxidized ones are cleaned with sandpaper, isolated. The most heat-resistant insulation is fiberglass tape (withstands up to 200 degrees).
Check again for a short circuit. Perhaps the repair will end there. If the heater does not work, we will look for another breakdown.
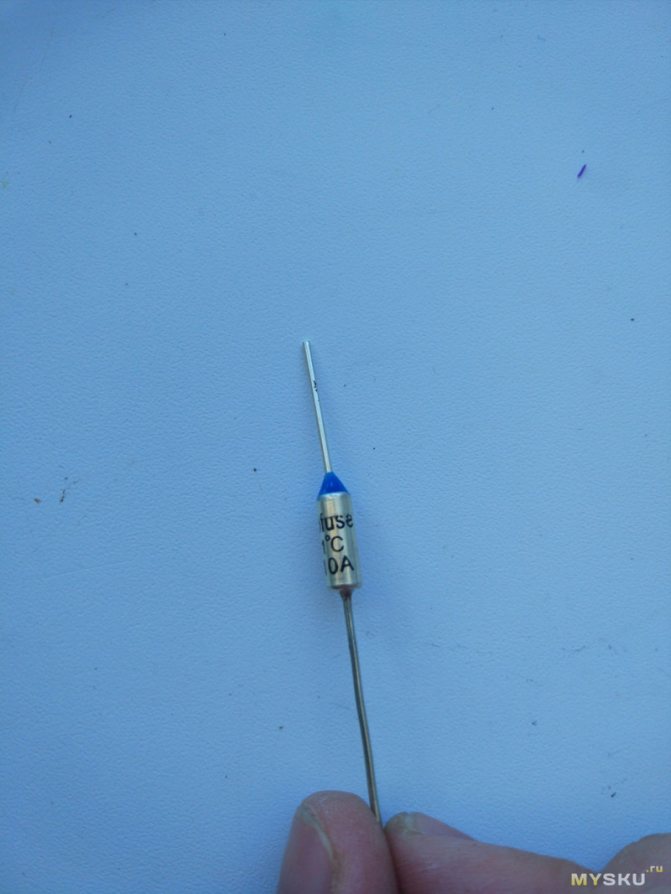
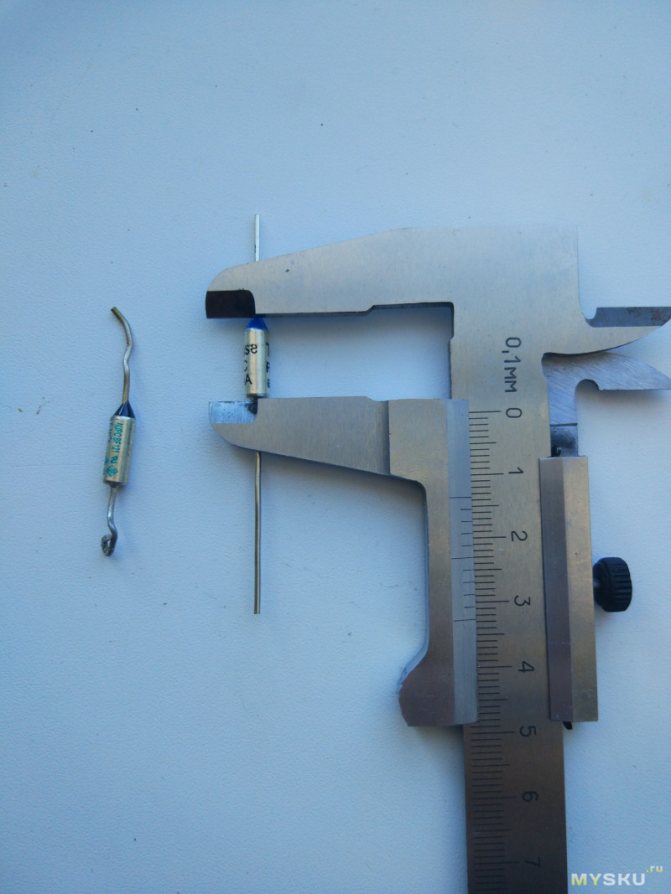
Thermal fuses
There may be several of them. Having called and found a faulty fuse, we remove it, and we insulate and connect the wires to each other. This procedure is safe if there is more than one fuse, if the only one fails, then it will have to be replaced with a working one.
Useful tips for operating the heater
In order for a household appliance to serve you for a long time, and you are not faced with repairing a heater, you should adhere to several rules for its use:
- Do not dry laundry on the heating device. Undoubtedly, it will dry quickly on the body of the unit, because its surface can heat up to 100 degrees. But this can also lead to damage to the radiator, since the heater will not be able to give off heat to the room through a blocked access, and all internal parts will overheat. If you want to dry laundry in this way, then you need to purchase a special device that is attached to the radiator from above and is designed specifically for this purpose.
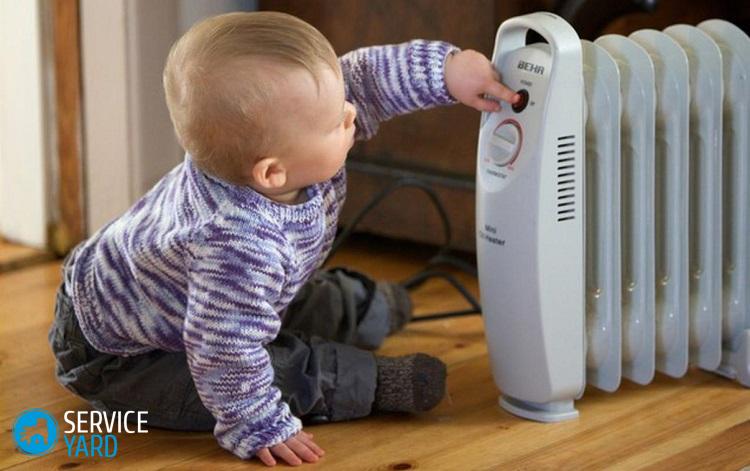
Important! Since the surface of the oil cooler can have a high temperature, it is recommended to put a special protective screen on it to avoid accidental burns.
- Dust off the appliance as often as possible. This will save the equipment from overheating and increase heat transfer.
Important! Dust combustible on the radiator can cause unpleasant odors in the room.
- Do not use the oil heater in rooms with high air humidity (bathrooms, showers).
Important! It is worth remembering that the heater dries the air, therefore it is not recommended to use the device in too small rooms.
- The machine must only be operated in an upright position. Even storage should take place taking into account this position of the heater.
Important! If the radiator has spent a long time in a horizontal position, then before turning it on, it is necessary to let the device stand upright. Thus, the oil will flow downwards, and the heating elements will not overheat due to the lack of a heat conductor.
- It is not recommended to use adapters to connect the heater. In this case, incomplete contact is often obtained, as a result of which the unit turns on and off. The radiator will not do anything good from this - it can simply burn out.
Important! If, nevertheless, there is an urgent need for an adapter (this happens if the socket does not have a European-style connector), then you should buy a really high-quality and reliable conductor.
- And finally, a very important point: for safety reasons, do not leave the heating device on when you leave the house, do not place it near curtains, upholstered furniture or other flammable objects.
Video on the topic
Oil heaters are considered to be the most reliable, strong and durable appliances, but they may require repairs.
When it comes to additional space heating, oil heaters are considered the most reliable, durable and durable devices for this. However, they can also fail over time. Then the question arises whether it is worth repairing oil heaters with your own hands, or it is better to seek help from professionals. There is another option - just get rid of the faulty unit. Let's find out how realistic it is to fix the device, and whether it is worth spending energy, time and material resources on it.
How to repair an oil heater
- Why does the heater not work?
- Internal structure
- Heater repair from A to Z
- Restoring the integrity of the hull
Why does the heater not work?
If we compare a non-working heater with a sick person, then first of all it is important to make a correct diagnosis. Only after finding out the cause of the breakdown, you will understand how to repair the device, returning it to working capacity.
The most common causes of breakdowns can be divided into several categories:
- after switching on, the device emits a crackling sound. This sound does not mean that the appliance is defective. Most likely, the oil inside the appliance is gradually warming up. In addition, the recent fall of the heating device may be the cause of the crackling. To solve this problem, you need to place the heater on a horizontal surface without a slope;
- the heater does not turn on. First of all, pay attention to the outlet and, if it works, focus on the wiring of the heater itself. Most likely, the contact has gone somewhere: either inside the cord or in the plug;
- the heater turns on but does not heat. That is, visually, the radiator seems to be working - its bulbs are on and the noise of the fan is heard - but it does not produce heat. This indicates that the thermostat has broken. A home master can easily cope with such a repair on his own;
- the heater does not heat up. Another likely cause of a malfunction may be a failure of the heating element (heating element).
Internal structure
When you have a little understanding of the probable causes of failure of a heater filled with oil, it's time to take a closer look at its design.
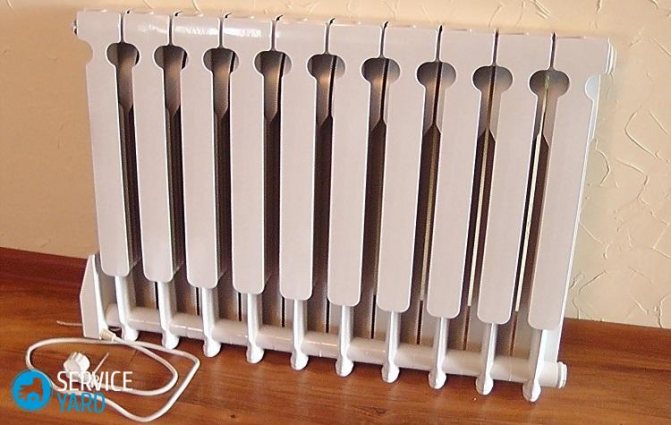
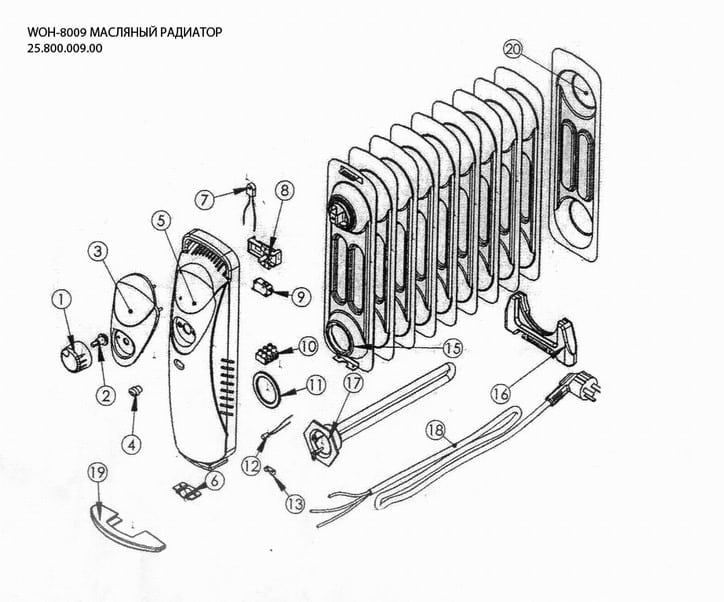
A standard modern oil cooler consists of the following elements:
- sealed housing. It is made in the form of an accordion, which consists of two panels welded together. Mineral (technical) oil is pumped inside. In almost every heater model, there is a little air inside the oil tank - this is a necessary condition, since when heated, the oil expands, increasing in volume. Note that this circumstance cannot harm the device by provoking corrosion;
- Heating element. This device is responsible for heating the oil, and therefore the device itself;
- safety and control unit. Its main element is a thermostat equipped with a fuse. The first is responsible for setting and maintaining the set temperature, and the second ensures the safe operation of the heating device. If, for some reason, oil begins to ooze from the case, the fuse will fulfill its "mission" by stopping the supply of current to the heating element.