Purpose and role
In fact, the ventilation system is one of the most important engineering structures of any home, whether it is private or multi-apartment. It is ventilation that is responsible for proper air exchange, as well as for comfortable climatic conditions in each individual apartment or room. The system has its own ventilation ducts, at the entrance and exit of which a grille is mounted.

It performs several functions at once, namely:
- protects mines from possible clogging, as objects, animals can accidentally get into them;
- correctly distributes air flows, in particular, this applies to the ventilation grille of the supply type;
How to properly install the ventilation grill will depend on the material from which it is made. But, as a rule, all the options for work can be done independently, without resorting to the help of specialists.
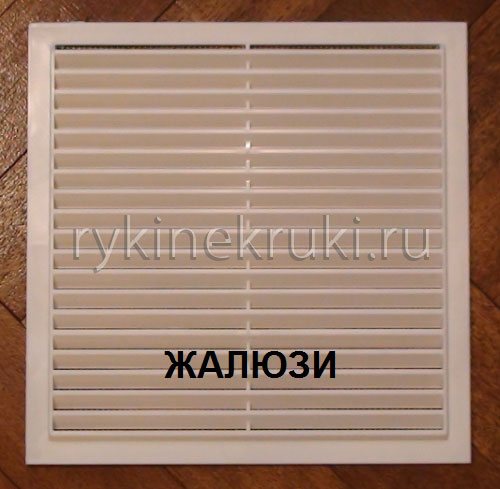
Varieties of ventilation grilles
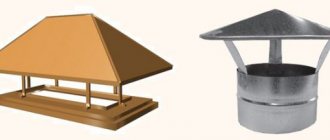
To correctly install the described ventilation device, it is necessary to have an idea of its design. At the place of use, the grilles can be external, internal or overflow. The first type of products must be fixed outside buildings; external elements protect air ducts from atmospheric precipitation, fine litter (for example, it can be leaves), insects, rodents. For manufacturing, a durable material is used, most often steel or aluminum of increased strength, "indifferent" to ultraviolet light and other types of environmental influences. External ventilation elements are equipped with shutters, and in some cases with a heating system to prevent the formation of ice.
Internal devices are fixed directly in the premises, because Since these products are designed for light loads, less durable, cheap plastic is used for their manufacture. Lattices of this type are characterized by their aesthetic appeal, small size, variety of styles and shades. This allows you to install a ventilation grill that harmoniously fits into the overall style of the room. And one more type of lattice is overflow. Such products are installed in interior partitions, doors. Transfer grilles not only provide air extraction, but also guarantee air exchange between rooms.
Back to the table of contents
Main types
In fact, there is a huge selection of lattices, you can choose products for every taste, color and even wallet. But, despite this, all devices have their own distinctive features, according to which they can be differentiated.
The primary classification feature of the difference is the place and method of installation, it may be as follows:
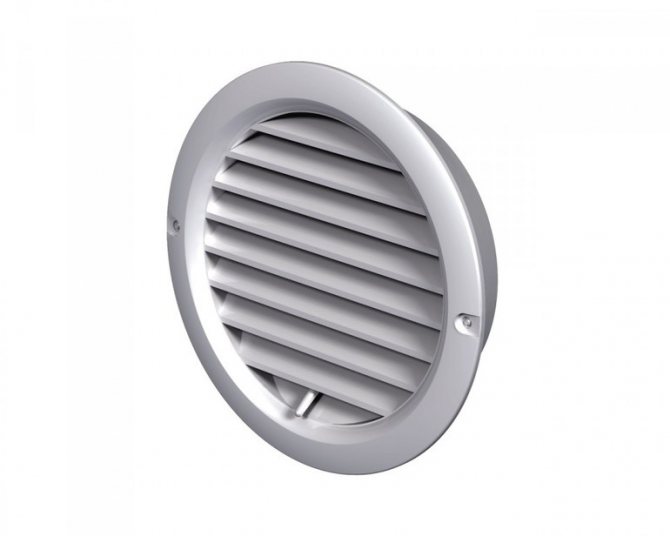
- external - this option implies the installation of the grill on the external wall of the building, where the ventilation pipe comes out;
- internal type - most often mounted in a kitchen or bathroom, the structure is installed in the opening of the exhaust shaft;
- overflow type - such products allow you to regulate air exchange between adjacent rooms.
We recommend that you familiarize yourself with: Cooker hood
As for external structures, they differ from all other types in their dimensions, high level of strength, as well as good resistance to sudden temperature changes and other external climatic conditions. They are additionally equipped with a rigid frame that goes inside the ventilation hole. And then it is securely fixed with steel anchors or with the help of special factory spacers.It is this installation method that is considered the most reliable and durable.
Transfer models are most often used to fasten walls, partitions or doors; they are connecting elements between rooms. At the same time, they perform the task of air exchange and provide sound and light insulation. Typically, such devices are equipped with special V-shaped blinds that overlap each other.
It is absolutely not difficult to fix the ventilation grill inside the room, everyone can do it. These products are distinguished by their aesthetic appearance, lightness and compactness. For the bathroom, it is advisable to purchase devices made of waterproof material, for example, lightweight plastic.
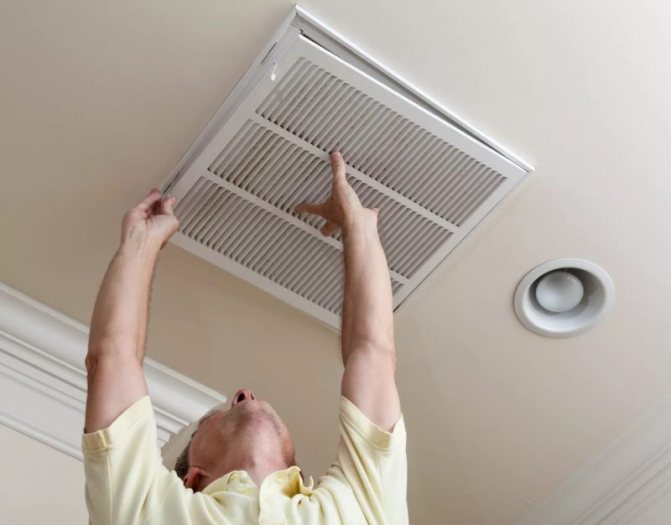
How to install a ventilation grill in the bathroom
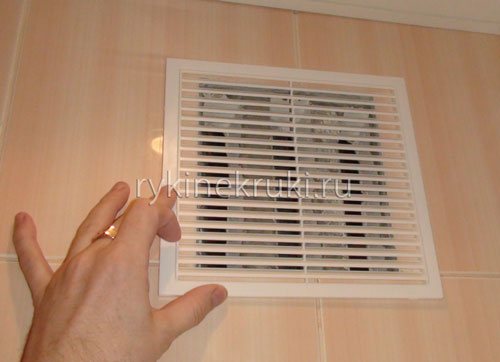
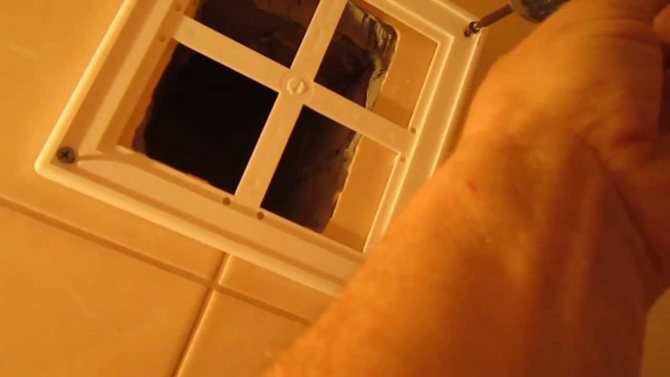
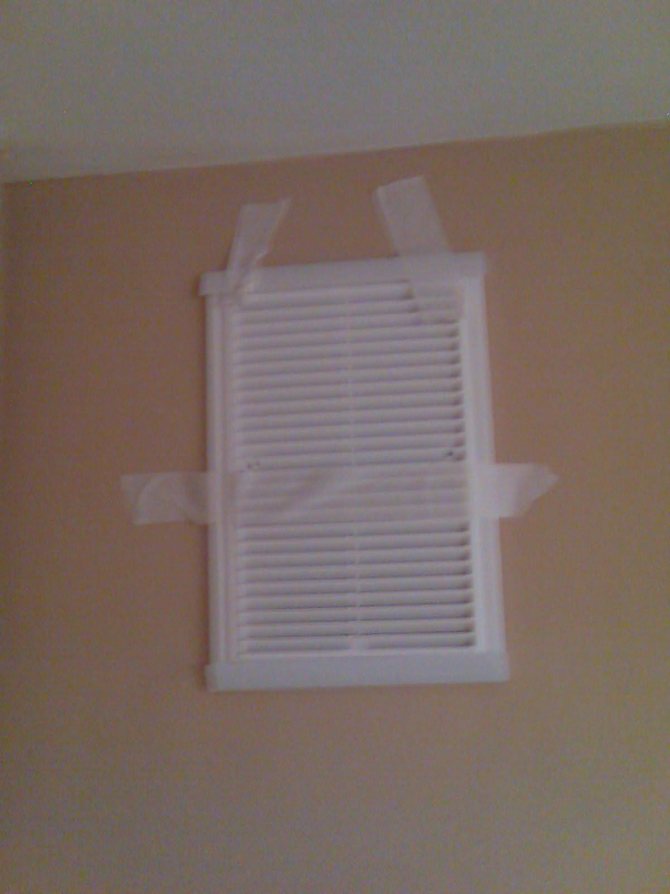
Let's see how to install a ventilation grill. This is how, rather ugly, a wall with an air vent looks like:
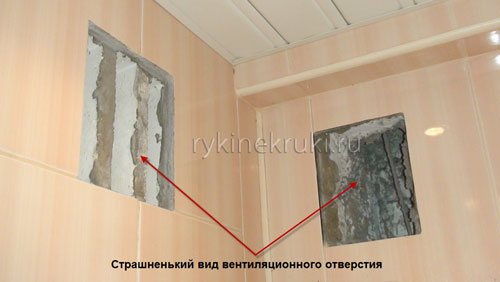
The question often arises, what is the best way to make a mount? Someone uses self-tapping screws. But I don't really like this method, and here's why. My site is intended not only for experienced craftsmen, but also for beginners. And it will not be easy for a beginner to make holes in a tile.
After all, first you need to use a special drill for ceramic tiles to drill it, then you need to change the drill to something that is for concrete or brick and then drill a hole for the dowel. Therefore, the first drilling is performed with a drill, the further - with a perforator.
If you only have a hammer drill, then you need to remember to set the correct mode: when drilling a tile - drilling mode, when drilling concrete (brick) - drilling + chiseling mode. You will need to do this very carefully in 4 places. If you have 2 ventilation holes, as I have in the picture, then you will have to drill in 8 places. If you have little experience, your hand may tremble and you will split the tile.
And this will be very offensive, because in this case you will have to dismantle the split tile and install a new one, which, believe me, will not be so easy. How, then, to secure it? It's very simple - we will glue it!
Let's take a look at what we purchased from the store:
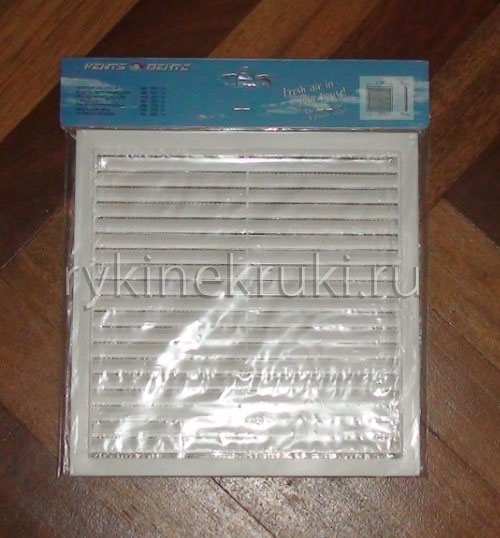
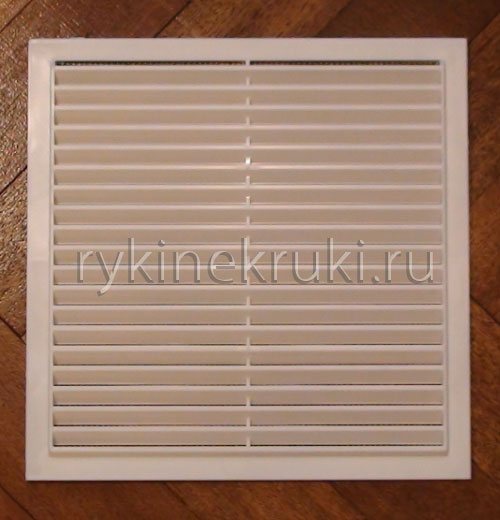
Let's remove the packaging:
The ventilation grill on the back has a fine-grained mesh. It is assumed that during installation you will leave it, and less dust from the ventilation shaft will get into the apartment:
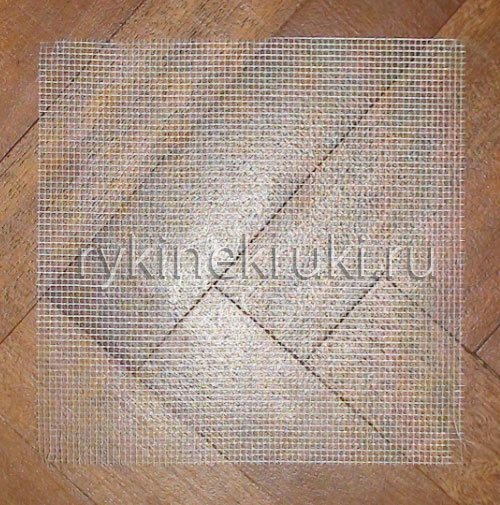
But as practice has shown, the mesh has a very fine grain, which quickly becomes clogged with dirt and dust and thus blocks the passage of air. Therefore, I do not recommend installing it. In any case, I removed it from myself.
The next feature is that all ventilation grilles have louvers that can be movable, which allows us to change the air section coefficient and regulate the movement of the air flow, or stationary, in which we do not control the movement of air:
Most of the louvered grilles purchased in building hypermarkets belong precisely to the second class, that is, they have fixed blinds, and we will talk about them.
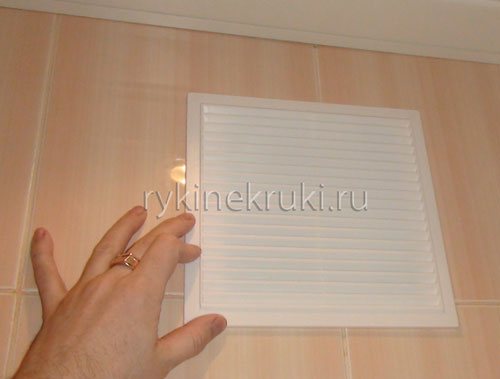
So, let's try on how our grille will look on the wall after installation. Ventilation in the bathroom, or rather air draft, will be better if the location is as you see in the picture. The air moving from bottom to top will not encounter obstacles in its path in the form of shutter runners.
| By reading my blog, you are probably making repairs. Add to your bookmarks this page... All useful home improvement stores are located here. |
However, there is a significant drawback to this arrangement! The appearance of your ventilation will not be very presentable. In my case, you see an ugly concrete base behind the blinds; with other options, just a dark spot will be visible behind the blinds.
If you close your eyes a little to the most effective air circulation, then the grill can be turned over. Air will pass in any case, but from the point of view of aesthetics, this option will be much more attractive than the previous one:
So, we tried it on and now we move on to editing.
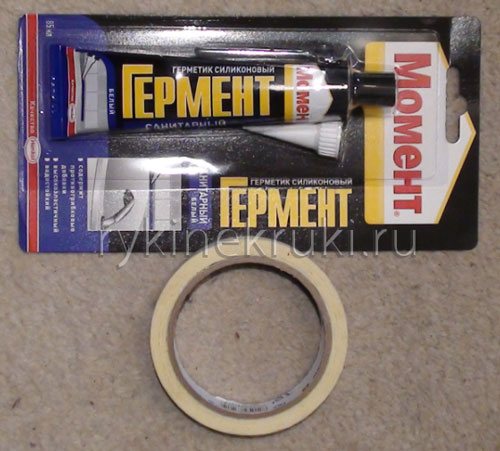
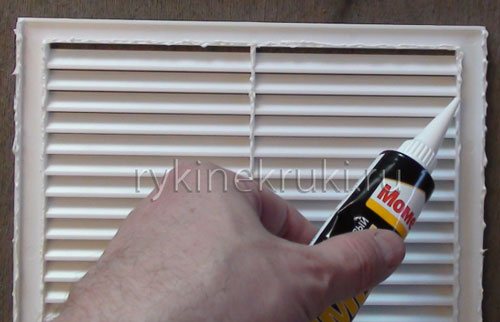
For work we need: silicone sealant and paper tape:
Apply a thin layer of silicone sealant to the places where the ventilation grill will touch the wall:
Now we glue both grilles and fix them with tape so that they do not slide out:
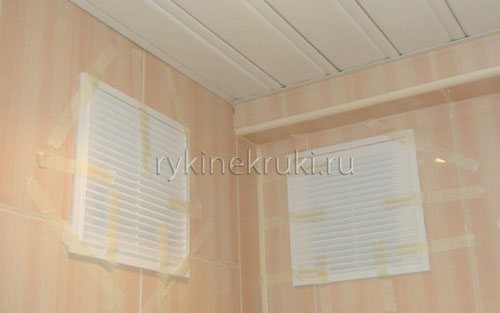
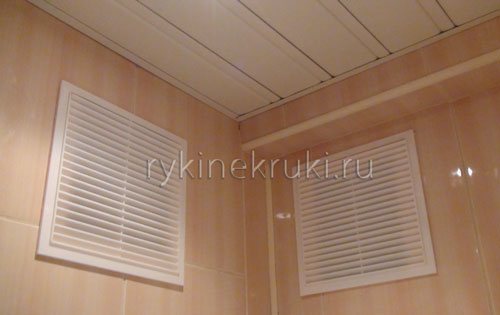
When the silicone has set, you can remove the paper tape. I would suggest removing the tape the next day. The finished work will look like this:
If you have a heavy enough metal grid, you can use "liquid nails" as glue. The only thing you need to properly fix the moment of gluing is to let the glue grab.
That's all. Today we have learned how to install a ventilation grill in our bathroom. If you have your own tricks for arranging ventilation shafts with decorative grilles, write in the comments.
| This catalog contains a huge selection of ventilation grilles for every taste: plastic, metal, white, colored. You can select by type of lattice, brand, country of origin, price, material, color |
Design features and material
All ventilation grilles, in addition to the mounting method, differ in their design features. Modern products, depending on their functionality, can be as follows:
- adjustable - such a system is additionally equipped with special movable dampers, with which you can change the flow area;
- unregulated - this design is absolutely motionless;
- inertial - they have rotary lamellas that can change their position from the force of the air pressure and its direction:
- combined - the most popular models, as they are equipped with a branch pipe, with which you can connect the hood installed above the gas stove.
All grilles are selected taking into account the size of the ventilation system opening and its shape. Outdoor models are taken with a small margin so that it is possible to cover all cross-sections of the hole. The most popular are rectangular and round strips, which are made from durable, environmentally friendly materials that are resistant to moisture. These types include:
- steel;
- aluminum or copper alloys;
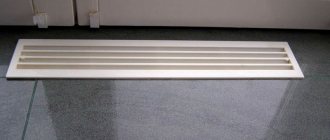
- wood;
- plastic.
Before choosing this or that model, you need to decide where exactly the ventilation grill will be mounted. It is not difficult to install the structure with your own hands if you follow the instructions and follow the sequence of actions.
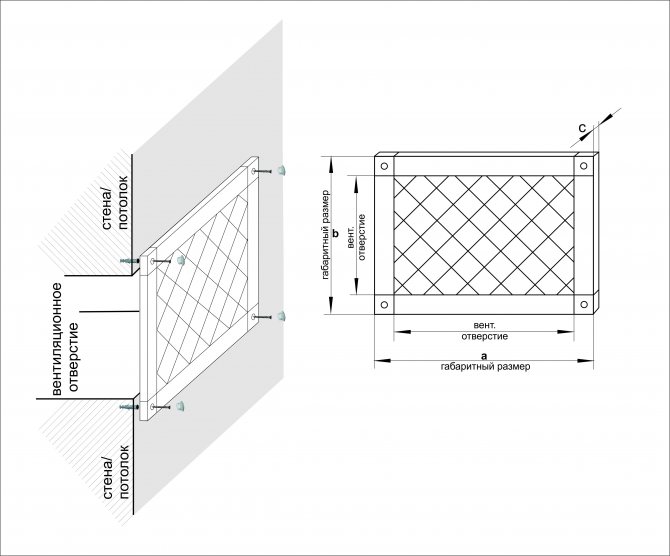
Basic installation methods
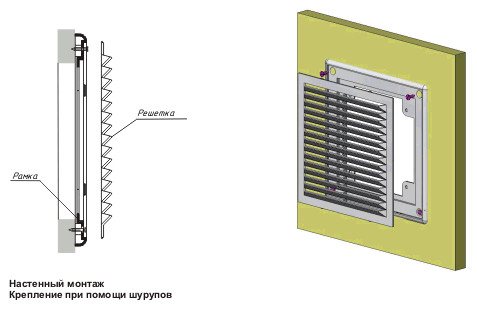
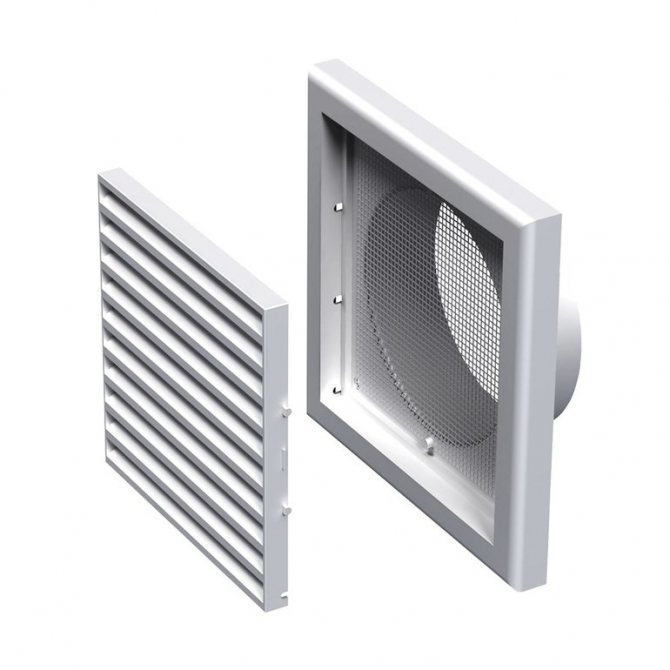
Installation of a ventilation grill does not require special knowledge and skills. It may well be made by a home craftsman with patience and accuracy. Most industrial products are made up of two parts:
- main body, mounted directly to a hole in a wall or door;
- removable part, inserted into the openings of the case, which allows you to easily audit and clean the channels of the ventilation system.
They begin to hang the internal ventilation grill from the first part, which plays the role of a frame. This is done using fasteners or adhesives. Before this, the outer surface of the ventilation opening is properly prepared. It should be flat and clean. Usually, the grill is placed on the wall after the topcoat has been applied to it. This can be done in different ways:
- Fastening with screws or self-tapping screws is carried out on a solid wall made of concrete, wood or plasterboard.For this, through holes are drilled in the lattice body in the places covered by the removable part, which are countersinked in the shape of the cap. In concrete or brick in the appropriate places with a drill, you will have to install dowels. When the grille is designed without a removable part of the screw head, after installation, putty and paint over to match the color of the base material.
- Fixing with a plinth or glazing bead is usually used for wooden products that fit well into a country-style interior, made entirely of wood. In this case, self-tapping screws or finishing nails with a reduced head size are also used.
- Industrial models with standard spring-loaded spacers included in their device can simply be inserted into the ventilation hole, which for this must have standard dimensions.
- The easiest way to attach a plastic grid to any base is with glue. This is especially true for walls lined with fragile materials like ceramic tiles. For this, compositions of the "liquid nails" type are usually used. They are applied in a continuous strip to the back of the part, which is pressed against the wall and fixed with masking tape until completely dry. In this case, it will not be possible to dismantle a fragile part without destroying it.
The removable part of the lattice is tightly inserted into the base fixed to the wall. At the same time, for aesthetic reasons, it is better to turn it so that the holes between the blinds are not visible to a casual observer standing on the floor of the room. During the selection and installation of transfer grids, pay attention to the fact that no direct passage of light rays through them is obtained. This can degrade sound insulation and does not look very nice.
Plastic models usually include a thin mesh that quickly becomes clogged with dust, reducing the efficiency of the ventilation system. Therefore, most wizards do not install it. Otherwise, you will have to regularly clean the mesh.
Ventilation grill designs
The grilles can be non-adjustable, with an inertial principle of operation, or with the possibility of adjustment. The simplest and most inexpensive option is unregulated items; they do not have the ability to control the air flow. The second option is adjustable grilles; in these products, you can change the cross-section of the air duct at the right time, thereby changing the volume of the moved air masses. This increases or decreases the efficiency of ventilation. Inertial devices automatically close the blinds when there is no air movement.
Ventilation protection elements are made of aluminum, steel, wood or plastic. Steel gratings are considered the most durable and expensive; aluminum products, which are resistant to corrosion, cost a little less. Plastic devices are notable for their low cost and a large selection in terms of colors, shapes, designs. Wooden products are used, if necessary, to emphasize the general style of the room: natural wood is not cheap and requires constant care.
Back to the table of contents