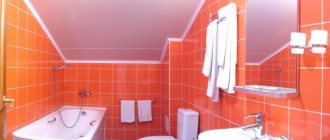
Communications laid on the walls are unlikely to decorate the bathroom interior.
To disguise them, use a pipe box in the bathroom, which you can make yourself.
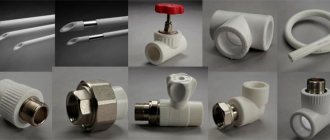
- Working with PVC panels
How to find the right materials?
Making a box in the bathroom with your own hands is not technically difficult, but you should take into account the features of this room. High humidity and possible splashes on the walls dictate the owner to give preference to moisture-resistant materials. These include:
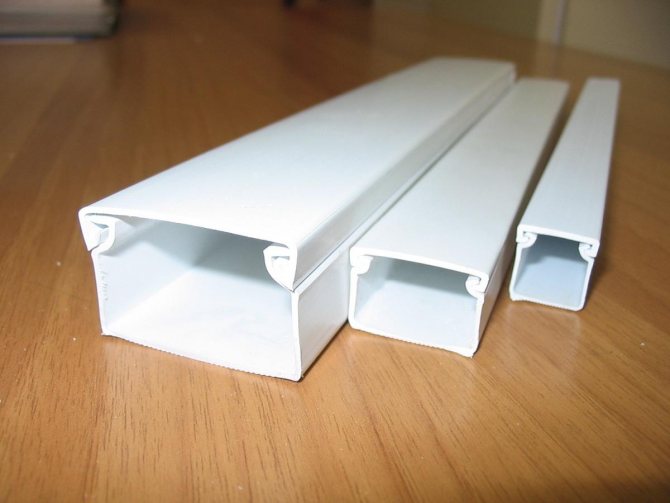
moisture-resistant plasterboard; Moisture-resistant drywall plastic panels; Plastic panels special grades of plywood. Moisture-resistant plywood
With a low moisture absorption capacity, sheet materials are easy to cut and process. They can be decorated to match the overall design of the bathroom by painting, tiling or plastering as needed.
It is required to fix the sheet material on the frame, therefore, in addition to the gypsum board or other sheets, you need to choose the material for the guides. It is most convenient to use ready-made profiles for installing drywall. These are metal structures, strong and light at the same time. They are easy to cut and attach to each other and walls. Installation of sheet material is carried out by means of self-tapping screws.
An alternative to profiles can be a wooden block. Planks 3-5 cm thick do not weigh down the structure and are easily connected with self-tapping screws. Their only drawback may be susceptibility to rotting on contact with humid bathroom air.
Making a box step by step
The installation of the box in the bathroom consists of several stages. Let's consider each of them in more detail.
Measurements and sizing of the structure
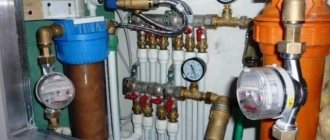
Before sealing the pipes, it is necessary to make the necessary measurements and clarify the location of the box. In places of unreliable connections, to meters and valves, a removable part or door must be provided. A plan of the room on a scale, on which all structural details will be marked, will not interfere. In the process of measuring, do not forget about the thickness of the finishing material.
You need to calculate the amount of material to be manufactured. The markings for the frame of the box covering the vertical pipes starts from the floor. The distance from the pipes to the box should not be less than 3 cm.
Having determined the contour of the future structure on the floor, using a plumb line, transfer it to the ceiling, and then make markings on the walls.
Installation of the frame for subsequent sheathing
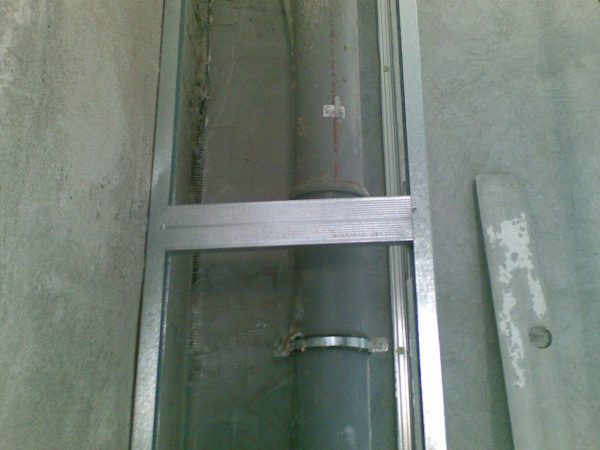
Before you sew the communications into the box, you need to install the frame around the pipes. It is best to make it from a galvanized profile. Since the air in the bathroom is constantly humid, the use of wooden blocks is undesirable. If you do decide to use them, choose bars made from decay-resistant rocks. And before use, treat all wooden parts with an antiseptic.
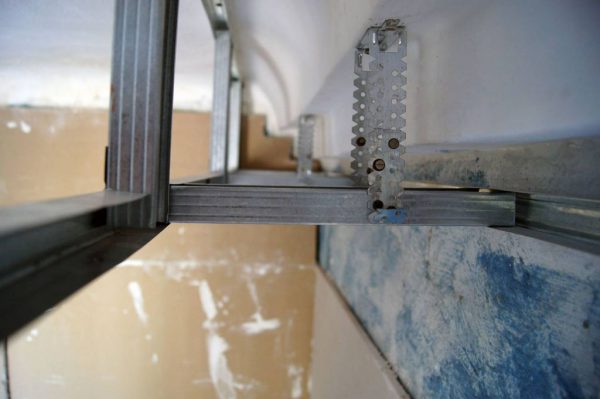
The adhesion of the frame elements to each other is carried out with self-tapping screws or using a cutter. To fix the profile to the wall, use dowels and euro screws.
It is necessary to mount the profiles to the wall taking into account that the finishing material subsequently does not adhere close to the pipes
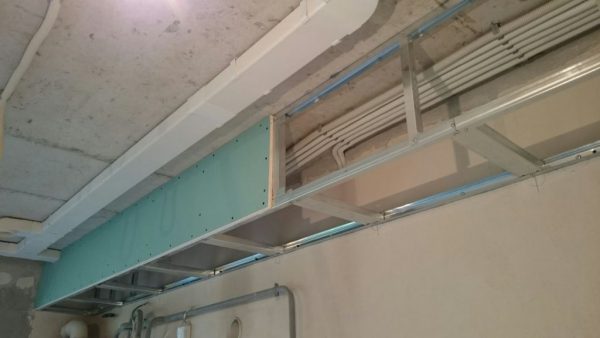
The first step is to mount the profile on the walls.Then the racks are installed forming the front face.
Depending on the design of the future box, there can be several or only one front struts. They are attached using their own folded edge or hangers
Then the guides are mounted on the ceiling and floor.
It is convenient to fasten vertical and horizontal profiles to each other using a cutter
If the length of the racks is more than 1.5 m, it is necessary to make jumpers between them. They will also be needed for the frame, the width of which is more than 0.25 m. The distance between the jumpers is no more than a meter.
For the strength of the structure, jumpers are attached to racks with a height of more than 1.5 m
When using a wooden frame, treat the cut with construction mastic. This will protect the box from damage and prevent its deformation during temperature and humidity fluctuations.
Sheathing of the frame of the box with sheet material
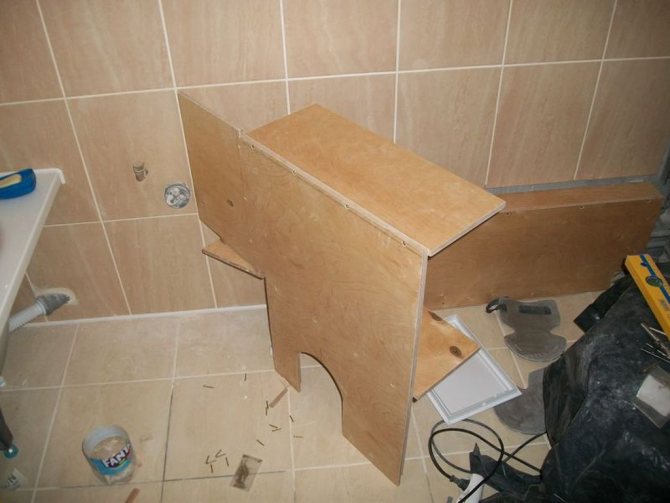
When cutting out the parts for the box, try to make solid elements, and not from pieces. First, the side pieces are cut. They are cut in such a way that the edges do not protrude beyond the frame profiles, but are flush with them. After that, the front part of the box is cut out. It should cover the side elements.
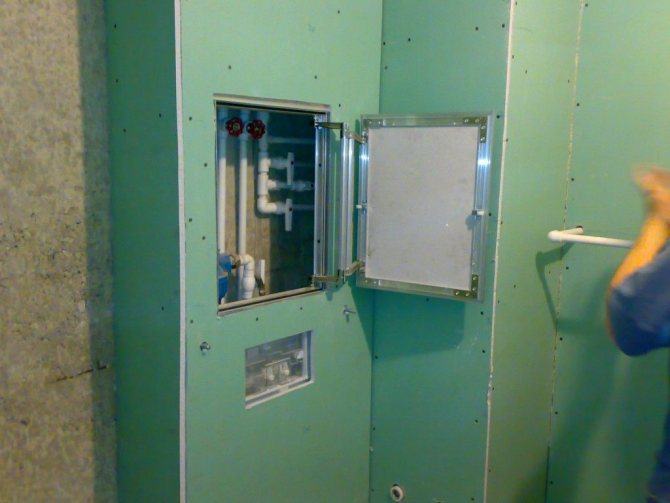
After cutting the material, it is mounted to the racks. This is done with self-tapping screws (3.5-4.5 cm). The distance between them should be no more than 2.5 cm. Such a box will have sufficient strength, therefore, it is not necessary to attach the material to the jumpers. To control the weak points of the pipeline, inspection holes with doors are left.
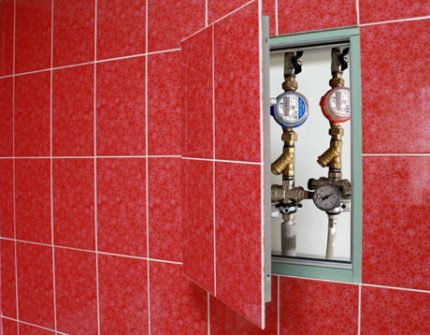
A hole must be left in the box for free access to valves, meters and filters. It can be closed with a door purchased from a hardware store.
They can be built independently or purchased ready-made. For the hand-made manufacture of access points to the pipes, a door is made from the material that is used for the box itself. To prevent it from opening, furniture magnets are fixed on them.
The door for the inspection hole can be finished with the same material as the entire box. This will make it less noticeable.
A completely collapsible box can be made. To do this, the sheets of finishing material are fastened to the very edge with self-tapping screws. For the final finishing, they are not covered with tiles.
In conclusion, plastic corners or a baseboard are fixed. When you need to dismantle the box, remove the baseboard, untwist the screws and remove the finishing material.
We recommend: How to replace the toilet with your own hands - dismantling, installation and connection
Self-tapping screws, closed with a plastic corner, can be easily unscrewed to dismantle the box in case of emergency. After that, the box remains intact and can be mounted in place.
Final decorative finish
The final stage of the box installation is its finishing. It depends on the material from which the structure is made. Plywood, drywall and MDF can be tiled or painted. Plastic panels do not need any further finishing. They look pretty attractive by themselves. Unlike drywall, plastic does not reduce the floor space.
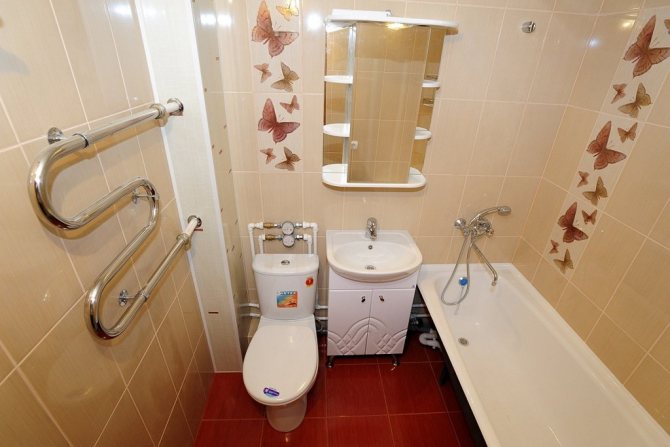
To decorate the bath, a frame is built from a profile
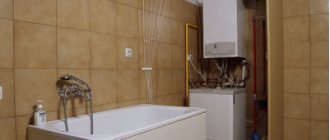
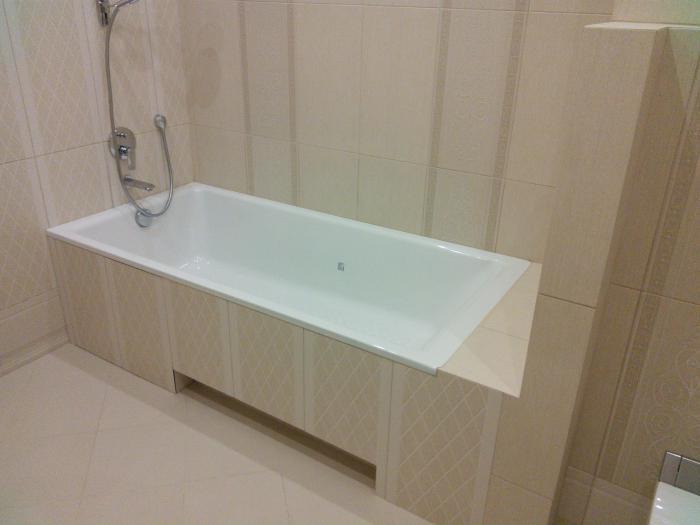
In the same way, the pipes are closed under the bathtub itself. First, the frame is mounted, and then it is sheathed, leaving the control doors.
A moisture-resistant drywall is mounted on top of the frame from the profile and tiles are mounted on it. Be sure to leave the door for pipe maintenance
Now, knowing how to mount the box, you can decorate any pipes in the bathroom and make the room more attractive from an aesthetic point of view. Hiding communications in the bathroom improves the design of the room.In addition, after the pipes are closed with a box, the noise level emanating from them is reduced.


Installation of profiles
You need to start with the installation of a vertical frame made of profiles according to the following plan:
- install the profile, cut along the length of the line with scissors for metal, and secure with dowel-nails;
- a similar action is performed from the second side;
- then the profile is installed on the ceiling;
It is important: that all profiles are installed strictly according to the line, otherwise it will be skewed, and the tile will not lie flat.
- then the rack profiles are installed with their butt ends in the guides screwed to the floor and ceiling;
- the profile must be screwed to the walls on both sides with dowel-nails. The fastening step should not be more than 20 centimeters, otherwise the structure will turn out to be unstable;
- check the level of the profiles, but before these check the building level;
- install a corner piece cut from a CD profile, as it has greater strength and rigidity;
- mount intermediate jumpers that connect the corner and wall profile. The distance between the jumpers should be 25-30 cm, you get a kind of lattice. Stiffeners should be strictly level.

The assembled frame must be flat, otherwise the structure will begin to deform
- install on the walls adjacent to the corner of the profile of the guide type, which will determine the dimensions of the created box. The evenness of all installation manipulations must be controlled by a bubble or pipe building level;
Prompt! You can securely attach the steel profile to the wall using dowels and confirmations (euro screws). When installation is carried out on a tile cladding, you need to use self-tapping screws (diameter 3.50, length 25.0 mm) for metal, which should be screwed into the tile joints!
- start forming the outer corner. To do this, you need to twist the corner post from the guides of the galvanized profiles. The shelves of these elements must necessarily be directed (right angle) in different directions and fastened with self-tapping “flea” screws with ends sharpened like a drill for metal;
- cut the cw profile into pieces corresponding in size to the length and width of the structure to be installed. Fix the corner stiffener to the wall, into which the end of the cut profiles should be inserted. Their other ends are inserted into the guide profiles installed earlier (at the 1st stage). As a result, using a profile, both parts of the corner are connected;
- add jumpers for attaching PVC panels, which must be placed at 50.0 cm intervals;
- install the remaining corner profile in a similar manner to the opposite wall.
What is good about a plastic pipe box
Plastic or drywall boxes perform the same function and have their own advantages and disadvantages.
Among the advantages of the plastic box should be noted the low price and excellent aesthetic properties.
Distinctive features of the plastic box:
Unlike drywall boxes, plastic boxes can be disassembled without fear of damaging the material. In the event of a leak, such a property will be very useful, because after fixing the problem, the box can be simply assembled back. Plastic panels themselves are a decorative element, so there is no need to invest additional costs for finishing in the repair estimate, unlike drywall. easily interchangeable, at the same time resistant to deformation, flexible and non-fragile, like drywall, especially if it is covered with ceramic tiles. Easy to install yourself, the installation process is quick and does not require specific tools. And practically no construction waste is formed during operation. A small total cost of the box as a result, as well as of each panel in particular.
Finishing
As a finishing material, you can use tiles, or PVC panels, or artificial stone, it all depends on the design decision. We will consider finishing with ceramic tiles, but before that you need to prepare the surface well:
- All seams in the box must be sealed with putty and serpyanka - this will prevent the material from cracking in the future. The principle of operation is as follows:
- all joints need to be embroidered with a construction knife - cut off the edge at an angle of 45 degrees;
- mix the plaster as described on the package and apply the mortar to the finished structure;
- As soon as everything is dry, the entire structure is primed. The primer is applied in two layers, while each layer must dry well. It is advisable to ensure that the roller during priming is not very wet, so that the material does not deteriorate.
- Then you need to apply a second layer of putty.
- After the putty has dried, sand the surface well.
- The last step will be tiling or painting the surface, but be sure to prepare the drywall surface before painting.
Marking the frame for the box
Most often, sewer and water supply risers are located side by side and run vertically in one of the corners. Therefore, the marking of the place for the box in the bathroom with your own hands should be started from the ceiling. This will make it possible to subsequently lower the exact vertical to the floor and make the planes perfectly flat.
If you plan to sew up the entire wall with panels, then near the pipes in the bathroom with your own hands you need to measure the depth of the space between the wall and the location of the profile for the gypsum board or bar. In this case, it is necessary to take into account that the guide must be at least 5 cm away from the communications. Remember the found distance in order to make a mark in the opposite corner. Connect the points with a straight line across the ceiling.
At two randomly chosen points on this line, lower the plumb line to the floor. Place labels corresponding to the points selected on the ceiling. Draw a straight line through them on the floor.
It is advisable to perform the same algorithm of actions if the pipes run horizontally. Accurate markings will help make the frame for the box in the bathroom very neatly and without distortions. In this case, the line on the ceiling will not be needed, so it is better not to draw it, but place marks near opposite walls. When lowering the plumb line, it will be necessary to mark the points of the front edge of the box on the floor, and the abutment of its edge to the walls - on them. In this case, the height of the box is determined depending on the height of the pipes above the floor, taking into account a gap of 5-7 cm.
Horizontal box
In order to mark the frame of the vertical corner box made of plasterboard in the bathroom, you will have to act a little differently:
set aside the distance along the ceiling from one of the adjacent walls parallel to the adjacent one, taking into account gaps of 5-7 cm from the pipes to the guides; do the same from the adjacent wall, at the intersection of the lines, put a point from which the plumb line will be lowered; using this tool, mark the projections of 3 points (joins to walls and intersections of lines) on the floor.
It is quite simple to draw a corner according to the marked marks. You need to connect the connection point to the intersection point and repeat this from the adjacent wall. The resulting rectangle will be identical to the one drawn on the ceiling.
Frame installation
The marked lines indicate the location of the inner edge of the profile. Cut the material along the measured lengths of the sides of the parallelepiped, which will serve as a pipe box in the plasterboard bathroom. Attach profiles on the ceiling, floor and walls with dowels in the pre-drilled holes. The frame strips must be aligned according to the markings and additionally checked for their verticality and horizontalness, eliminating defects.
Profile attachment
The location of the rigidly fixed parts will be different:
For a fully wired wall, horizontal rails are installed on the ceiling and floor. Then, 2 verticals are attached between them on opposite walls. If it is necessary to build shelves inside this space, it will be necessary to additionally install profiles on the wall to be closed. If a horizontal box is being made in the bathroom, you need to strengthen the planks on the floor, on the wall above the pipe and adjacent walls (vertically and horizontally) with your own hands. Do-it-yourself vertical frame under the box in the bathroom is assembled from racks on adjacent walls and squares on the ceiling and floor.
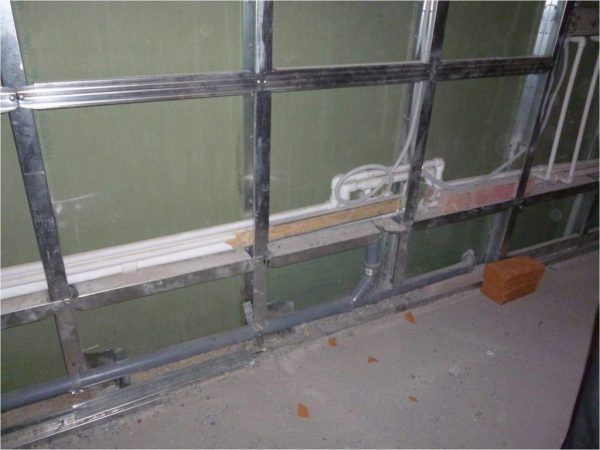
After the parts adjacent to the walls and floors are fixed, you can install connecting elements that form an angle or plane. At the same time, for the vertical box, the same front post is installed, for the horizontal one, it is fixed in the appropriate position. On a completely wired wall without internal space equipment, you will need to put several verticals with a step that will allow you to attach the panels used (gypsum board, plastic or plywood) along the edges and in the center.
To ensure the rigidity of the structure, cross members are placed connecting long parallel profiles. Their location depends on the orientation of the box itself. In any case, the orientation of the cross members must be perpendicular to the main guides.
Facing the box
Depending on the location of the box for pipes in the bathroom, the installation of the cladding will differ in each case. This is dictated by the nuances of joining panels from gypsum board or plywood. The assembly of plastic parts is carried out according to its own, special technology.
Advantages of a plastic box
The structure for masking pipes can be made of plastic or drywall. Each of these options is good in its own way, but from the point of view of practicality, the plastic box is in the lead. It has many undeniable advantages:
The ability to quickly disassemble without damaging the material This property of a plastic structure is especially important for pipes docked using fittings and threaded connections, which are not insured against leaks. After the elimination of the breakdown or scheduled maintenance of the pipes, the box can be easily assembled back. No need for further finishing. Plastic panels themselves are already a finishing decorative material, in contrast to drywall, which requires final processing.
Resistance to deformation and ease of repair. The plastic used to make the panels is strong and flexible, so it is less likely to be damaged than tiles that can be accidentally broken. Even if one panel is damaged, it is easy to replace it with a new one without damaging the entire structure. Moisture resistance. PVC is not afraid of water, does not rot, nothing will happen to the box, even if it is installed close to the bath or it gets wet due to condensation formed on the pipes. Easy to install. The installation of the box will take only a few hours and does not require the use of expensive or specific tools. Affordable price. Plastic panels for bathrooms are one of the most inexpensive finishing materials. Spaciousness and compactness. Due to the small thickness of the panels, the plastic structure is very spacious and does not take up much extra space in the bathroom, which is especially important for a small room.
The plastic box is very practical: it can be disassembled and reassembled as many times as necessary.
USEFUL INFORMATION: Sliding glass bath screen
Choosing a pipe box in the bathroom
Before starting the installation of the box, it is necessary to think over the device of the box, taking into account the fact that access to the pipes may be required.
In the event of a breakdown, leakage and the need to replace pipes, the box should not interfere, and at the same time, access to the pipes did not require a complete dismantling of the structure.
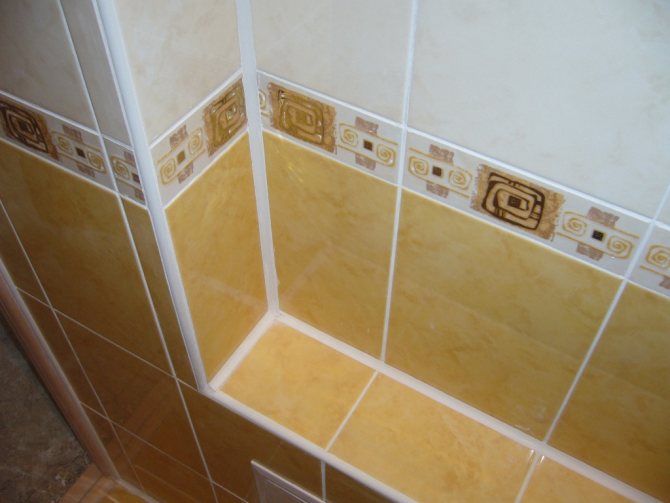
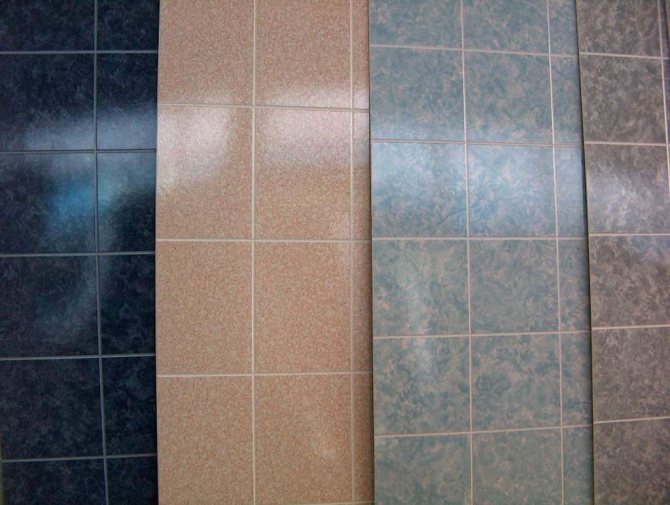
Tile is perfect as a finishing material for the box.
If the installation of the box is carried out independently, then it is necessary to remember the main stages of work, which will significantly increase the quality of the product and allow the structure to be durable. A strong material is chosen as the basis of the frame, as a rule, it is a rail or a profile made of aluminum. Before making a frame, measurements of communications are carried out, which must be hidden and calculations.
After the calculations, you can proceed directly to the assembly of the frame.
The slats are fastened to the wall with self-tapping screws, you can pre-fix wooden beams at the junction with the wall.
After the frame is assembled and installed, you can proceed to the cladding. There are several cladding options. It is advisable to finish the finishing from the same material as the walls in the bathroom, however, there may be other options at the discretion of the owner.
Drywall is the most popular for cladding, as this material lends itself to work even for beginners. Its surface is ready for decorative finishing with any material.
Procedure:
Before the material is cut out, measurements and calculations are carried out. After that, installation to the frame is carried out with self-tapping screws. After fastening, all the seams are rubbed with a special putty. Then the finishing decorative finish is carried out.
It is necessary to consider what materials are used, and whether additional coating is required for drywall. The joint with the wall is closed with a decorative skirting board.
The cladding with polystyrene panels does not require a frame. These panels have special legs that can be adjusted to the required dimensions. And the panels are connected with glue.
Ceramic tiles are popular due to their strength and moisture resistance, while cleaning such tiles is very easy. The facing of the box is carried out on a pre-installed drywall box.
Preparatory work
The work on installing the box is done in stages. For a positive result, you must strictly adhere to the instructions. Before starting the installation, you need to:
- prepare the room;
- draw a plan of the box;
- apply markings;
- make the necessary calculations;
- buy all the necessary material;
- prepare the tool.
Let's consider the stages of preparation for the installation of the box in a little more detail.
- all walls in the bathroom must be cleaned of the old coating. The paint must be cleaned off and scored on the concrete surface;
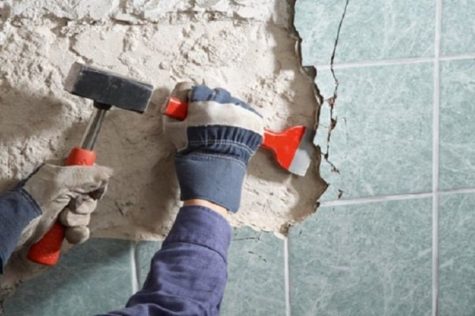
The process of cleaning the walls in the bathroom from the old coating
- next, there is a primer to improve adhesion;
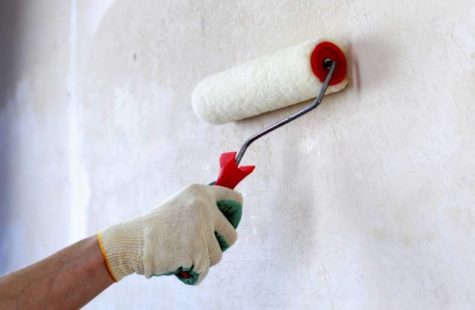
Be sure to apply a primer before installation work with drywall