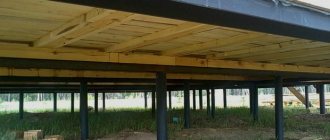
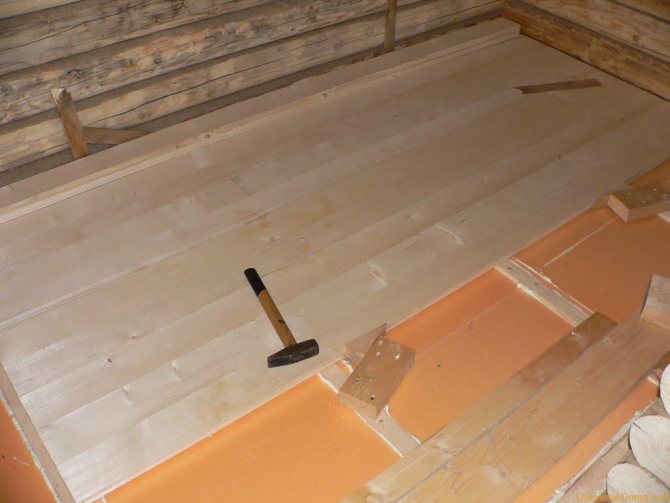
Basic rules for assembling a wooden floor in a garage
According to SNiP standards, when designing garages, the choice of materials and methods of their installation should be made taking into account the floor load of 400 kg / m2. Therefore, when assembling the flooring in such structures, you must follow some rules.
It is believed that when using 2 cm boards for flooring in a garage, the logs should be placed at a distance of 30 cm from each other. Moreover, under them it is supposed to use boards with a section of 5x15 cm.
When using sawn timber with a thickness of 3.5-4 cm, it is allowed to mount logs in increments of up to 50 cm. In this case, it is also allowed to use a board of 150x50 mm for supports. But it is better for such a flooring to still take a beam of 100x100 mm.
Wooden floors in garages are usually not strictly horizontal. To facilitate cleaning, the flooring is knocked down with a slight slope towards the gate. In this case, it is taken into account that at the entrance, the coating should lie flush with the threshold. After all, otherwise, it will be simply inconvenient to drive into the garage by car.

Types of materials for insulation
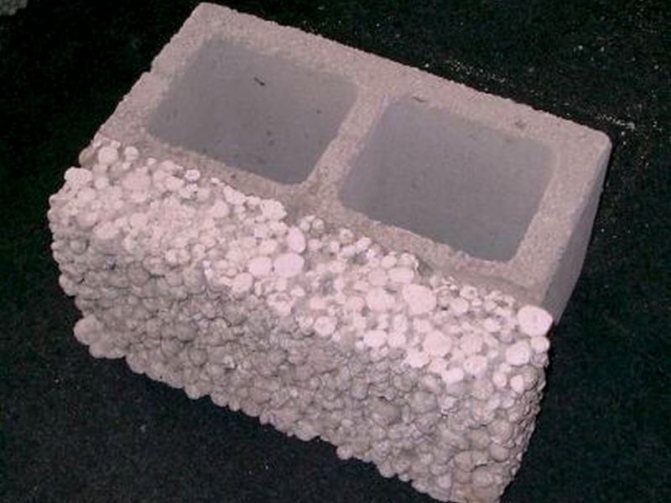
Now there is a huge selection of materials that can be used to insulate the floor covering - mineral wool, expanded clay, fibrous organic insulation, gypsum fiber, granuloconcrete, etc. is simple that any person with minimal skills can perform the procedure.
Since I like to do everything with my own hands, I did all the repair work myself and used Penoplex. Therefore, I will talk about the advantages of this particular material:
Thus, having checked in practice, I can solemnly declare that penoplex, if properly laid, is able to protect any room from noise, moisture and cold, even in the most extreme cold.
The only drawback that I have noticed so far is the rather high cost. But, it's worth it.
Stages of assembling wooden flooring with your own hands
Insulated floors of this type are mounted in the garage using the following technology:
- deepen the earthen floor somewhat (by about 20-25 cm);
- pour concrete or lay out brick support posts under the logs;
- level and compact the earth between the posts;
- make a dump with crushed stone in 5-15 cm;
- fix the lags on the posts;
- the space between the pillars is covered with a waterproofer;
- roofing material is covered with expanded clay at the lag level;
- stuffed on the board supports;
- finished floors are painted or varnished in several layers.
Of course, instead of expanded clay, you can use some other, more modern insulators - mineral wool or, for example, expanded polystyrene - to insulate the floor in the garage.
Installation of posts
Supports for logs are usually poured from concrete. Preliminary markings are made for them. Next, holes are dug under the posts about 40x40x40 cm in size. Sand is poured into the bottom of the holes in a layer of 5 cm with tamping with water. Crushed stone is laid on top of the sand in a layer 15 cm thick.
The pillars under the logs are poured with a solution prepared in the proportion of cement / sand / crushed stone as 1 * 3 * 2. Formwork from chipboard or boards is installed in the pits, measuring out the horizontal with a level.
Next, reinforcement cages are mounted. They can be made for each column from several rods and wire. At the final stage, concrete solution is poured into the columns. It is allowed to lay the logs on the supports made in this way no earlier than after 2 weeks.
Brick posts are laid out under the logs in the usual way with bandaging the seams.In this case, the formwork in the pits is installed in such a way that it protrudes about 5 cm above the ground.
Installation of lag
Before laying the logs under a wooden insulated garage floor, the posts should be covered with two layers of roofing material. The installation of supports under the wooden flooring is carried out as follows:
- lay the two most extreme logs at opposite walls;
- stretch the orientation cords between them;
- mount intermediate logs.
In order to avoid a large difference in the heights of the supports, for example, well-dried wooden wedges can be used as a lining. The lags are fixed on the posts, usually using metal corners and dowels. So that the floors do not subsequently begin to creak, it is advisable to fix the supports in this way from both sides.
Styrofoam processing tools
Although it is obvious that foam is an easy-to-work material, you can find references to special thermal cutters or even machines for cutting this material. But they are rather required for those who constantly work with this material or are engaged in figure cutting. For a single use, it is hardly advisable to purchase an expensive device, and curly cutting is not required for an insulated floor.
The following tools may be required when cutting foam to insulate the floor:
- An ordinary knife. A sharply sharpened knife with a long blade is capable of cutting all types of Styrofoam. For thin slabs, even a serrated-edged kitchen knife will do.
- Hacksaw. Someone may find it more convenient to cut the material with a hacksaw. It should be borne in mind that a hacksaw with fine teeth is better suited for cutting foam. A coarser tooth will form a sharper edge.
- String. For this purpose, you can use old guitar strings attached to two handles. Saw with such a device as a two-handed saw.
Read also Bonsai tree how to care at home
Of course, these tools are not able to provide a smooth edge at the cut. But for joining foam boards for the floor, a perfectly flat edge is not needed.
Helpful advice. When cutting Styrofoam with any of these tools, it is recommended to provide a liquid lubricant to the cutting surface. This will make it easier to work with the tool and reduce the unpleasant sound accompanying cutting.
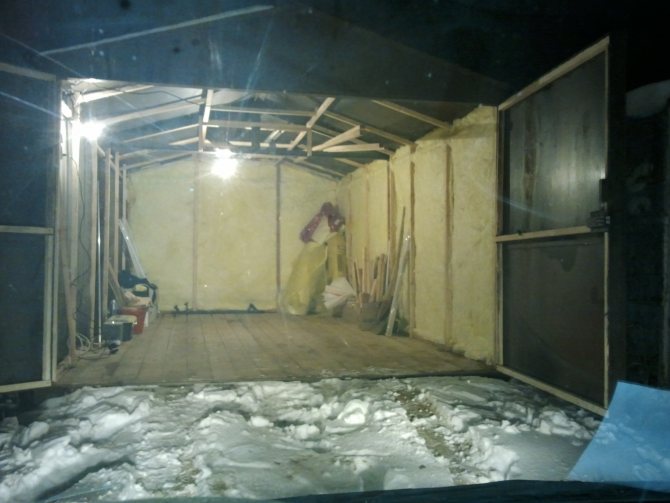
Roofing material and insulation installation
In order for the soil moisture not to have a negative effect on the insulation in the future, the space between the posts after installing the log and filling with rubble and sand must be laid with roofing material. Along the perimeter of the garage, this material should be mounted with an overlap on the walls. A warming layer is arranged on top of the roofing material. At the same time, expanded clay is simply filled up between the logs.
Mineral wool or expanded polystyrene is mounted in the same way. At the final stage, the laid heat insulator is closed from above with roofing material right on top of the lag.
Classic materials
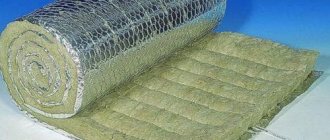
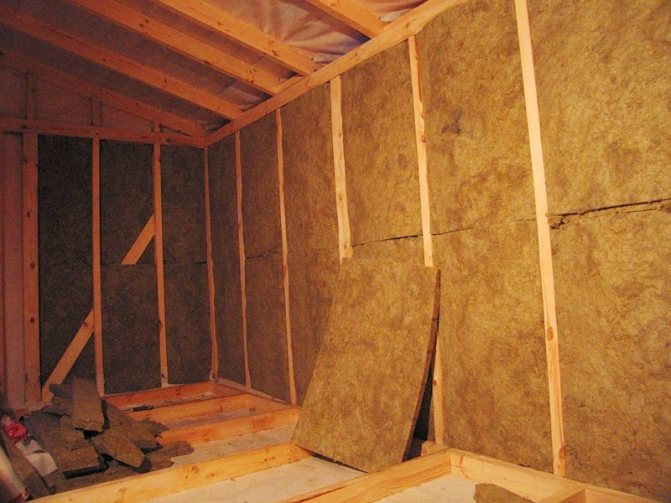
Classical insulation of premises is carried out using materials based on polymers, mineral wool and fiberglass.
Polymer materials are not afraid of microorganisms and moisture.
But these materials are flammable, so they require strict adherence to fire safety.
Mineral wool has excellent characteristics, but does not tolerate moisture. Its use is possible only in conjunction with a reliable hydro and vapor barrier.
Glass wool reacts poorly to both fire and liquids. For this reason, special care is required when using it.
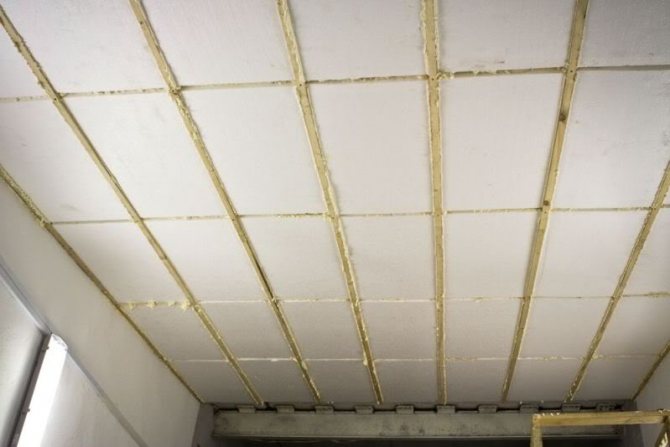
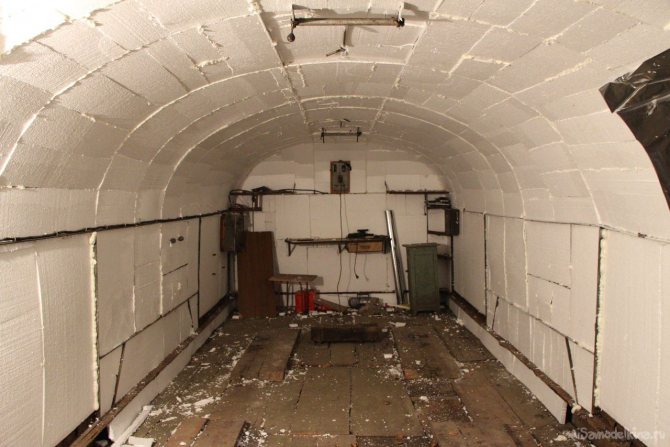
Installation of slab insulation in the crate.
How to install floors
To assemble the coating itself in the garage, you can use both a grooved board and a regular edged board. In the latter case, nails are simply stuffed on top of the boards. The grooved material on the logs is fixed using a screwdriver and self-tapping screws into the groove at an angle.Lay the boards in both cases so that their ends fall on the logs.
So that there are no gaps in the flooring in the future, it is mounted using the following technology:
- next to the board to be laid, at a short distance from it, a piece of timber is nailed to two logs;
- two wooden wedges are driven in between the timber and the board in such a way as to press it as tightly as possible to the previous board;
- hammer in nails or screw in self-tapping screws;
- rearrange the block for the next board.
The flooring is also mounted in such a way that a temperature gap of about 1 cm remains between the garage and the walls around the perimeter.
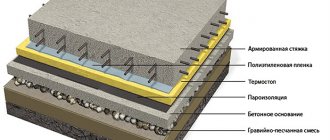
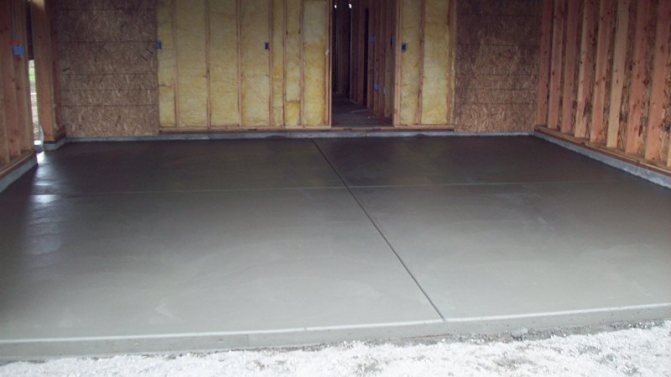
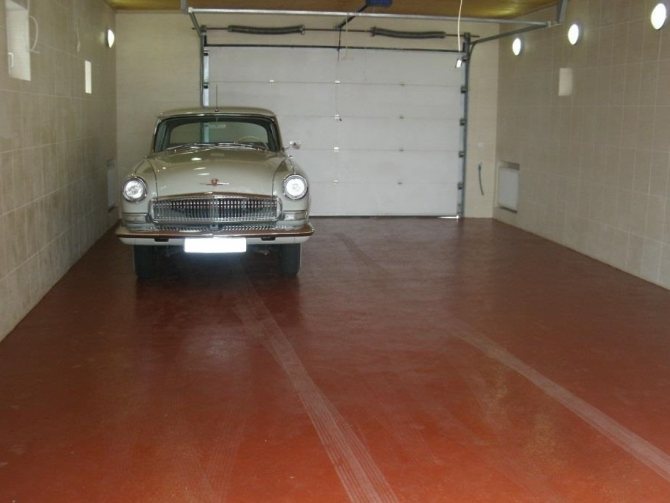
Pouring concrete floors in the garage
The installation of wooden flooring in the garage is thus not too difficult. However, as you know, the floors in such rooms are often subject to serious pollution. For example, gasoline, oil or other car care products may be spilled in the garage.
For a tree, contact with such compounds, of course, is not very useful. Therefore, most often the floors in garages are insulated by their owners using a concrete screed that is more resistant to chemicals.
In this case, the installation of the floor will look like this:
- the earthen floor in the garage is deepened and equipped with a crushed stone-sand pillow;
- lay a waterproofer;
- mount insulation;
- install a reinforcing cage;
- beacons are mounted on some supports;
- perform the pouring of a concrete screed.
Arrangement of crushed stone cushion and installation of a waterproofer
The layer of crushed stone under the insulated screed in the garage should be at least 10 cm, and the sand - 5 cm. The thickness of the insulating layer will be about 10-20 cm. In accordance with these indicators, the depth of the pit for the insulated floors is chosen.
After removing the excess earth, the floors in the garage, as in the assembly of wooden flooring, are compacted and covered with rubble. Sand is laid on top of it. Both layers must be tamped and leveled.
The waterproofing agent is laid on top of the pillow in two layers. The overlap between the strips of roofing material is made at least 15 cm.Also, the waterproofer, of course, must be brought onto the walls to the height of the future floor cake.
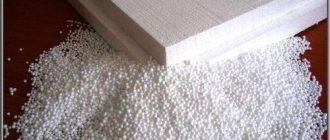
What is Styrofoam
The name itself suggests the answer - it is a foamed plastic mass (polymer). It is created by the formation of air-filled granules and adhered to each other. This technology creates a material that is more than 90% filled with air. This ensures its low thermal conductivity and extremely low weight. The raw materials for the production of this material can be various polymers. But traditionally, foam is called expanded polystyrene.
There are two ways to create polystyrene foam.
- Conventional expanded polystyrene is formed when steam is applied to the raw material in a molding container. This is known to all easily crumbling tile material, usually white in color.
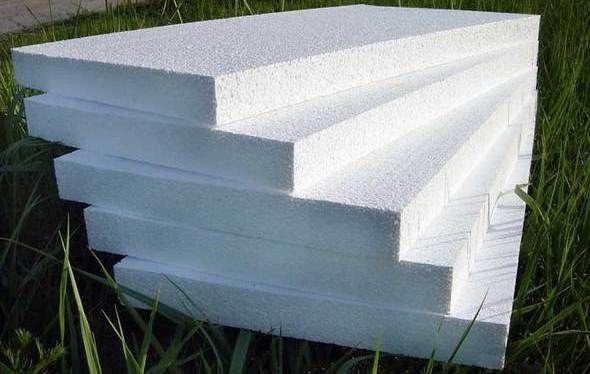
Traditional expanded polystyrene foam
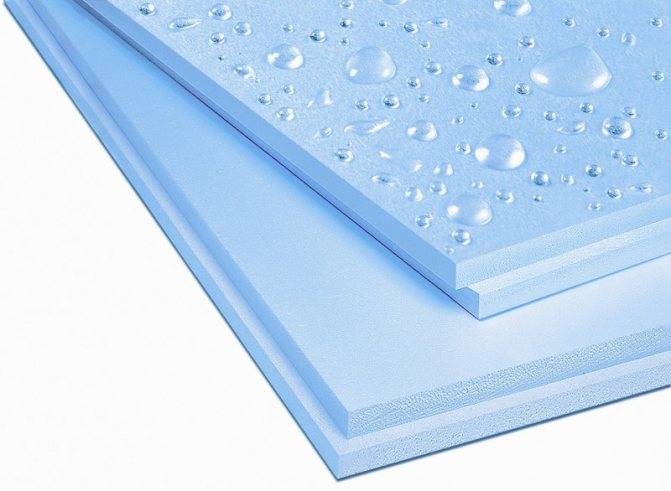
- Extruded polystyrene foam is made from pre-melted raw materials by pressing (extrusion) in special molding units. The resulting material has a denser structure, which provides greater strength and flexibility compared to conventional foam. But at the same time, its weight increases.
Extruded polystyrene foam boards
Insulation installation
Insulation of concrete floors from cold in garages is usually done using expanded clay. Before filling it on top of the waterproofer, it is advisable to expose beacons. After laying expanded clay with a layer of 20 cm, the latter will just need to be removed with filling the space they leave.
Also, the screed in the garage is sometimes insulated using expanded polystyrene. In this case, the most dense material is supposed to be chosen as an insulator.After all, the load on the floors in the garage is actually very large.
Most often, PBS-S-50 expanded polystyrene with a thickness of 10-15 cm is used for screeds in such rooms. Styrofoam for insulating a screed in a garage will not work in any case. After all, the material is quite loose.
Plates of dense polystyrene foam when arranging floors in the garage are laid on top of the waterproofer simply end-to-end, without cracks. On expanded clay, the concrete screed is subsequently poured directly - without using roofing material. Expanded polystyrene plates are additionally covered with another layer of waterproofing agent.
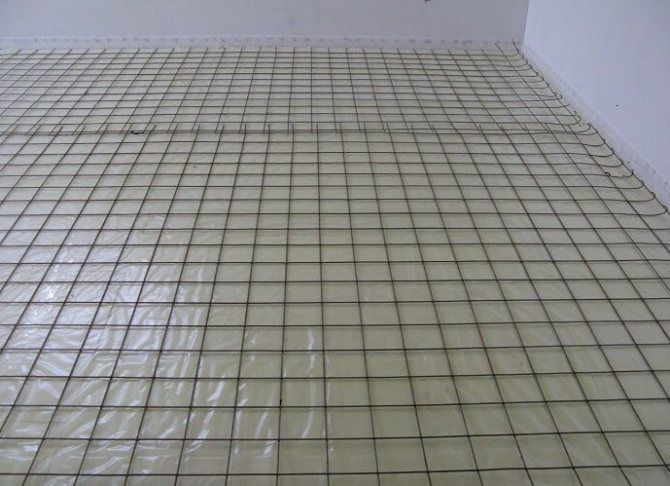
Reinforcement installation and screed filling
As with the assembly of wooden floors, the screed in the garage is usually poured with a slight slope towards the door. Reinforcement mesh is installed on halves of bricks or some other supports. It should be located in the thickness of the screed at the end of the work approximately in the middle.
Lighthouses above the reinforcing mesh before pouring the concrete mixture can be installed, for example, on the "mushrooms" intended for fastening the Technoplex. It is, of course, necessary to expose such supports by level.
As the beacons themselves for a concrete screed, a metal profile is usually used. Along the line of the "fungi", flush with their cap, a strip of concrete mortar is first laid. In the future, the profile itself is fixed on it. Next, the screed is poured using the rule of sufficient length.
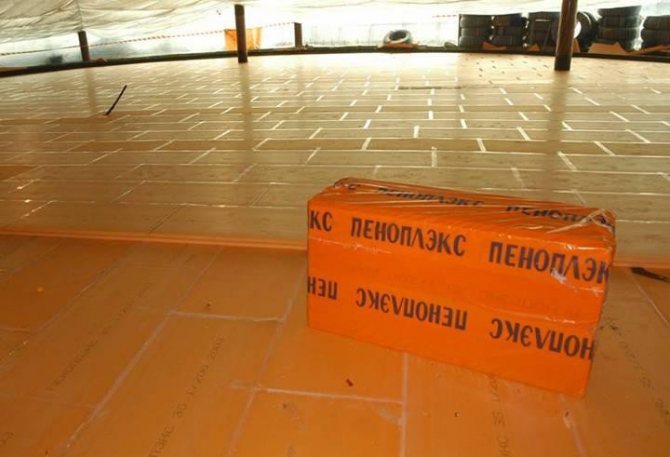
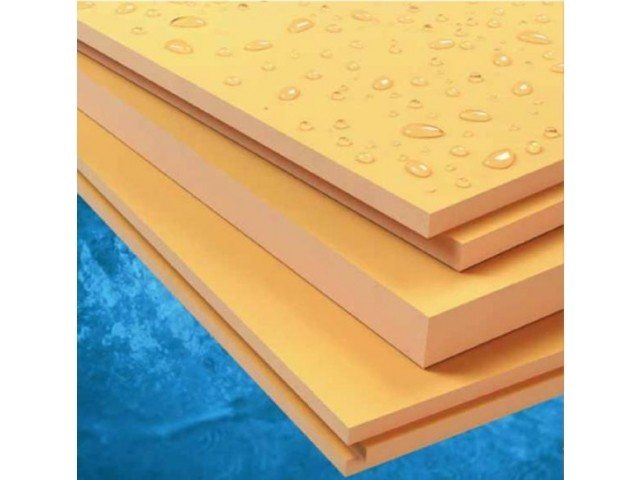
Penoplex thermal insulation
Penoplex, which is a new generation of insulation, is also suitable for floor insulation.
Among the main advantages:
- Good noise absorption;
- Non-toxic;
- Low specific gravity;
- Anti-mold properties;
- Resistant to sudden changes in temperature;
- Simple machining;
- Affordable price.
Thermal insulation is carried out after pouring the rough screed and applying a layer of waterproofing:
- Penoplex slabs are stacked tightly to each other. The joints between them are lubricated with polyurethane foam or glue;
- Dense polyethylene is laid on top of the slabs as additional waterproofing;
- Reinforcement meshes are installed;
- The screed is poured.
To protect it from cracking, the screed is wetted with water during the drying process. The first watering is carried out 10 hours after the completion of work, and in extreme heat - as a maximum, after 3.
Watering is repeated at intervals of 1.5 to 3 hours, depending on the weather. At night, two or three waterings are enough.
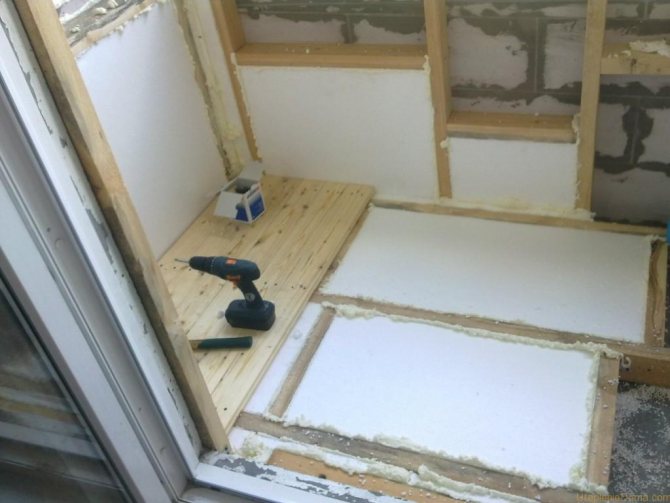
To insulate a wooden floor, you need:
- Install the logs, observing a step commensurate with the width of the plate;
- Lay the penoplex end-to-end;
- Finally, mount boards that have been treated with a mildew proofing agent.
The insulated floor allows you to maintain optimal temperature parameters and minimizes heat loss in the garage. This is important when performing repair work, storing a car, spare parts and consumables.
It will also come in handy for repairs:
- Order a toilet paper dispenser
- What LED lamps to choose for a stretch ceiling
- Connection diagram 380v to a private house