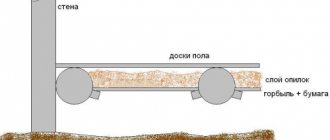
Preparation of clay mortar
To prepare the solution, you will need clay, sand and water. In many regions, all this can be found absolutely free. For construction, oily, reddish clay is best suited. Red granular clay is not suitable for ovens. If self-extraction of raw materials is difficult, then you can buy it in hardware stores. It is more profitable to buy in a large package - it is cheaper that way.
There is no exact recipe for the solution - the proportions depend on the fat content of the clay. In some areas, sand is not added at all, while in others it requires twice as much as the main raw material. The output should be a very dense and thick homogeneous solution.
Formworking
The adobe kiln was named for a reason - the construction technology involves beating the mortar filling the formwork with special wooden hammers. One end of the tool is flat - they compact and level the surface with it, and the second has a wedge-shaped shape and serves to beat the clay between the formwork. It will not be possible to build such a hearth alone - in the old days, neighbors were attracted to work, collecting teams of 15-16 people.
Formwork for baking
Making the formwork is not an easy process, it is assembled from wood during the formation of the furnace, but all the details are prepared in advance. The most difficult thing is to make the right "created" for the firebox. The furnace blank has the shape of half a barrel, while the arch arc starts from the base and does not have straight walls - this increases traction and provides good heat. The boards are sawn from the inside and tied to the parts of the rope so that after drying it is easy to remove the form.
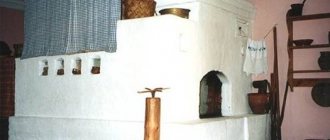
A modern adobe stove
Before placing the clay solution in a wooden "shirt", the clay is beaten in small portions on the floor to get rid of lumps and voids. After filling in the form, cover the top layer with pieces of clay 30 * 40 cm in size and cover the top. After three days, the spacers are removed, the mouth is cut out with a knife and the front boards of the work are knocked out. The upper formwork is carefully removed and covered with an error solution. Stoves are cut out on the walls at will, which collect heat and decorate the hearth. You can think about the first firebox no earlier than 2 weeks later.
Making an adobe oven yourself
After work on the arrangement of the foundation, you will have to master the devices of the pole and the hearth.
We lay out stones on the foundation and tie them with clay mortar. The height should ultimately be about 20 cm, with the top 5 cm being exclusively made of clay, this is important.
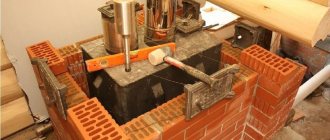
The assembly of the adobe kiln continues. On the pole, it is necessary to mount the internal and external formwork. The outer formwork consists of four plank walls, knitted together into a box. Dimensions of the resulting box: 0.6 × 1.2 × 1.4 m. When making the internal formwork, a hole with dimensions of 20 × 20 cm must be left in the front circle, it is necessary for the subsequent burning of the formwork. We return to the outer one, wedge it with stakes in order to avoid deformation.
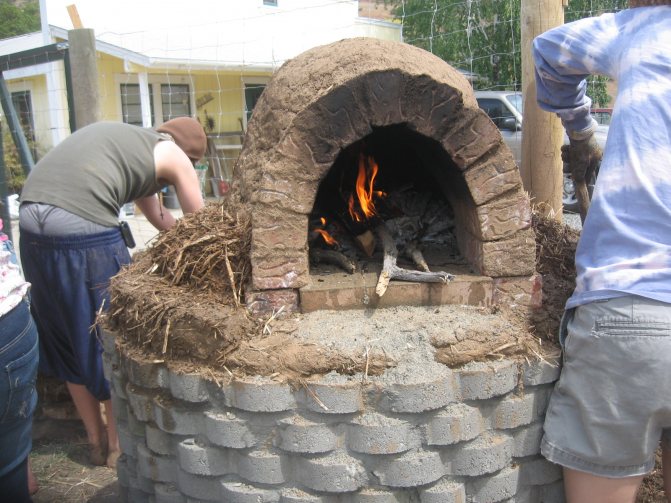
The space between the formwork must be filled with clay, having previously protected the hole in the circle with a board.
In order for the product to turn out to be dense, carefully tamp the clay, spreading it in 10 cm layers. The corners and overlaps can be additionally reinforced with rods with a diameter of 10 mm. The rods should be placed 10 cm higher than the internal formwork.
The furnace should form, give it at least 3 days for this, then carefully remove the front wall of the formwork and cut the mouth with a knife. The mouth parameters are 38 cm wide and 32 cm high. Desired shape, arch shape.Through the mouth we made, they carefully removed the protective board. You can try to remove the remaining walls of the formwork, but for now this is a rather risky venture, because the furnace can fall apart under its own weight if it is not fully formed. So it's best not to rush.
Building a kiln from clay blocks
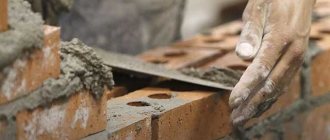
To build a clay oven with your own hands from blocks, homemade bricks are first made. For this, the solution is kneaded for a long time, achieving uniformity of the composition and a dense layer. In the old days, this was done with feet and with the help of horses, later they pressed clay with a tractor, and now they use all kinds of devices.
A well-rammed clay layer is chopped with an ax into blocks of the required size, without waiting for drying. A stove is built from the blocks, but no mortar is used to bind the bricks, but the joints are tamped with hammers. To get the firebox of the desired shape, a wooden formwork is made, which can not be removed, but burned during operation.
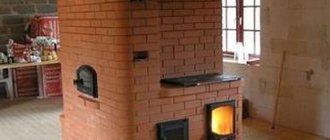
Stylish clay oven in a modern interior
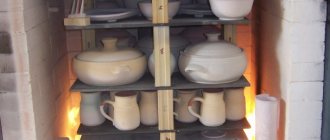
It is allowed to light a fire only after final drying - after two weeks. In the first few days, small amounts of brushwood are burned to dry the clay and give it strength. Over time, the clay oven only becomes stronger - the raw materials are baked and turned into a monolithic structure.


Varieties and characteristics of ovens
All furnaces according to construction technology are divided into:
- adobe;
- Permian Komi;
- round.
They differ not only in appearance, but also in characteristics, construction technologies and field of operation.
Adobe
Saman refers to the ancient building material, consisting of: sand, clay, straw. The advantages of such construction include:
- minimum costs;
- aesthetic appearance;
- high performance;
- simple construction technology.
It is a one-piece monolithic structure that can be placed in the country or in the house.
If you are building a stove outdoors, make a canopy over it to protect the structure from various types of precipitation.
Miniature adobe constructions can be made on a long hike. For its construction, it is necessary to use plastic clay with a low moisture content.
The construction of an adobe structure should be done in dry and sunny weather.
In good weather conditions and with all the necessary materials and tools, you can build such a structure on your own in just one day.
So, for the construction of an adobe stove, you will need to prepare tools such as:
- beaters;
- large wooden hammers;
- ramming;
- knife;
- grater;
- scraper.
The construction technology itself is quite simple:
- The formwork is being built, and the prepared mortar is placed in it.
- A firebox and chimneys are formed from the solution.
- The oven is molded like plasticine up to the first stage.
- Further, the overlap of hogs is formed.
- Clay is laid in a layer of 10 cm and rammed.
- At this stage, the furnace and underfloor doors are walled up.
- Next, using a spatula, the firebox is cut out.
So that the walls of the product do not begin to deform, a small formwork is made inside and spacers are inserted.
- Next, we cut out the ash pan, the afterburner, the chimney.
- After that, we install the grate and cast iron stove.
- The finished product must be smoothed with a float and leveled with a scraper.
The first time the stove can be heated without removing it from the formwork. When it is completely dry, carefully remove the formwork and carry out additional work: cutting doors and whitewashing.
dth "content =" 700 ″>
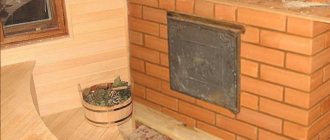
Komi-Perm
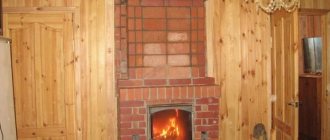
The Perm Komi clay oven was built in houses. It was built either on a foundation or simply on the floor:
- First, the timbering is laid, then it is filled with clay.
- All this is compacted, rubble is poured on top and again a layer of clay.
- When it comes to shaping the bed, you need to make a fairly thick layer of clay.
- Next, we mount the chimneys, cut out niches in the side walls.
- After firing, it is necessary to carefully remove the formwork and cut the mouth in the form of a semicircular arch. That's all, the product is ready for use.
It is best for the structure to dry at natural temperature. But you can also heat it, and if cracks appear after heating, they must be putty and can be whitewashed for an aesthetic look.
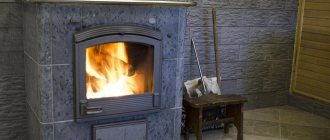
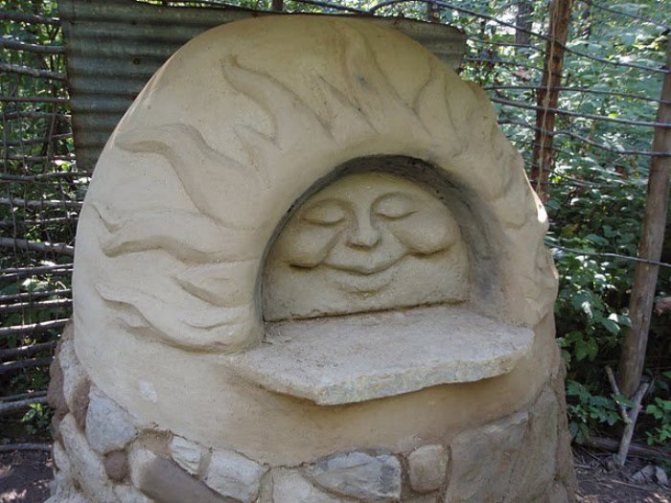
Round
The round clay oven is small in size. It is erected both indoors and outdoors. It is convenient because bread, pizza, cakes are baked in it, and various dishes are prepared.
You can also build a furnace from other materials: brick, metal. But it is the clay structures that are considered the most practical, functional and affordable in terms of price.
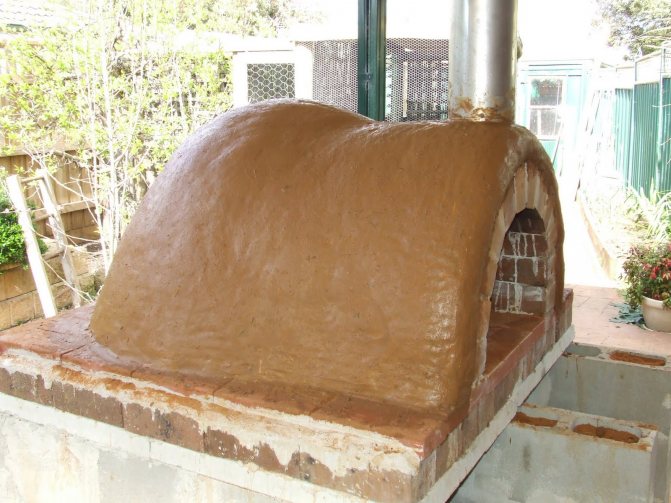
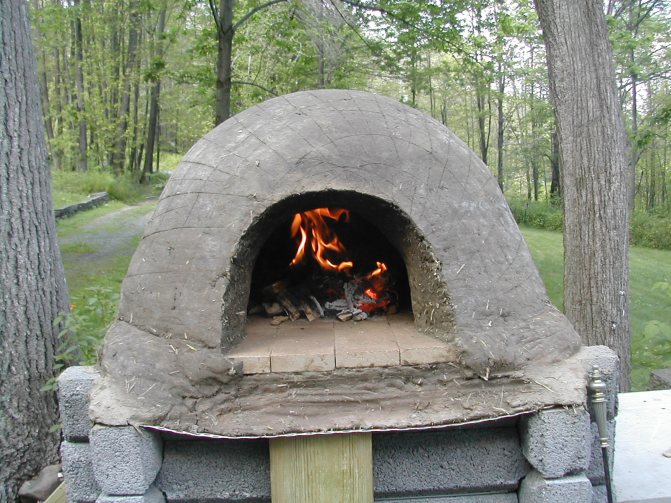
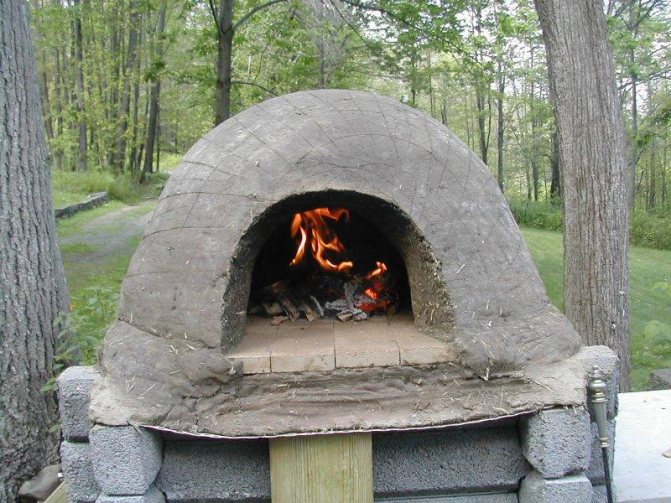
Garden Clay Pizza Oven
Nowadays, few people build full-fledged clay ovens with their own hands for heating a house, most often they can be found in the garden in the form of a primitive oven for bread and pizza. This original model easily copes with baking dough and effectively decorates the countryside.
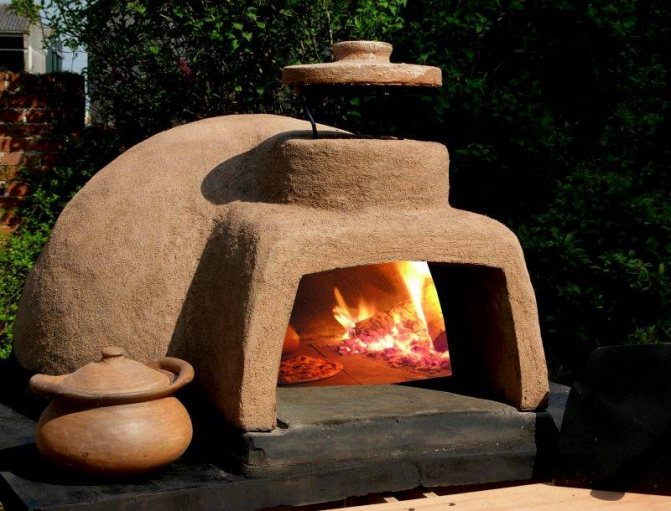
Primitive pizza oven
The authors of the project used 600 kg of greasy clay and about 950 kg of rock sand for the construction, but the exact proportions depend on the fat content of the existing clay. The thickness of the walls of the structure is 15 cm, the size of the inner diameter of the combustion chamber is 40 cm. It is important that the height of the chamber is 60-70% of its diameter. It is recommended to increase the wall thickness for large quantities of baked goods.
A pipe is provided to remove the smoke, but you can do without it. A 6.5 cm thick reinforced concrete slab was used as the base. The base was installed on a solid, recessed foundation. In this particular case, an outdoor clay stove is built on the basis of an obsolete yard stove.
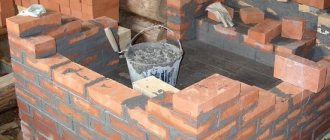
Construction begins with drawing - the contour of the future hearth is drawn on the slab, observing symmetry. You can make a template and then just trace around it. Then the contour is filled with dense blocks made from a mixture of clay and sand, forming a base. Lay it under fireclay bricks, achieving a flat surface. The finished oven door is attached to a concrete slab. Instead of wooden formwork, a cardboard form is used, filling it with wet sand. So that the sand does not crumble, it is covered with wet newspapers.
Under the laid out of bricks The door is attached to the slab The form is made of cardboard and wet sand
The walls of the clay oven are laid out of pre-prepared bricks, neatly forming a dome over the sand mold. After completing the construction, it is advisable not to rush and give the structure a couple of days to "settle". After that, the sand can be removed from the combustion chamber. The first furnaces should be short-lived, you can use brushwood to kindle or burn inside a candle. To protect the garden oven, it is imperative to provide a canopy.
The walls are laid out without mortar, achieving solidity The thickness of the walls should be the same It remains to cover the walls with clay
For curious beginners, we recommend building a clay oven in miniature, after practicing mixing raw materials, making blocks and laying them. A reduced copy will decorate the site, and the skills gained will be useful for cooking a full-fledged garden hearth. If something does not work out, you can turn to professionals and entrust them with the construction of the stove.
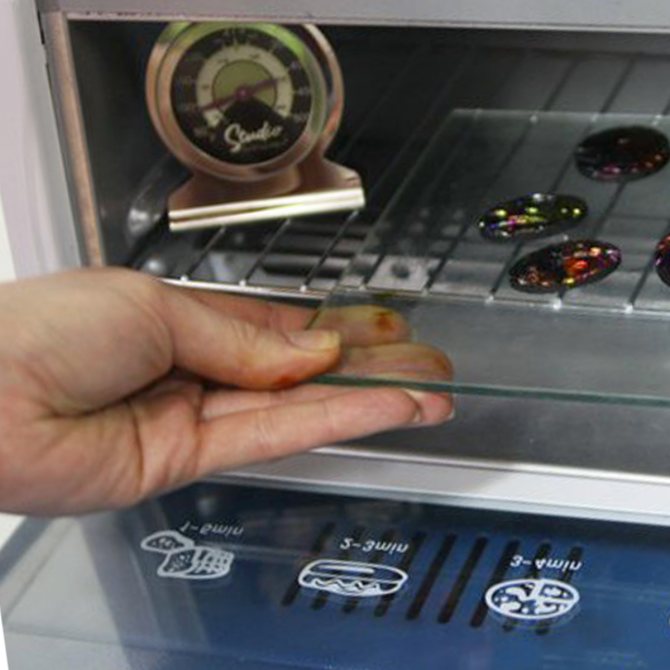
Do I need a separate polymer clay oven?
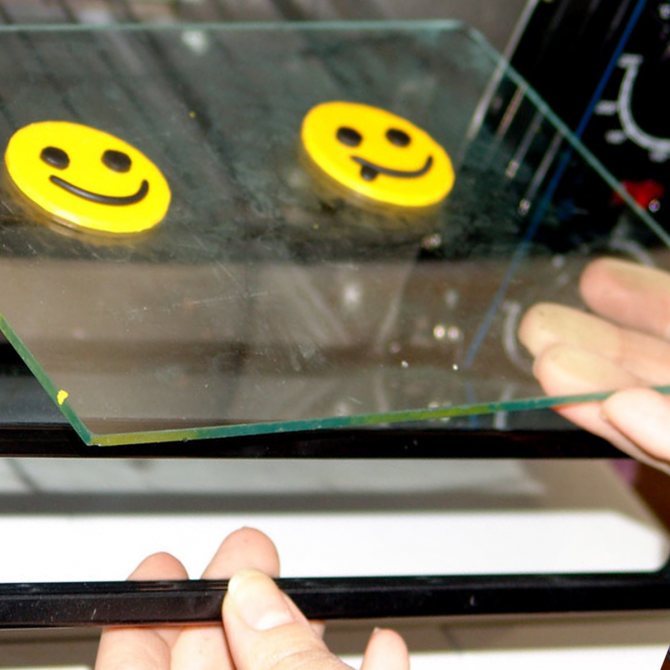
For some reason, this topic generates strong opinions. Some people will use a polymer clay oven to bake their creations. Others use only their home oven. There are legitimate reasons to do it anyway, but there is a strong consensus.You CAN safely and effectively bake your polymer clay creations in your home oven, toaster, convection oven or broiler ... provided you use it correctly and follow some of the guidelines below. You cannot properly and safely bake polymer clay in the microwave or boiling in water. (Although boiling has its uses in some situations, it does not have the full effect.)
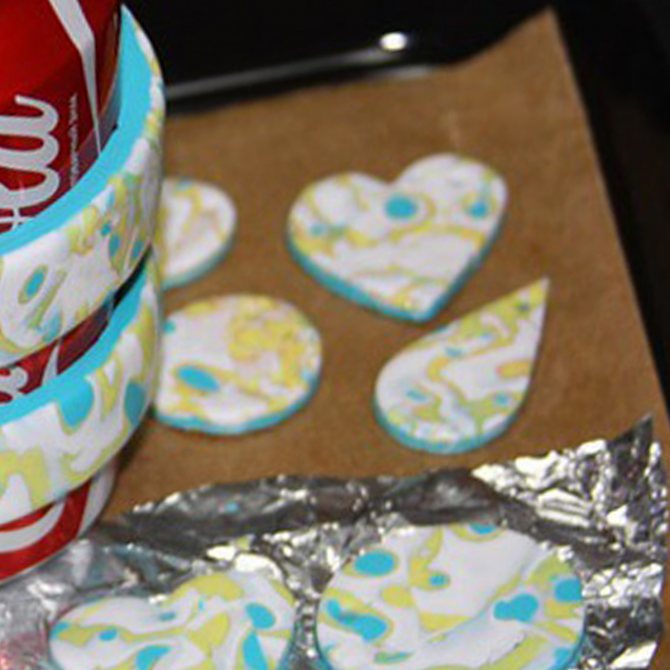
There is a “fairy tale” circulating in the polymer clay community about how polymer clay leaves “leftovers” when baked. Some people fear that this supposed residue will then burn up and release toxic fumes if the oven is then used to bake food. There are people who clean their oven (hopefully not with toxic cleaners!) After using polymer clay in their home oven. It makes sense to refer to the list of health and safety questions and answers developed by Polyform, the creator of Sculpey and Premo. Pay particular attention to the issue of clay leaving residue in the oven. There is no such thing as "contamination" with polymer clay. This is simply not true. Conclusion: polymer clay is safe.
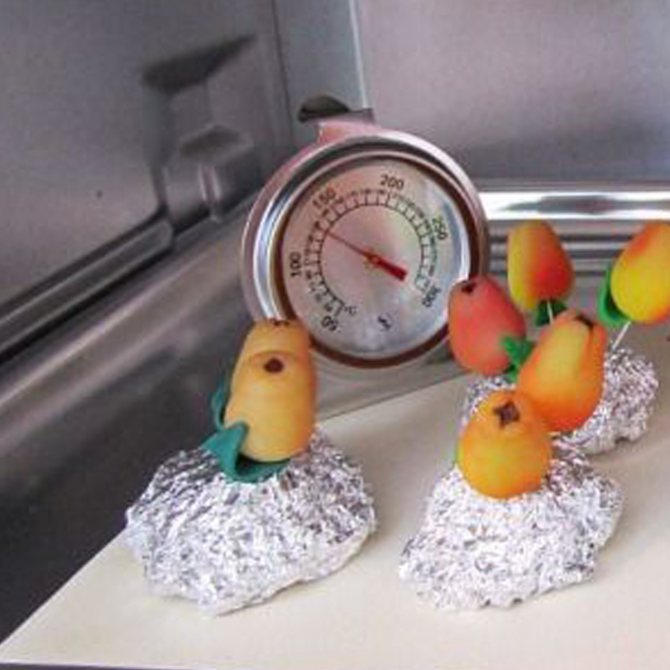
At the recommended temperature, polymer clay does not emit toxic fumes when baked. However, it can burn when exposed to temperatures in excess of 350 ° F (177 ° C), producing irritating fumes of hydrogen chloride (not chlorine gas as some sources state). If this happens, turn off the oven, open the windows, and ventilate until the fumes have escaped, as if you were baking a roast. By the way, hydrogen chloride is the same chemical as hydrochloric acid, which our body produces in stomach acid. It is unpleasant to breathe, but it does not cause cancer or anything that requires decontamination. Baking polymer clay at normal temperatures can sometimes create an odor that can irritate sensitive people. In much the same way that some perfumes cause a sore throat or headache if too strong. For this reason, many people choose to bake their clay away from their main living space.