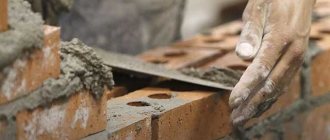
Before the advent of modern building materials, people actively used natural materials with the ability to retain heat for insulating houses. For many centuries, clay and sawdust have been used to insulate houses made of stone and wood.
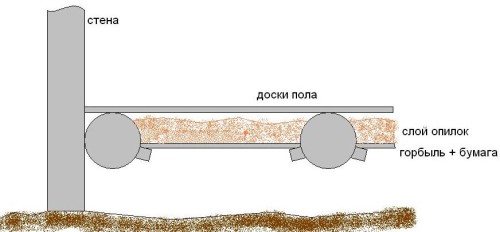
Floor insulation scheme with sawdust.
Clay with sawdust - has unique thermal insulation properties and is not only a means of insulation, but also waterproofing. The waterproofing and insulating properties of clay, supplemented with sawdust, can even be used to equip baths, since this material is not subject to destruction even in conditions of possible contact with hot steam, which not all building materials used for insulation and waterproofing can effectively cope with ...
Using clay with sawdust as insulation
The advantage of clay with sawdust as a heater is that it prevents heat loss in winter, and helps to maintain pleasant coolness in the room in summer.
One of the main advantages of such a means of insulation as clay with sawdust is that this option can be used in almost any area: both where it is hot most of the time, and where the temperature drops to critically low temperatures. Clay mixed with sawdust not only prevents heat loss in winter, but also helps to maintain pleasant coolness in the room in summer. In addition to the unique thermal and waterproofing properties, this material is very durable and at the same time environmentally friendly. Some private developers prefer clay precisely because of its environmental safety, because not all modern building materials are trustworthy in this regard and can be used to decorate the interior of the premises.
However, it should be noted that fixing a house with clay mixed with wood waste is far from the easiest way to insulate. There are many factors that influence the effectiveness of insulation using clay and sawdust. Firstly, it is very important to properly prepare the mixture, since if the proportion is violated, the finished material will not set and, accordingly, will sprinkle very quickly. Secondly, it is necessary to correctly apply the insulation to the walls in order to achieve the maximum effect.
Clay with sawdust is used mainly for ceiling insulation, that is, in an area where there will be no significant load on the coating.
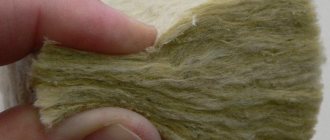
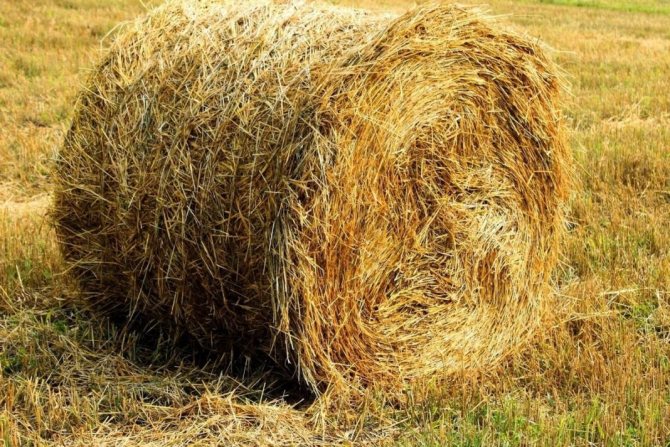
If wall insulation is planned, it is better to use reeds or straw instead of small sawdust. It is believed that it is preferable to use reeds mixed with clay, as mice do not like it very much. The thing is that in this case, straw or reeds will serve as additional reinforcement, thereby increasing the bearing capacity and strength of the entire insulation layer.
What clay and sawdust is better to use for the preparation of an insulation mixture?
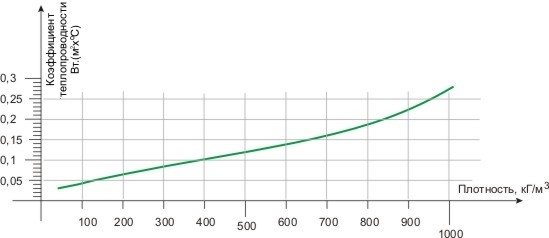
Scheme of the coefficient of thermal conductivity of sawdust.
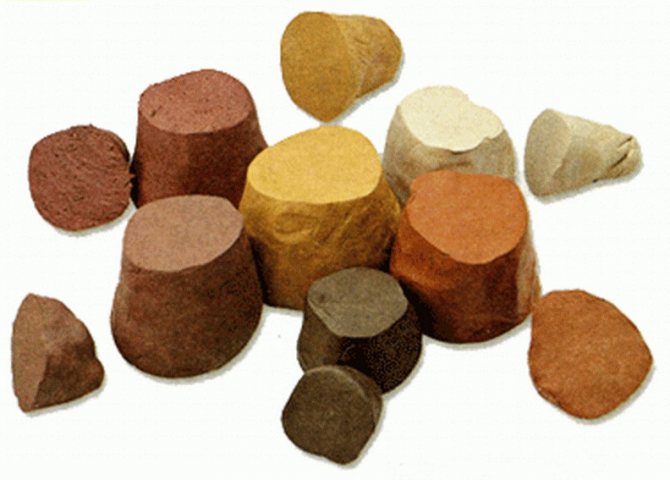
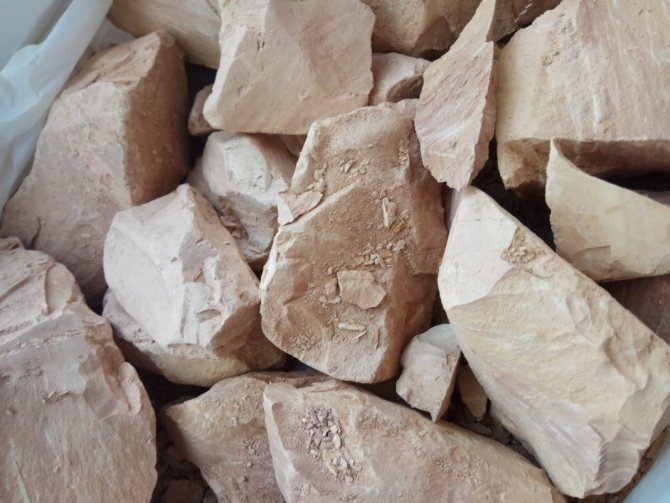
It depends on the correct choice of the basic materials for the preparation of insulation material how well the heat in the room will remain in the future. Clay is the main binding agent. In the wetted state, clay is very plastic and very much like children's plasticine. It is believed that it is best to use red clay for preparing the mixture, since it is more plastic, hardens faster and is less susceptible to being saturated with water.However, if it is not possible to get red clay, it is quite possible to replace it with other varieties of this material, for example, white clay. This will not affect the final result so much, but the finished surface may require more careful maintenance.
Particular attention should be paid to the choice of sawdust. Oak sawdust is best suited for the manufacture of insulation mixture. Oak materials are considered the best option, since they are almost not saturated with moisture, and even if contact with moisture has occurred, there will not be much harm from this. Oak sawdust does not rot and does not increase in size due to saturation with water. If it is not possible to get oak sawdust, you can use waste from sawing coniferous trees, including larch, pine or spruce. The use of sawdust from these types of trees also has its advantages. The wood of these trees contains a large amount of essential oils, which have a pronounced antibacterial and antifungal nature, which will significantly reduce the risk of mold and mildew on the surface of the material and in voids.
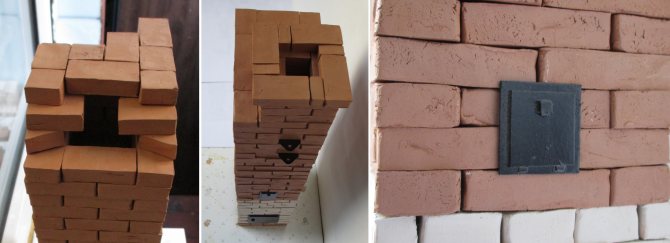
Clay Testing Methods
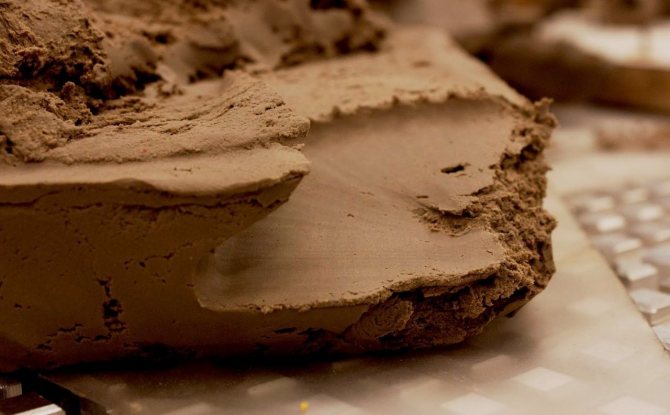
Before laying the oven directly, you need to find out how the fat content of the clay can affect the solution and how, if necessary, you can change its characteristics. First of all, the fat content of clay depends on the presence of sand in it. Oily clay contains a small amount of sand. Conversely, if it contains a lot of sand, it will be skinny. It is these qualities that affect the plasticity of the mortar for ovens.
I would like to note that when in contact with water, clay absorbs it like a sponge, while becoming plastic and significantly increasing in volume. In turn, under the influence of high temperature, it quickly loses liquid and, if the water completely evaporates, then its structure will become porous. With further heating, the clay will begin to melt and simply bake, turning into a solid material resembling a stone. These properties of such a useful substance are very important in the construction of a furnace.
Clay quality control by drying method
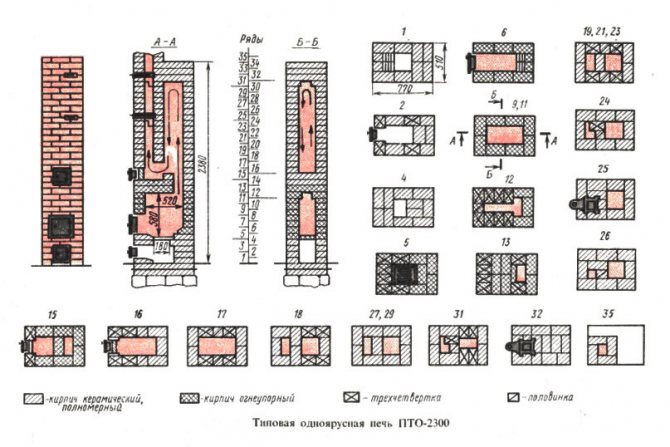
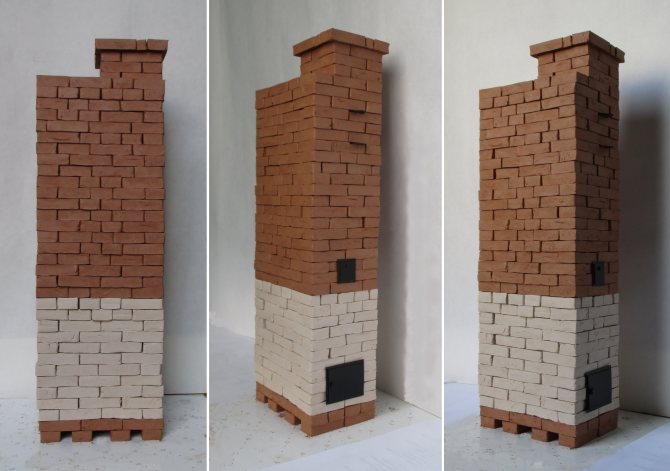
Our ancestors also used various clay products and mortars in the construction of furnaces. Moreover, as it became known from history, independently, building a clay oven, a person made not only mortar, but also bricks, which were a solid basis for laying a chimney. But nowadays such a connecting component used only as a building mixture for bonding a variety of materials to each other.
- Take half a liter of clay and add a small amount of water to it, after which everything is kneaded with high quality handsuntil the mixture ceases to absorb moisture.
- After preparing the steep dough, a ball with a diameter of up to 5 cm is rolled, from which a cake twice as large is subsequently made.
- Under natural conditions, it dries for 3 days. If cracks form on the cake, the clay has a high fat content and to prepare a high-quality mortar for laying the oven, it must be diluted with sand.
- If, during the drying process, cracks did not form on the cake and when it fell from a height of 1 meter onto a hard surface, it did not disintegrate, then this the binder is completely ready for solution preparation.
I would like to note that skinny clay will not crack, but it will not have the required strength either. It is necessary to add more fatty analogs to it. Clay or sand, depending on what is missing in the solution, is added in several stages, while controlling the consistency of the mortar.
Checking clay with a jumper
As it became known from practice, the oven device, built by hand from clay, is in no way inferior to its brick counterparts. Recently clay is used as a binder for fastening masonry elements to each other. Nobody builds a furnace entirely out of clay mortar anymore. At the same time, the quality of the binder is still checked for fat content.
- 3 liters of clay is placed in a convenient container and filled with water. Lumps are kneaded with hands, and the resulting composition is stirred with a jelly. If the mortar begins to stick strongly to the jelly, it means that the clay has a high fat content and therefore sand must be added to it.
- If the veil is covered with separate clots, then the binder for the solution is normal and there is no need to add sand to it.
- In the case when the veselka is evenly covered with a thin clay composition, then the clay is considered skinny and must be diluted with a fatty analogue.
I would also like to note that there is no need to rush to add certain components to the solution, so as not to achieve the opposite effect. Make a greasy solution from a lean solution or vice versa.
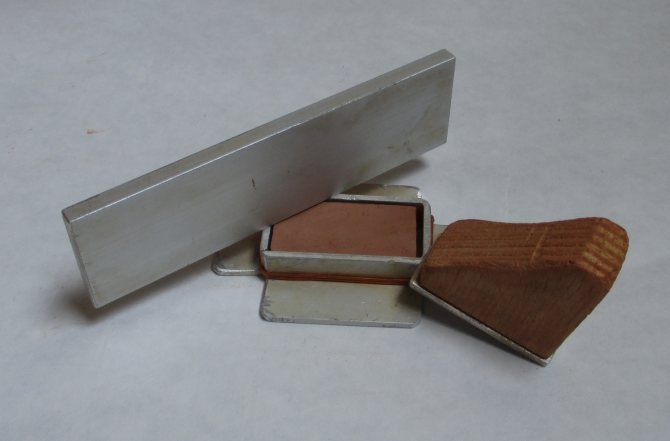
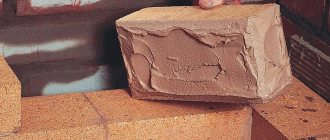
Checking the consistency of the mortar using planks
This method can be called the most accurate for determining the quality of clay, while it consists of a number of simple manipulations.
- Half a liter of clay is kneaded with water to a consistency reminiscent of a tight dough and kneaded with your hands until the lumps are completely dissolved. A ball with a diameter of 5 cm rolls down from the resulting solution.
- The resulting ball is placed between two smooth boards, on which they produce slow pressure, gradually squeezing the clay.
- Compression occurs until cracks form on the ball. With this method of checking, the fat content of the clay is determined by the nature of the cracks formed and the degree of compression of the ball.
If a skinny clay composition was used to make a ball, then at the slightest impact on it, it disintegrates into pieces. A ball of clay of a greasy consistency, when exposed to external influence on it, begins to crack when decreasing from the initial volume by 1/5. Normal clay rolled into a ball begins to crack when squeezed 1/3 of the starting diameter. But too oily clay ball cracks slightly when more than half of the original volume is lost.
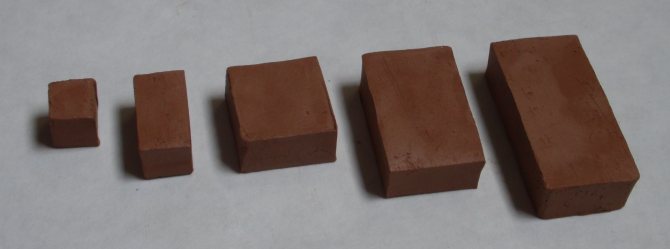
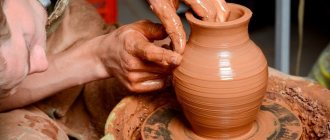
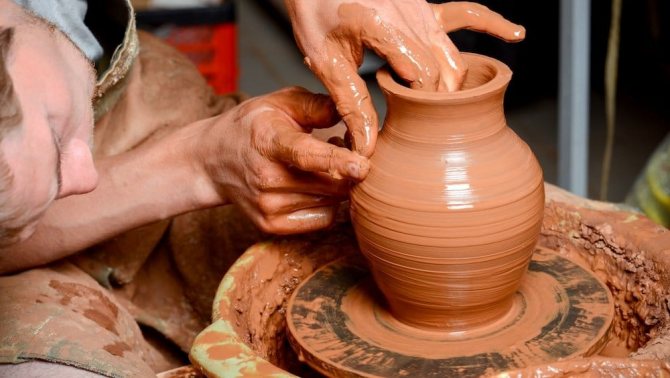
Clay is an earthy soft rock that, when water gets into it, becomes plastic and homogeneous and can take any shape. And when fired, such material becomes as hard as stone.
Other ways to test clay for fat content and plasticity
If you roll a flagellum from clay with a high fat content, when it is smoothly stretched, it will thin out, while after a rupture, pointed ends form in its place, and when bent, no cracks form.
Normal clay, when rolling into a flagellum and stretching, begins to gradually stretch and, at the moment of losing 20% of its thickness, it abruptly breaks off. At the same time, when bending, the flagellum becomes covered with minor cracks.
In turn, if skinny clay is used for the flagellum, then it breaks off even at the initial stage of stretching. Moreover, if you begin to bend such a flagellum, then it immediately cracks or breaks.
If you repeat the procedure of squeezing the ball or stretching the flagellum repeatedly, you can determine the clay quality with sufficient accuracy, on which the operating life of the furnace will depend. During testing you need to experiment with different types of clay diluting it with sand. Only the selection method can correctly determine the consistency of the clay mortar for laying the stove.
I would like to note that, according to the experts of the stove business, if the mortar for laying bricks is thicker, then this will not greatly affect the quality of the final building. If the solution, on the contrary, is oversaturated with sand, then everything is much more serious. If the solution is too lean, the oven laid out on it will simply fall apart during operation.
How to properly prepare a mixture of clay and sawdust?
It is worth saying that there are several ways to use clay with sawdust as a material for insulation, therefore, the method of preparing the mixture may differ somewhat, as well as the entire technology of further laying the finished material. If desired, you can use a still wet mixture, which is poured onto the ceiling from the side of the attic. However, there is another option, which involves the manufacture of panels from clay and sawdust, which are then laid in a dried form in about the same way as all modern panel materials intended for insulation.
First of all, it is necessary to prepare all the necessary materials that will be needed not only during the preparation of the mixture, but also during its use for insulation. The work may need the following materials and tools:

Scheme of wall and ceiling insulation with sawdust.
- Clay.
- Sawdust.
- Water.
- Bucket.
- Large trough for makeup blend.
- Hoe.
- Wooden blocks for making molds for panels.
- Plywood sheet.
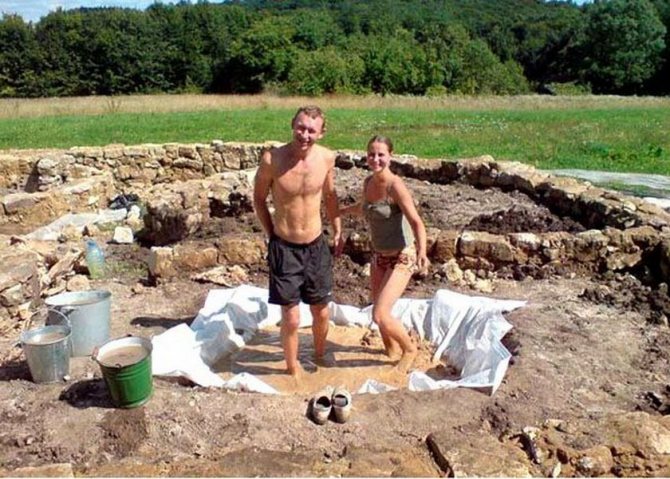
In the manufacture of an insulation mixture, it is very important to correctly observe the proportions, as this will allow in the future to avoid severe cracking of the finished surface. If you plan to use a mixture intended for application in a wet state, 2/3 of a bucket of sawdust is taken for 1 bucket of clay. First of all, you need to fill the clay with water to make a thick porridge. It is difficult to say exactly how much water should be taken, since in this case it all depends on how dry the clay was originally. Clay can be saturated with water for a long time, especially if it was originally dried to a stone state. If you wish, you can speed up the process of saturating the clay with water by constantly stirring it, but even this method will not give a quick enough effect.
It is best to immediately soak the required amount of clay and let it brew for several days until it acquires the desired consistency. After diluting the clay to a liquid state, sawdust can be added. Clay and sawdust should be thoroughly mixed until a homogeneous thick mixture is obtained. You can use a garden hoe to mix clay and sawdust, but a household concrete mixer should be used whenever possible.
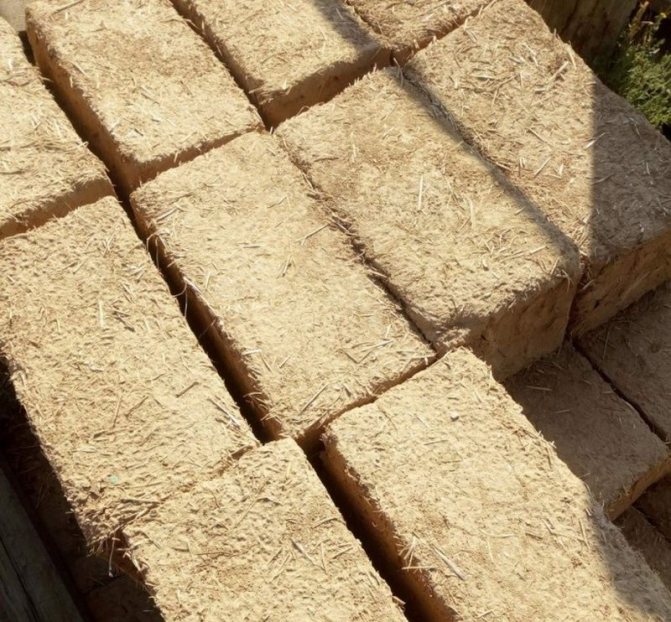
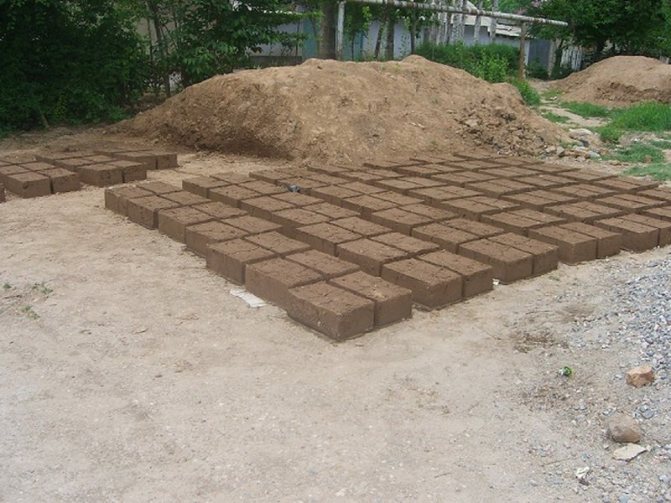
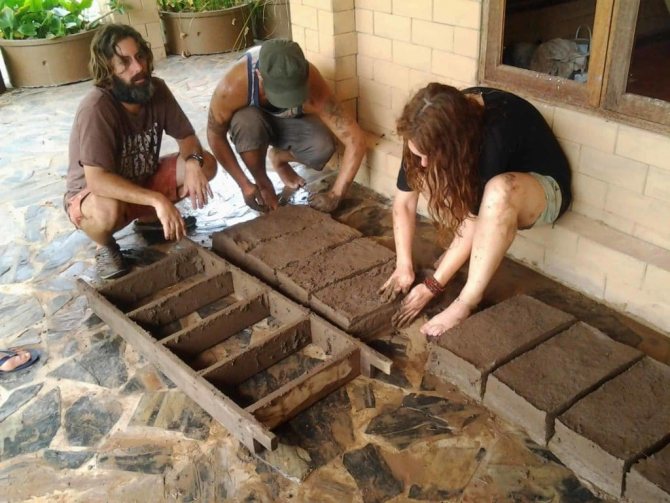
For the preparation of insulation boards, clay and sawdust are taken in equal proportions. In this case, you need to immediately prepare the molds into which the solution will be poured in the future. To make a mold, it is necessary to knock together from bars, the height of which should be at least 15 cm, a lattice with cells of at least 50x50 cm.This lattice is then placed on a plywood sheet, so that it is more convenient to pour the solution into it. In addition, the use of plywood allows the slabs to have one flat sidewall. The prepared solution of clay and sawdust is poured into molds and left to solidify. After pouring the solution into the molds, it is necessary to carefully level the surface with a spatula. Do not dry the insulation panels in direct sunlight, as this will lead to severe cracking. It is necessary to make a canopy over the forms or, in extreme cases, throw grass on top to ensure a sufficient level of shading.
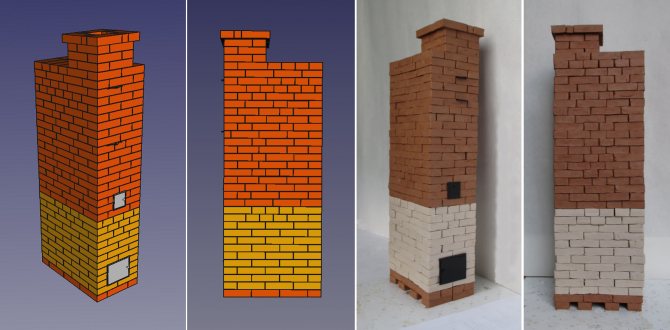
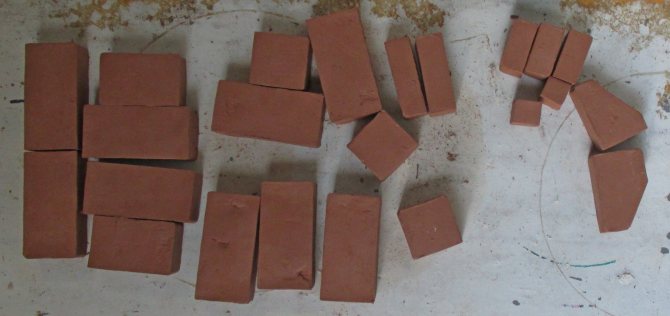
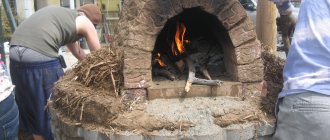
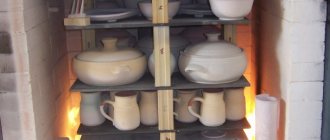
Fired brick making
The process of making fired bricks is more laborious, but quite possible.
The technology looks like this: heating, then roasting and cooling of the product. Of course, it is desirable to have a special furnace in which a brick made of clay will be fired, but if it is absent, a metal barrel with about 250 liters of volume will also come off.
The bottom of the barrel must be cut out from 2 sides and installed on an open metal oven. Brick will be laid inside and burned.
There is another, simpler way.You need to dig a hole with a depth of about 0.5 m, install a barrel in it on low (about 20 cm) legs. Then stack the raw brick inside, keeping a small distance. As soon as the barrel is full, cover it to prevent cold air from entering. The firing time will depend on the specific data, but the fire needs to be maintained for about 20 hours.
During the drying process, the clay is sintered and becomes a ceramic. Do not leave the process unattended - you need to monitor the cooling of the brick. Reduce the heat gradually, but do not open the barrel. You can open it only after about 6 hours have passed after the brick has cooled. Otherwise, the brick will simply crack from the temperature drop.
Back to the table of contents
Home insulation technology using clay and sawdust
The technology of insulation, both with the help of a mixture and with the help of ready-made blocks, is quite simple. After laying and completely hardening, the surface of the insulation made of clay and sawdust becomes very hard, so you can even walk on it without fear of cracking. It is best to treat the surface to be installed with plaster or cement mortar before laying the insulation. The base layer of the plaster should be about 1 cm and be as even as possible. Insulation is laid on top of the frozen base.
If it is planned to lay a wet mixture, then it is necessary to make a wooden formwork so that the mixture is poured into boxes, the width of which should be about 1 m. Boxes will keep the mixture from spreading and allow you to form a more reliable insulation layer. If the beams are close together, they can be used as formwork.
Next, a thick mixture of clay mixed with sawdust is poured. It is necessary to fill in the insulation progressively, box by box, along the way leveling the surface of each new fragment. After full pouring of the mixture of clay and sawdust, it is necessary to allow the surface to harden. The thickness of the insulation layer should be at least 15 cm. During drying, small cracks may appear, which should be rubbed with a clay solution. This method of arranging thermal insulation is considered acceptable at the stage of building a house, since it is rather dirty.
If the construction has already been completed, it is best to use ready-made clay and wood waste slabs to reduce the risk of contamination of the surrounding surfaces. To equip the insulation layer, you just need to lay the plates on the treated surface so that they fit snugly against each other. The joints of the slabs must be carefully processed with a clay solution in order to prevent heat loss through microcracks.