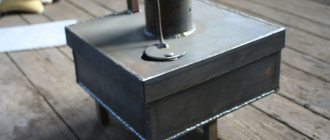
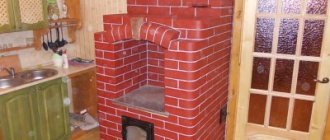
A Dutch stove with a stove is one of the most popular types of heating structures all over the world. Compact, highly efficient and economical - it allows you not only to warm the house well in the harsh winter, but also helps the hostess prepare dinner for the whole family.
Dutch oven
Let's take a closer look in this article on how to make a do-it-yourself Dutch oven with a stove. The order and basic rules will help you cope with this daunting task.
The history of the appearance of the Dutch oven goes back to the 15th century and since then it has undergone many modifications and has been improved. During these six centuries, the shape of the Dutch woman and its size have changed slightly. But what has really remained unchanged is its efficiency and compactness.
Dutch oven
The small size of the Dutch stove is partly due to the cramped houses in the Netherlands and the need to fit the heating and cooking structure into a room, which sometimes did not exceed 10 square meters.
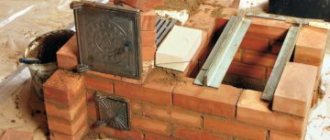
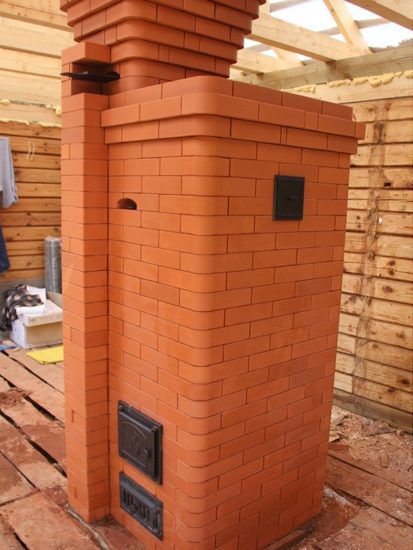
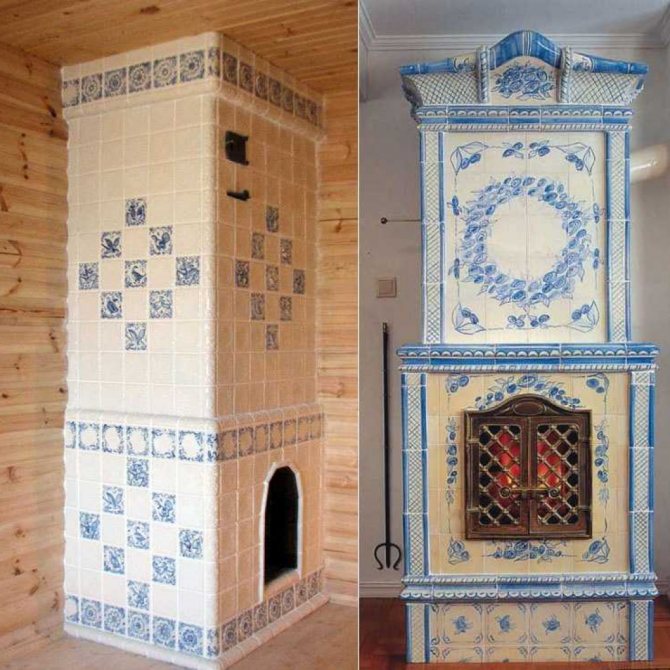
Tiled stove
Cities in northern Holland have always been densely populated, and local residents needed to somehow adapt to urban conditions. And given the rather harsh climate and cold winters, it was impossible to do without high-quality heating of the home.
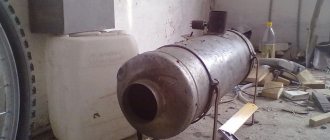
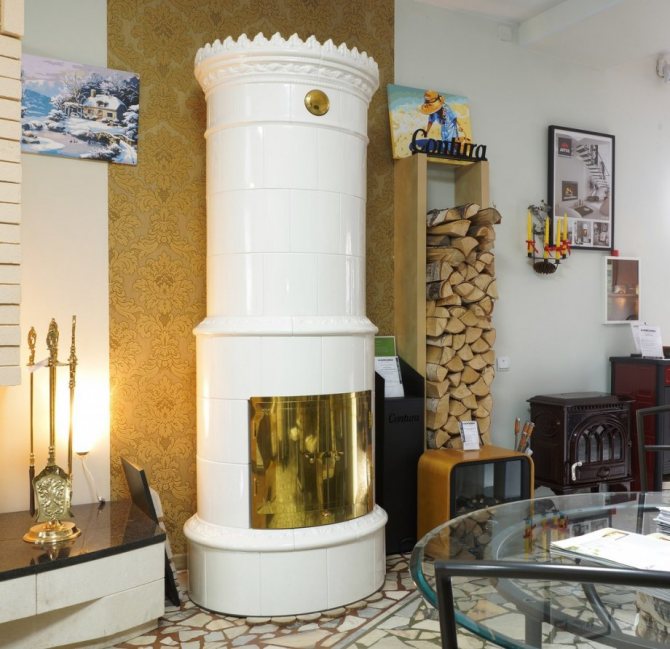
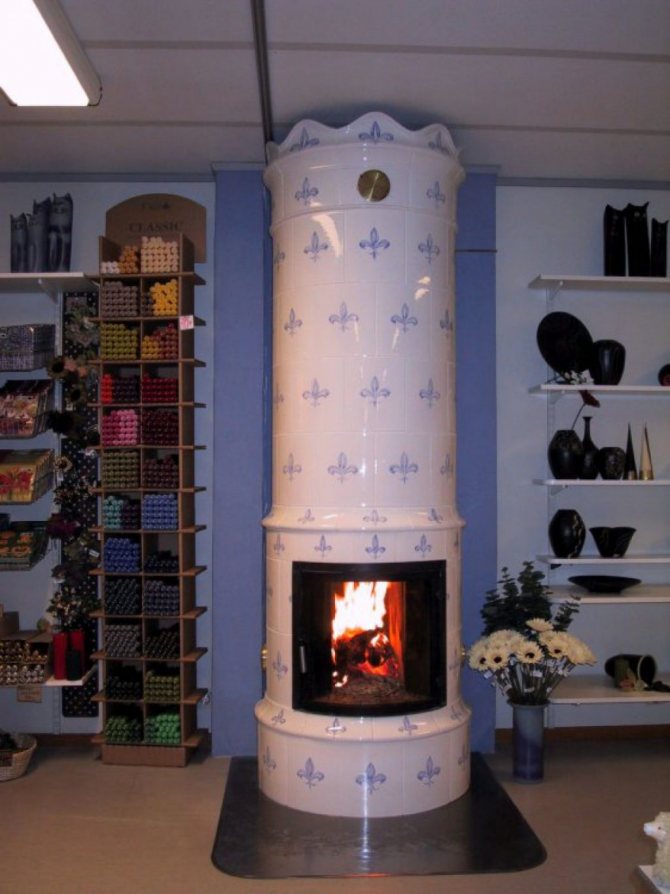
Round oven
In addition, in the Middle Ages in the Netherlands there was a very high tax on the area, so the locals had to trick it, erecting the house up. Agree that not every stove is suitable for a multi-storey structure.
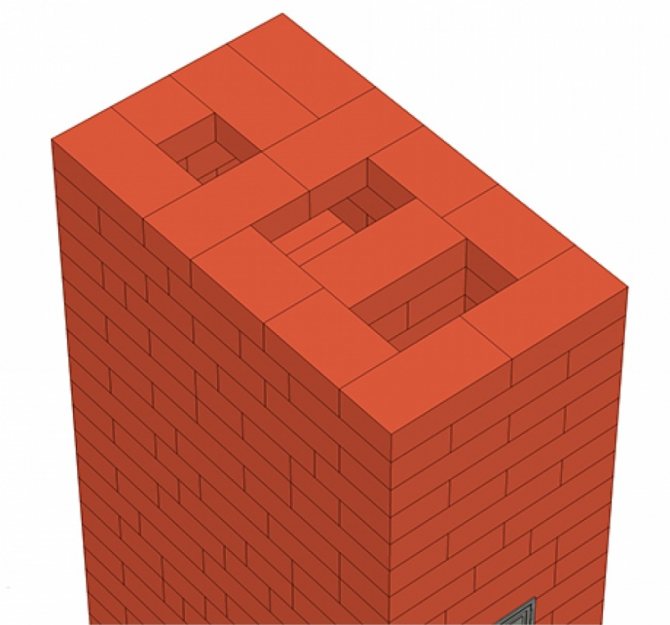
It is easy to recognize the Dutch woman among other designs of the heating device precisely by its shape: they are elongated and have a great height. At the same time, one stove can be enough to heat two or three floors of a house at once.
The first models of the Dutch woman were not equipped with a grate and a blower, and the hostesses did not know anything about the hob. However, over time, stove-makers and engineers added these minor elements to the layout of the Dutch stove, which made it possible to significantly increase its efficiency.
The movement of hot gas in a Dutch oven is traditionally through 6 channels: 3 lifting channels and 3 lowering channels. And the bell system allows accumulating hot gas and increasing the efficiency of heat transfer.
Also, another difference between the first models is the presence of an arched vault, which over time, for technical reasons, was replaced by a rectangular firebox.
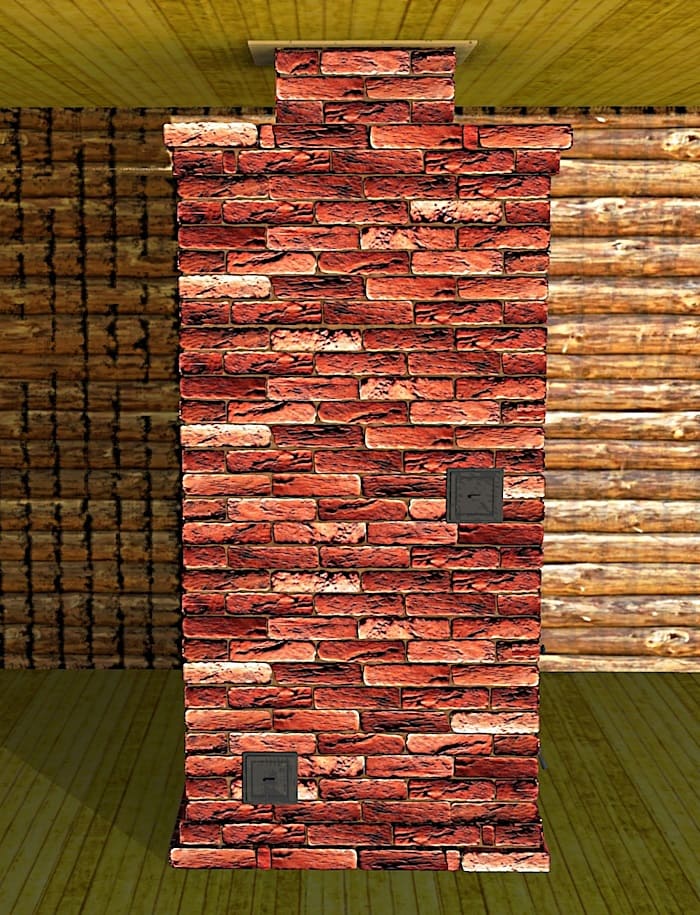
Today on the Internet you can find many different schemes of Dutch women equipped with an oven for baking bread, stove beds, a water tank, etc. We will dwell in detail on the scheme of laying a Dutch oven with a stove.

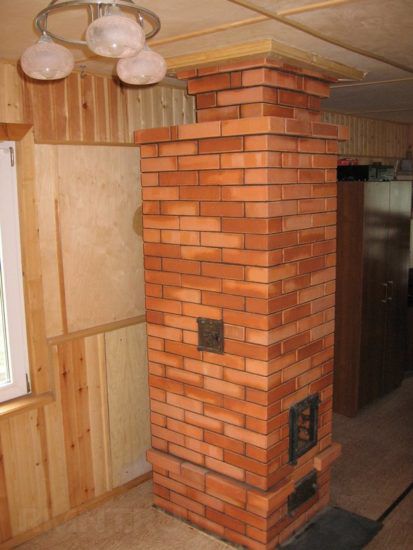
Little Dutchwoman
Dutch heating method
The brick oven is Dutch. Often, the stove is used to heat a private house in the suburbs or in rural areas where other heating methods cannot be applied. Heating a house in this way in most cases is considered the most suitable option for heating a country house, both when people are constantly in the room, and during the period of rare visits. Hot air is considered to be a heat carrier for this heating method. Almost all of these stoves heat the house with their own walls, there are projects where air flows along the walls from the inside, in the process of its movement it becomes hot and comes out. And if the air heats up only from the surface of the hearth, then the area of the heat generator should be enough to warm up the room.


Tips & Tricks
For a room with an area of 40 sq. meters, you can calculate the required dimensions of the furnace. With a furnace height of 210 mm, the optimum size is 780 x 580 mm.
To improve the quality of the masonry, before using the bricks, experts advise each of them to be immersed in water for several minutes, which helps to remove air bubbles from them.
Thanks to the implementation of this procedure, the brick will not absorb the solution, which will increase the quality of the masonry.
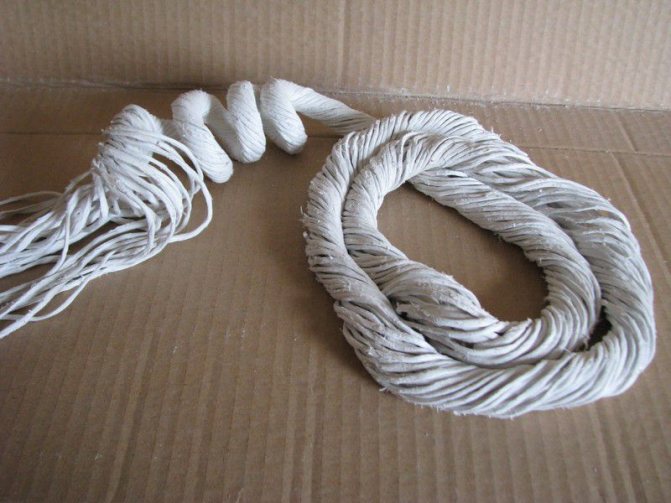
Since the door frames installed during the masonry process are subject to temperature effects, before installing the Dutch woman in the oven, they must be wrapped with an asbestos cord or varnished with fireproof properties.
The most frequent problem requiring repair measures in a furnace that was previously in operation is chipping of bricks at the ends and corners of the furnace. To prevent this, during the masonry process, they are finished with specialized plates of various shapes.
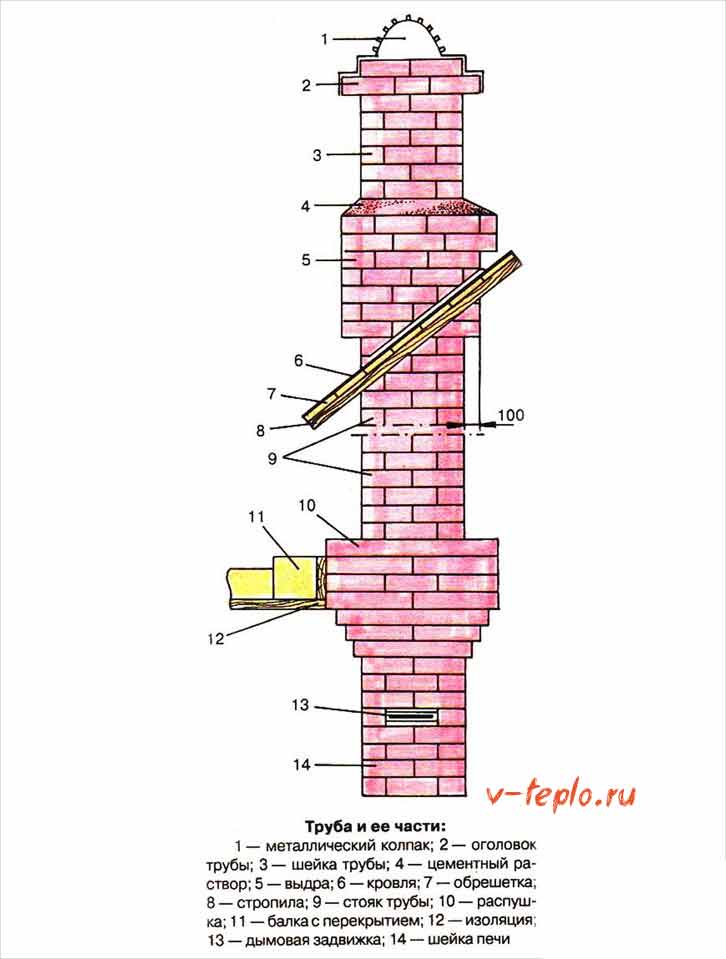
Another important indicator of the quality and long-term operation of the Dutch oven, according to experienced stove-makers, is the distance between the chimney pipe and the roof slabs. Ideally, it should be at least 15 cm.
Experts recommend building walls one brick thick for small structures, and two bricks for more massive structures. Only this thickness will be able to provide maximum heat transfer with minimum fuel consumption, typical for a Dutch oven.
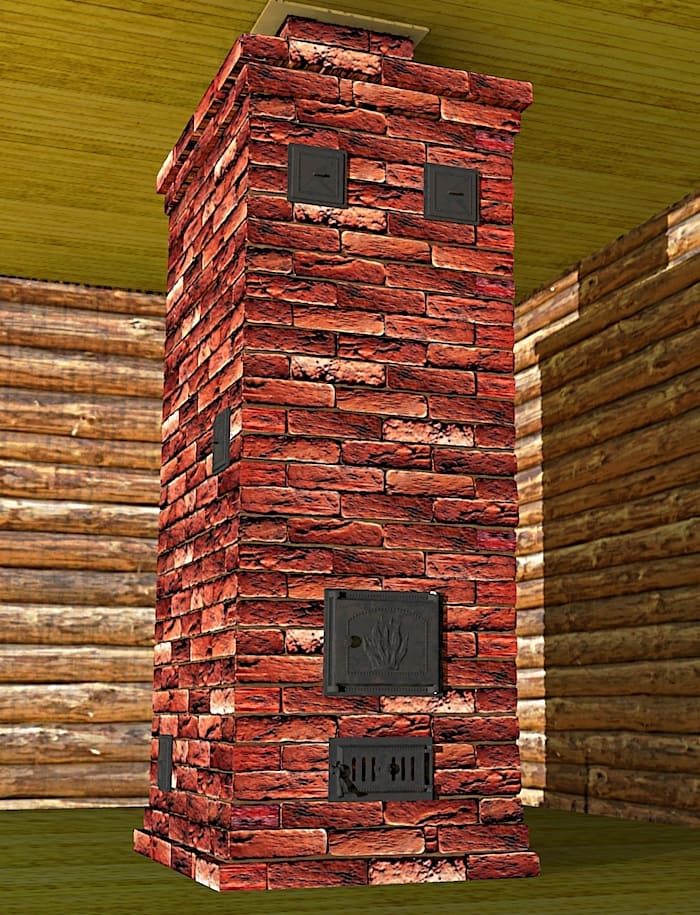
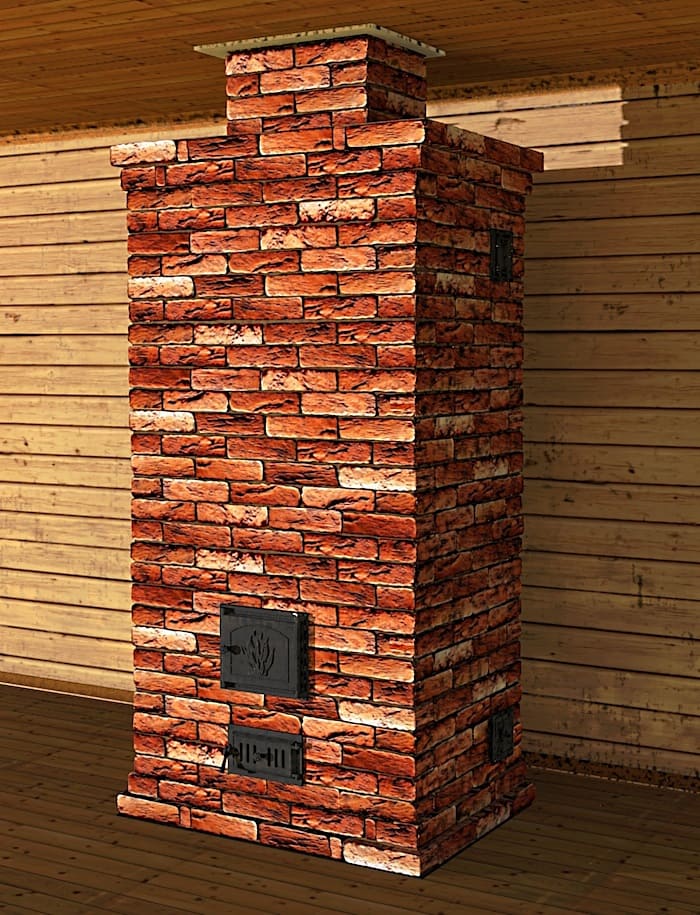
Dutch oven projects
Dutch oven 002
This design of the stove is characterized by high efficiency. The main function of the Dutch oven is heating. This heating stove is made of solid ceramic bricks. Its design consists of: Firebox, chimney system, regulation of the speed of the emitted smoke. With its small size, this stove simply fits into the design of any room.
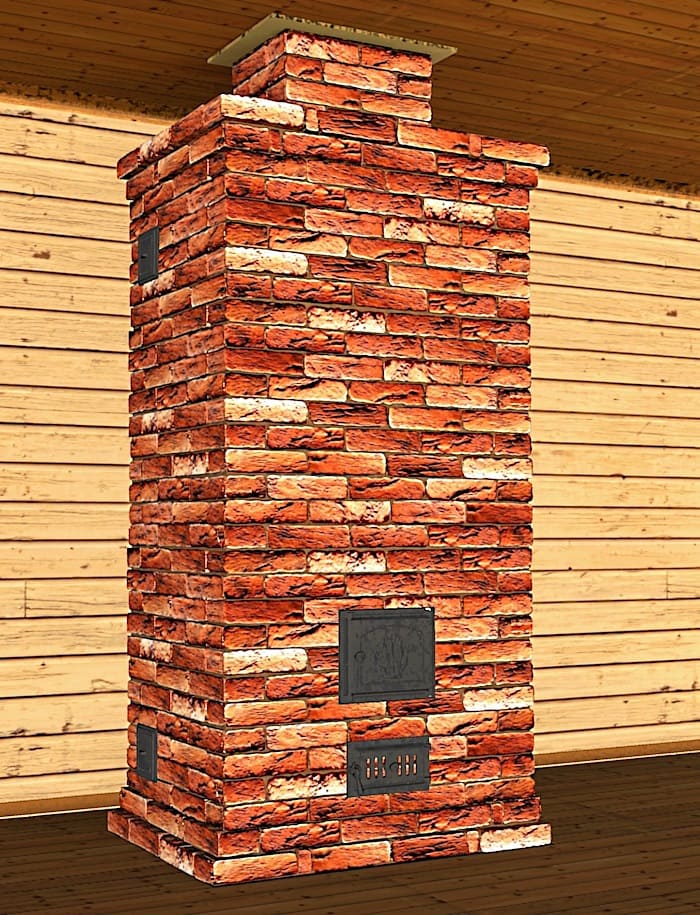
OP-Dutch 003
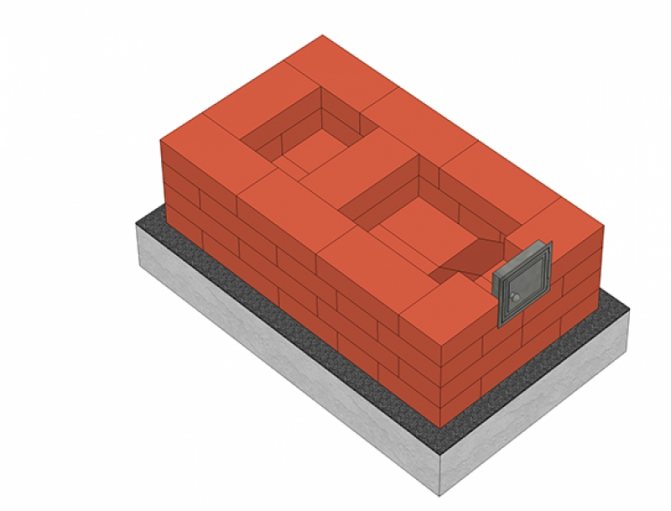
The classic version of the Dutch stove is a rectangular structure lined with one brick, which has long smoke channels above the firebox. The main purpose of the Dutch oven is exclusively the heating function. This design of the stove is characterized by high efficiency. The main function of the Dutch oven is heating
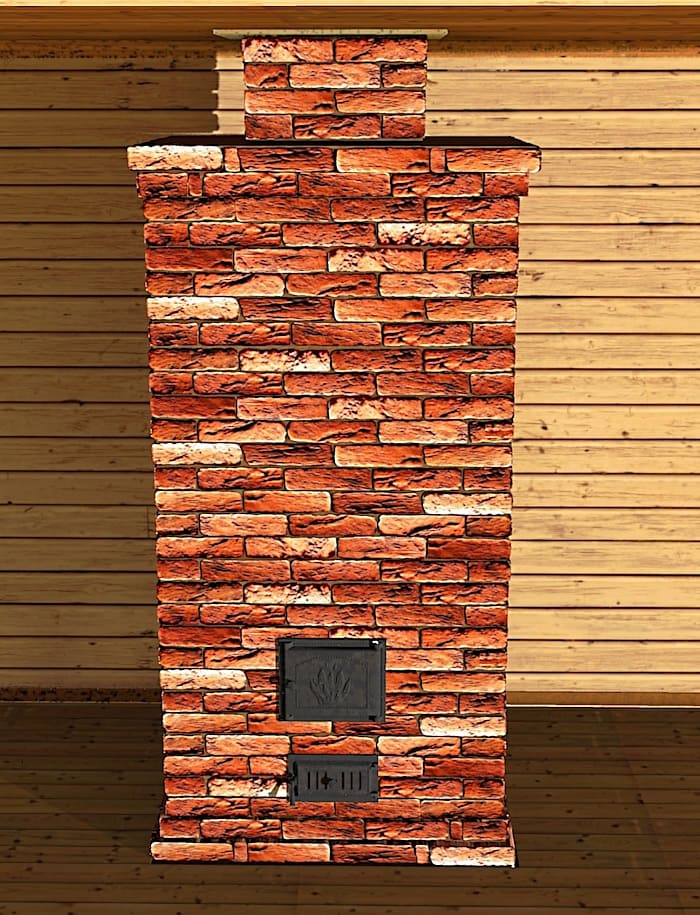
Dutch oven 004
The main purpose of the Dutch oven is exclusively the heating function. This design of the stove is characterized by high efficiency. The main function of the Dutch oven is heating. This heating stove is made of solid ceramic bricks. Its design consists of: a firebox, a chimney system, regulation of the speed of the emitted smoke. With its small size, this stove simply fits into the design of any room.
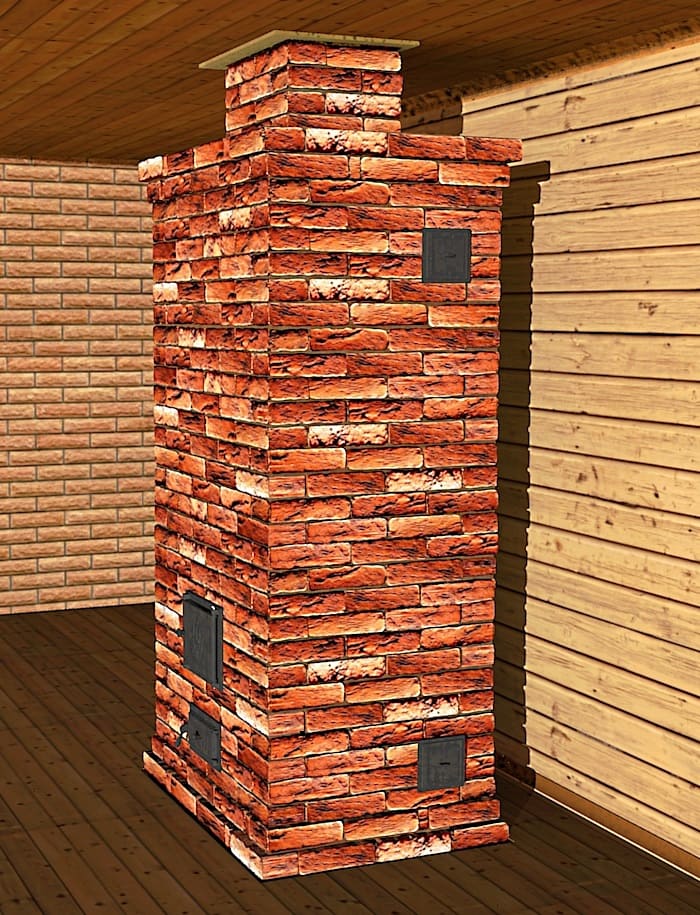
Dutch oven 005
Designed for premises ranging from 20 to 40 square meters. The classic version of the Dutch stove is a rectangular structure lined with one brick, which has extended smoke channels above the firebox. The main purpose of the Dutch oven is exclusively the heating function.
Home Dutch 006
Designed for premises ranging from 30 to 60 square meters. The classic version of the Dutch stove is a rectangular structure lined with one brick, which has long smoke channels above the firebox. The main purpose of the Dutch oven is exclusively the heating function. This design of the stove is characterized by high efficiency. The main function of the Dutch oven is heating. This heating stove is made of solid ceramic bricks. With its small size, this stove simply fits into the design of any room.
Heating Holland 007
The main purpose of the furnace is exclusively the heating function. This design of the stove is characterized by high efficiency. The main function of the oven is heating. This heating stove is made of solid ceramic bricks.Its design consists of a firebox, a chimney system, and a speed control of the emitted smoke. With its small size, this stove simply fits into the design of any room.
Dutch oven 008
Designed for premises ranging from 20 to 40 square meters. The classic design of such a furnace is a rectangular structure, laid out in one brick, which has extended smoke channels above the firebox. The main purpose of the device is exclusively the heating function. This design is characterized by high efficiency.
Oven Dutch 009
The main purpose of this design is exclusively the heating function. Stove tests are characterized by high efficiency. This heating stove is made of solid ceramic bricks. Its design consists of: a firebox, a blower, a damper. With its small size, this stove simply fits into the design of any room.
Heating furnace dutch 010
Small construction for premises ranging from 18 to 24 sq.m.
The exterior is a rectangular structure, laid out in one brick, which has extended smoke channels above the firebox. It has a narrowing above the firebox. Dimensions 750x750 cm. Small in size, this stove simply fits into the design of any room.
An indisputable positive aspect of the operation of the furnaces themselves is that in this situation, the conductor of heat is air, which has a huge penetrating ability and a very short heating period.
Of course, heaters have been used by mankind since time immemorial and over time, certain changes have been gradually introduced into them. Absolutely all stove heating systems are subdivided into heat-intensive and non-heat-intensive. Heat-consuming storage devices are able to maintain a certain temperature for 3-12 hours. It still depends on what type of construction the heat accumulator has. As a rule, in order to increase the efficiency, water heating is connected to the stoves. This technique is becoming more common over time. In addition, it perfectly suits the design, perfectly decorating the room.
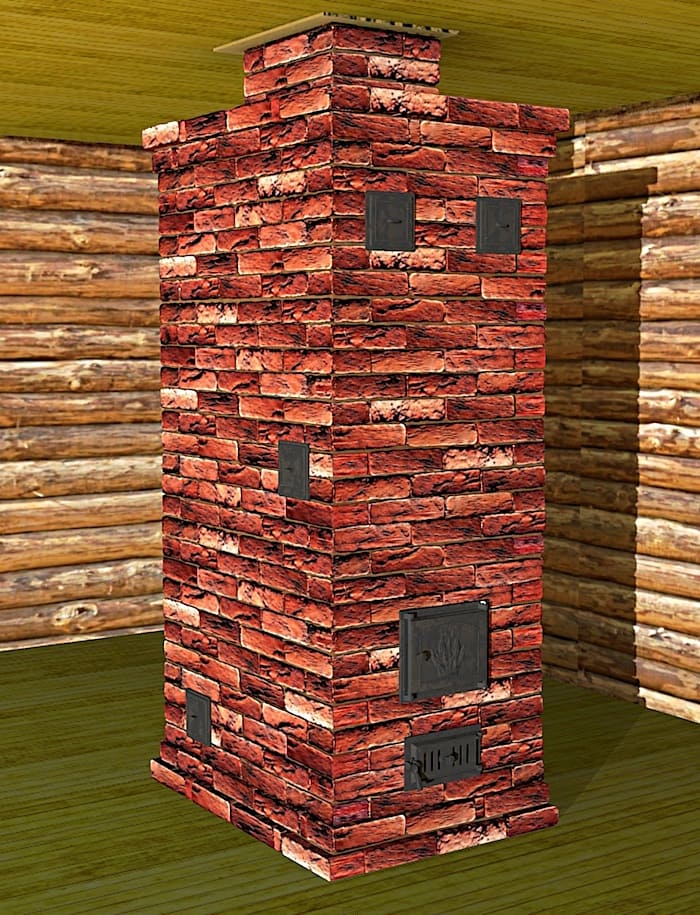
| Dutch woman (01) 4x3 bricks For heating living quarters up to 60 sq.m. Installation both interroom and island. The location of the doors on either side of the structure. It is possible to install a steam heating boiler. Designed for year-round use. |
General recommendations for laying Dutch women
- Each brick must be dipped in water before laying. This will prevent the building material from absorbing moisture from the solution, deteriorating its properties.
- It is imperative to wrap the furnace door with an asbestos cord. Otherwise, when heated, the masonry will expand and may burst.
- You cannot lay the firebox with ordinary bricks. Use only special heat-resistant building material for this. Refractory bricks must be used in masonry from the 3rd row.
- The thickness of the seams is also important. In the firebox, they should be more than 3-5 mm. In other areas of the masonry - no more than 5-8 mm.
- If the stove is placed in the fall or winter, that is, during the cold season, it can be put into operation a couple of days after the end of the laying. But it is possible to fully use the structure for heating only after 2 weeks.
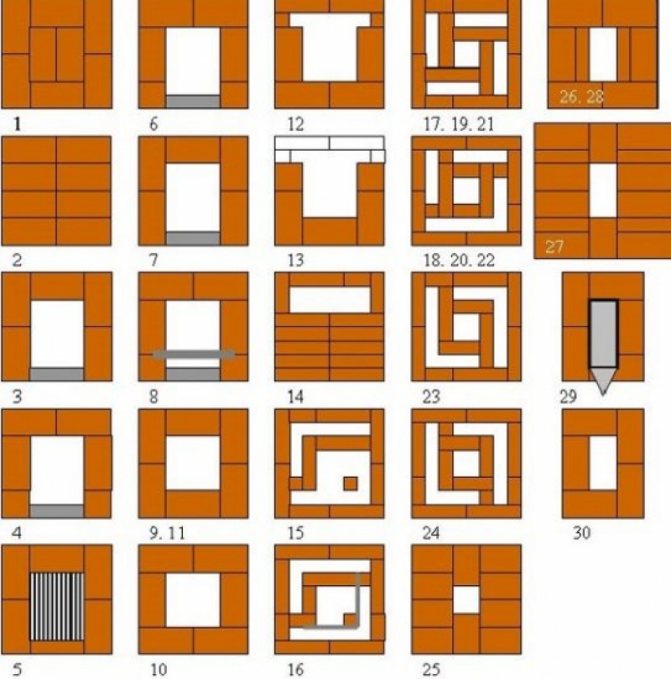
A brief instruction on how to lay a Dutch oven is described in this article.
Sectional diagrams are quite convenient and will be understandable even for beginners in the oven business. But in order to dispel all your doubts that putting the Dutch oven on your own is not difficult at all, we recommend that you watch the video. This small master class will help you understand some of the points that are not reflected in the article.
Cons and pros
The main disadvantages of heating with a Dutch stove:
- require a lot of space in the room;
- the rate of heat transfer from air is less than that of water, and therefore more is needed;
- there are problems with the distribution of heated air in the rooms;
Is a very expensive pleasure.
It is important to note that heating stoves are much more difficult to maintain than steam heating, for which you just need to perform correct debugging, after which you just need to control the correct functioning of the system. During the use of the stove, it is necessary to constantly take care of the fuel and take care of the structure, as well as the room in which it is located must be periodically cleaned, since it quickly becomes dirty. It is important to note that the stove takes up quite a lot of space, so it is necessary to find a suitable place for it, and also you need to constantly look after it and check its correct functioning, since without these works, a fire may occur or carbon monoxide poisoning may occur. However, despite all the above disadvantages of stoves, they have high efficiency, quickly heat up rooms, are cheap to install and operate, and are also multifunctional, since they can be used to cook food that has a pleasant and unusual taste and rich aroma.
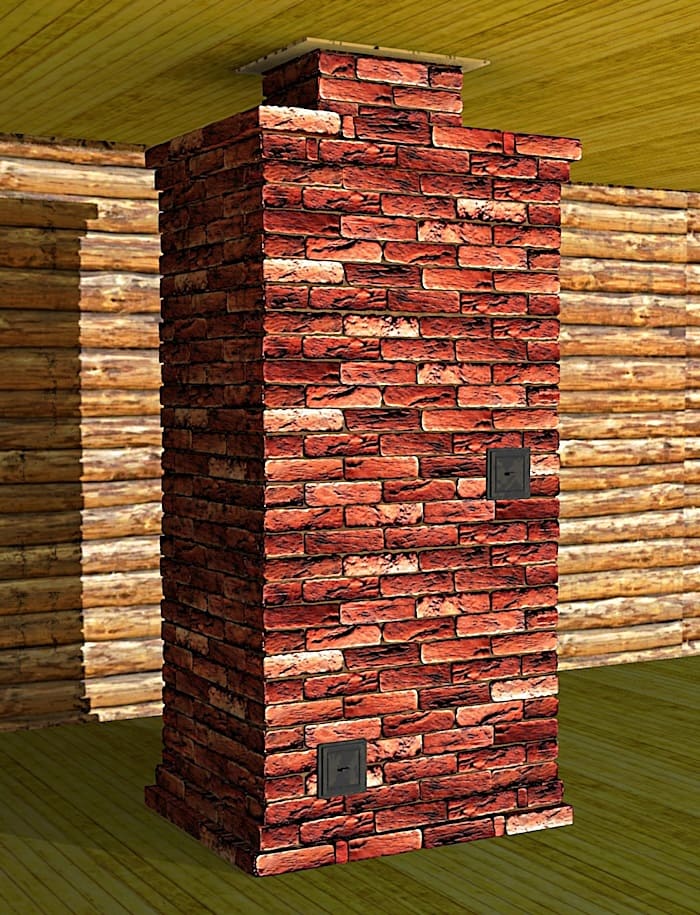
| Dutchwoman (02) 0.75m per 1m Heating. 3 kW |
Advantages and disadvantages

The stove is erected very quickly, even a beginner can handle it.
The main advantage of this stove is its small size. It does not take up much space, but it gives a lot of warmth. A Dutch brick stove for a summer residence will be an excellent solution to the issue of heating. There is usually no gas in summer cottages, it is insanely expensive to heat with electricity, so firewood will become the optimal source of heat energy.
A handmade Dutch oven will give you comfort and coziness. And its construction will not take long. By strictly following the assembly instructions and not deviating from it a single step, you will have at your disposal a full-fledged heating unit that runs on cheap wood.
The next advantage is long cooling time. Complete combustion of firewood in the firebox will not lead to rapid cooling of the Dutch woman. And the larger the oven, the longer it will stay warm. At the same time, she almost never is capricious - the main thing is that there is good draft in the chimney.
There are some disadvantages that are common to any wood-burning stove:
- For long-term work, a Dutch woman needs good firewood, not rotten stumps.
- When using raw firewood, a large amount of soot can be released - it forgets the smoke channels. And since the channels in large furnaces run like a snake (up and down, in turn), there will be problems with cleaning the stove (installation of additional cleaning doors is required).
- Good traction often leads to excessively fast burning of logs - you need to learn how to regulate the intensity of combustion using the blower door.
Nevertheless, Dutch ovens are still in service.
Place for the oven
Before directly installing the structure, it is important to determine the location of the furnace, since this issue is considered extremely important and relevant. Many people think that the best solution is to place the structure in the middle of the room, and in this case the smoke ducts should be laid along the wall, thus reducing the headroom and improving draft. However, this arrangement creates a constant circulation of air, in which it cools near the outer walls and returns to the furnace, forming a furnace draft. Cold air above the floor, which moves from the walls to the stove, creates discomfort for people who live or are just in the room, so you cannot achieve good health in this way.
Therefore, the best solution is to locate the Dutch woman near the outer walls, however, in this case, there are certain disadvantages. A problem arises with smoke channels, since condensation appears on the inner walls and draft deteriorates, so the room will get dirty very quickly.
The compromise and the most optimal option is the location of the stove in the middle of the house, and the surfaces that give off heat should go into the living rooms, and parts that are heavily contaminated, such as the firebox and stove, should be in the kitchen.
This stove is well suited for giving
Video - Oven Dutch
A bit of history
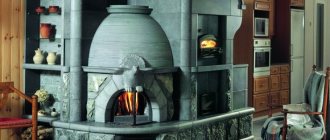
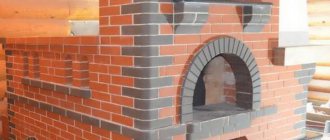
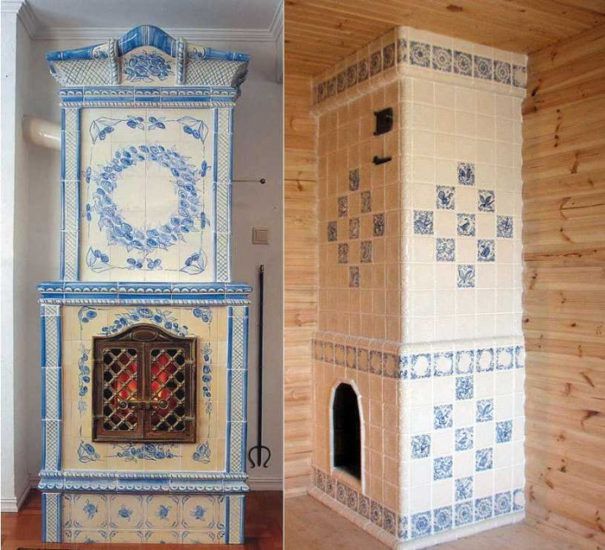
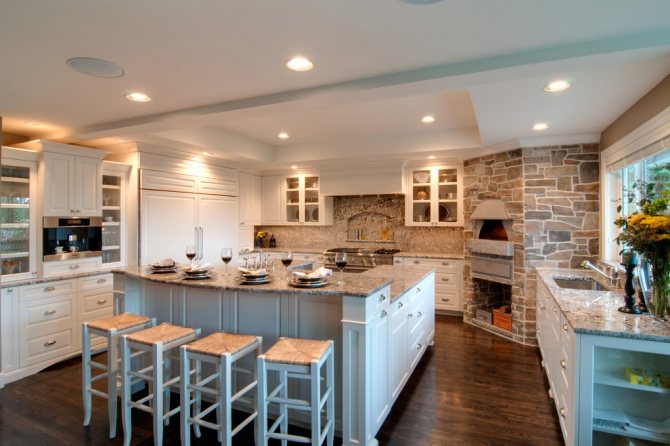
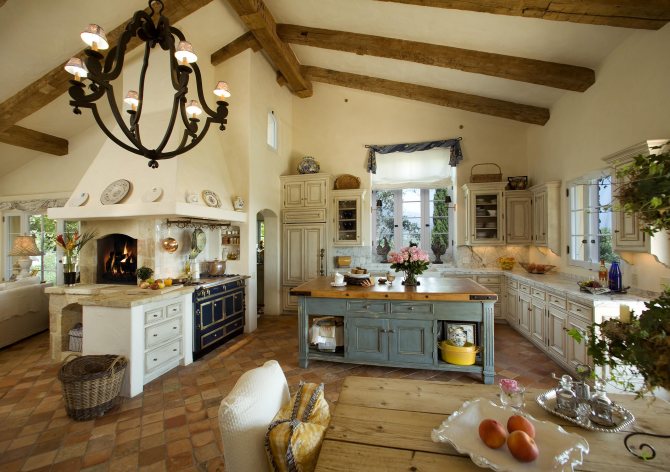
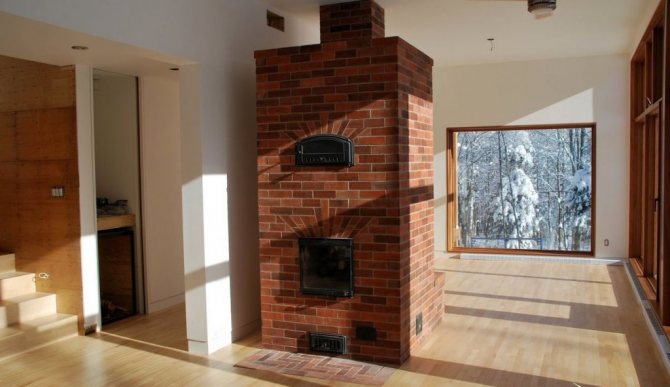
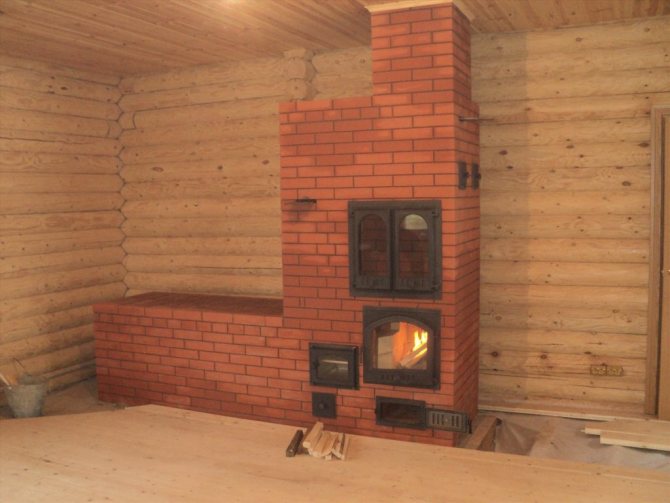
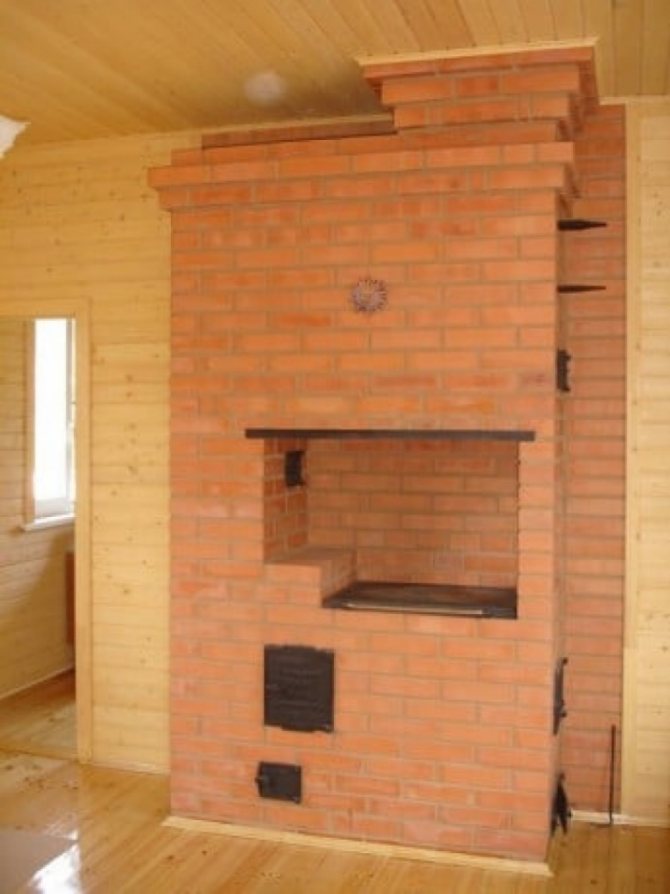
Dutch stove in the interior
The Dutch stove developed as a construction during the time of Columbus, in the 15th century. Beginning in the 16th century, after gaining independence by the Netherlands, it began its march around the world. In the XVIII century. became common; by the XIX century. - dominant. It remains such in its class to this day, especially since it fits perfectly into both simple and the richest interior, see fig.
In encyclopedias
The encyclopedias define the Dutch stove as a RECTANGULAR heating stove, hearth, slow-burning duct multi-turn, with vertical smoke circuits and a side outlet to the chimney, ORIGINALLY LATERED WITH TILES. This should be borne in mind when reading what follows.
About tiles
The Dutch woman has another merit for humanity - she brought tiles and tiles to the world. It will be said about the tiles as such, but for now you need to know: aesthetically, the Dutch woman is inseparable from tiles. A naked brick Dutch woman will warm the dacha well or handle cooking in the kitchen, but if an interior design with a Dutch oven is planned, then a naked Dutch woman is a clear bad taste. Imagine Botticelli's Venus or Bryullov's Last Day of Pompeii, painted with metallic acrylics. A naked Dutch woman in a retro or country living room is the same.
Note
In accordance with the SNiP of 1991, stoves in log buildings are permissible only when the number of storeys of the building does not exceed two floors. Considering this, the temperature of the walls of the Dutch woman should be no more than 60 degrees.
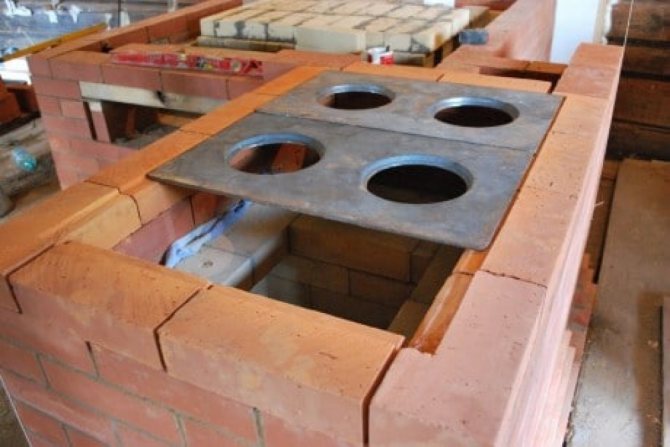
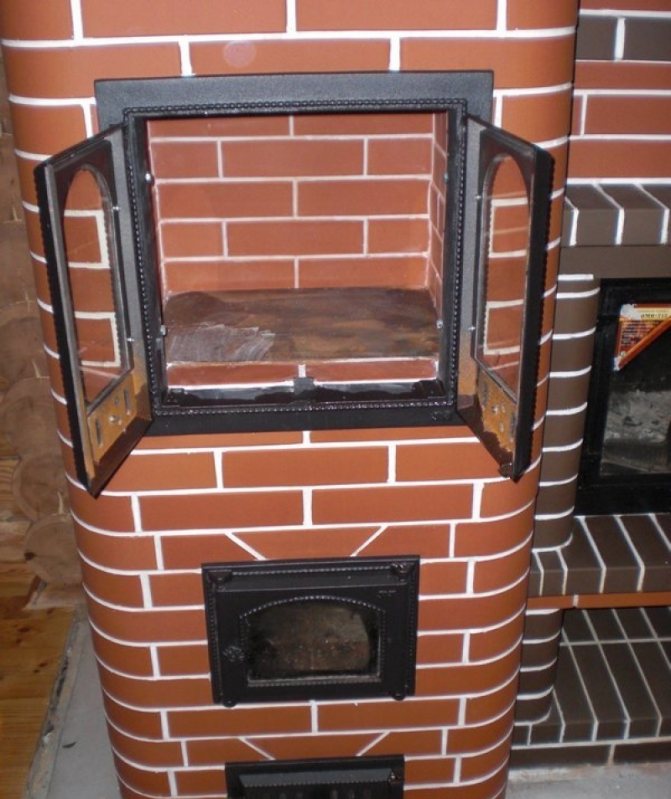
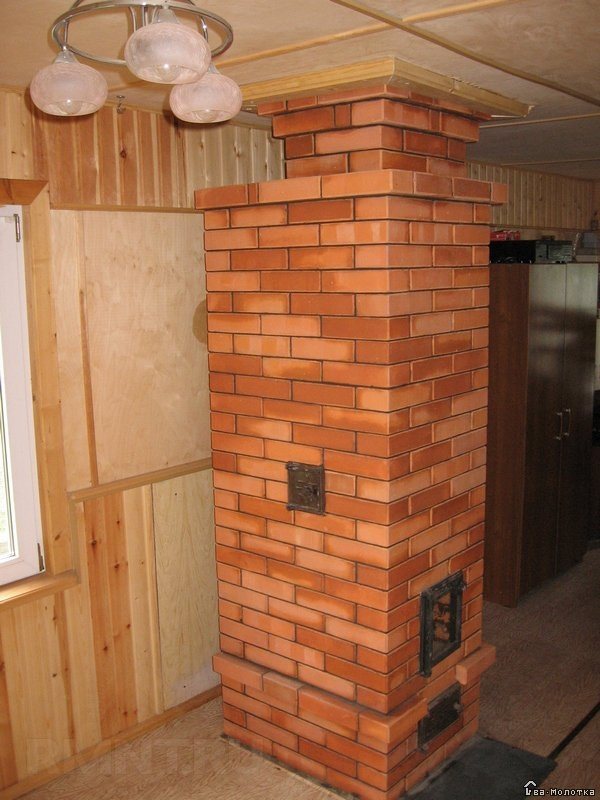
These units are designed to heat, as a rule, one or two rooms. Their dimensions vary depending on the area to be heated. For example, for a room with an area of 20 m2, a stove with dimensions of 750 x 750 x 2000 mm is sufficient, provided that the house is well insulated. Such a stove, folded in the corner of a room, takes up very little space, and lined with ceramic tiles, and even with a glass furnace door, can become a real decoration of the interior. For two rooms, the heated surface of the oven is doubled. Such a stove is placed on the border of adjacent rooms, and in this case it makes sense to think about whether to make it a heating and cooking stove. These are the so-called "Swedes". Being multifunctional, they are ideal for summer residents who like to make blanks, dry mushrooms and berries, etc. Some ovens have two operating modes: summer and winter. Summer mode allows you to use the hob without heating the entire oven. This often helps with prolonged power outages. And now we get to the fun part. These combined fireplace stoves are universal heating devices that combine the practicality of stoves and the aesthetics of fireplaces. The inclusion of a fireplace in the design of the stove is almost always associated with the need to develop a project. The increased cross-section of the chimney pipe of the fireplace stove allows you to connect additional heating devices on the upper floor of the house (metal stoves and prefabricated fireplaces) to it.


Used materials and oven appliances
The material for the furnace is ordinary clay brick in accordance with GOST 390–96. It is very important that it is well burnt and, when tapped, emits a clear, ringing sound. Cracked unburned brick will significantly reduce the strength and durability of the masonry.
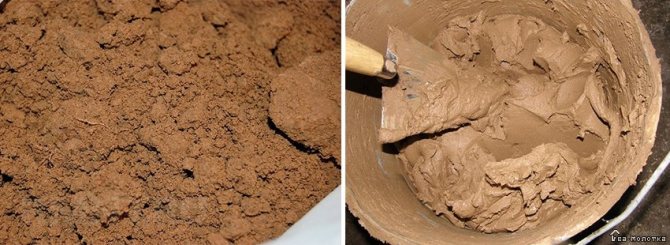
Clay, most often red, is used as a binder in the laying of stoves. Conventionally, it was divided into three types according to the amount of sand in the composition:
- fatty - 2-3% of the total;
- medium - 15%;
- skinny - up to 30%.
The composition of the solution: clay, sand and water. The more sand in natural clay, the less it is added to the clay. The clay-sand ratio for different clays is:
- for oily - 1: 2.5;
- for medium - 1: 1.5;
- for skinny people - 1: 1.
The sand is used fine with a particle size of less than 1 mm, so it is sieved through a sieve (mesh 1–1.5 mm). You can use ready-made heat-resistant masonry mixture.
Consumption of materials:
- Ordinary clay bricks (excluding pipes) - 450 pcs.
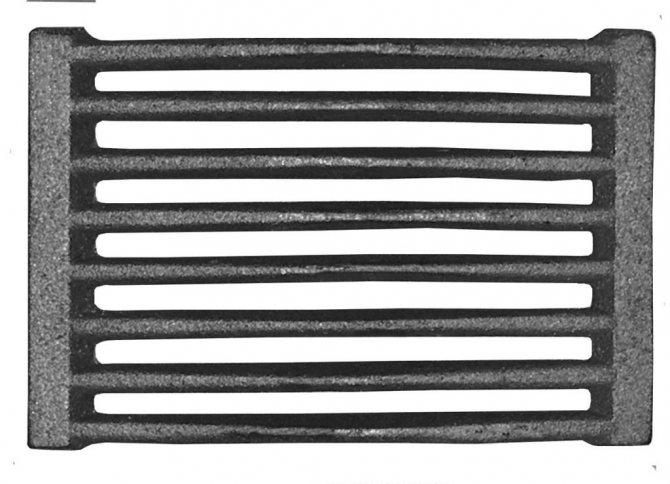
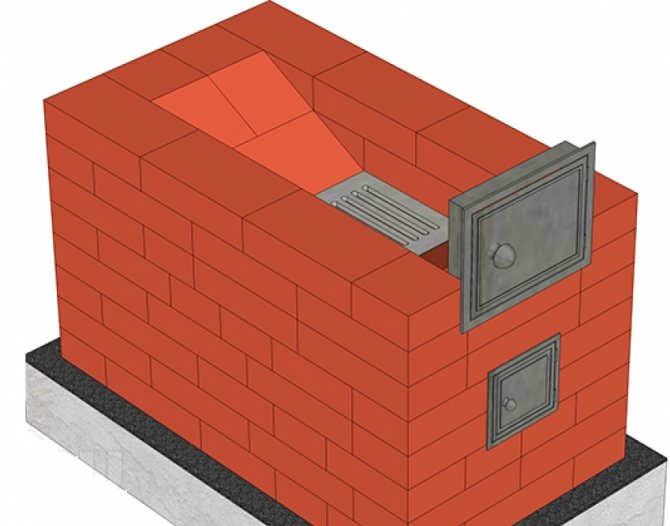
- Grate 180x250 mm - 1 pc.
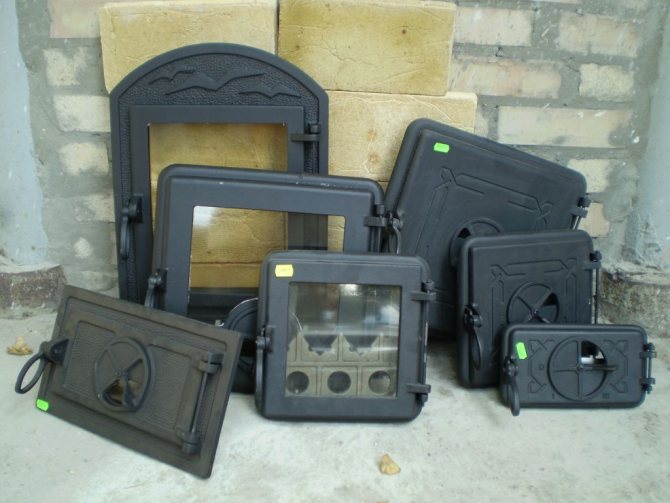
- Furnace door 205x205 m - 1 pc.
- Blowing door - 1 pc.
- Smoke damper 130x240 mm - 2 pcs.
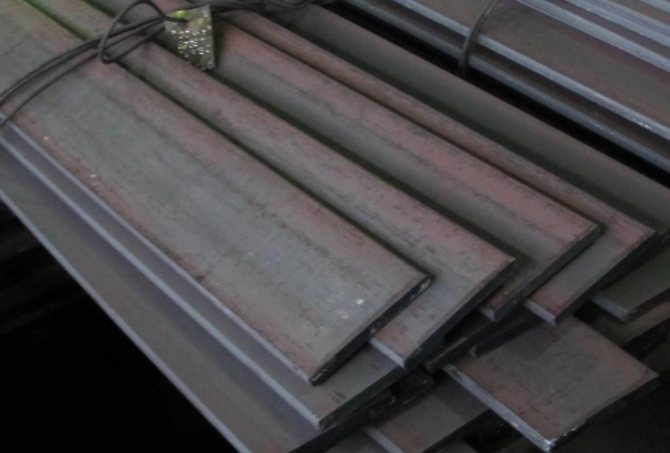
- Pre-furnace metal sheet 500x700 mm - 1 pc.
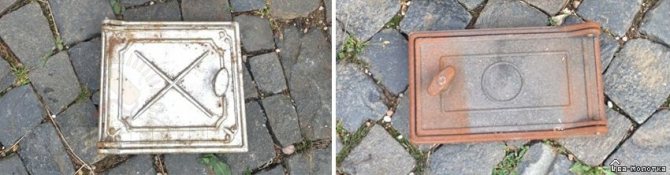
Furnace and blower doors
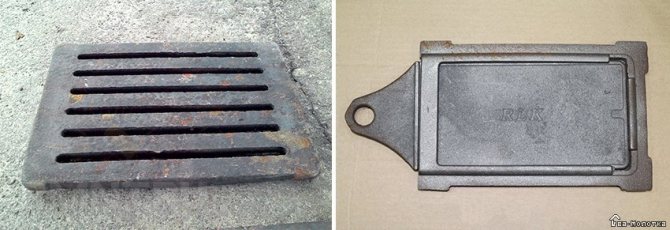
Grate and smoke damper
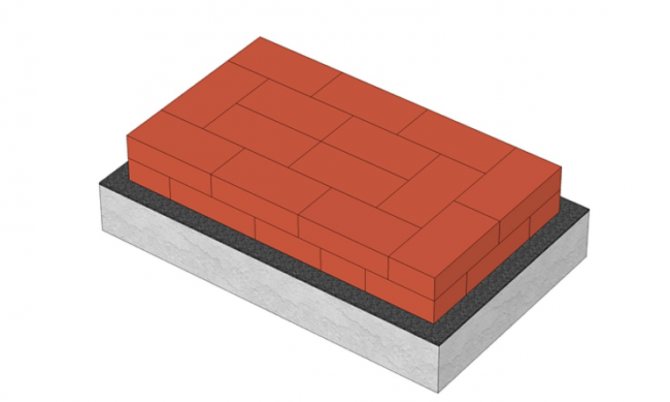
Base - monolithic concrete foundation
It is better to make a separate foundation for the oven. It can also be installed on the floor in the case of its sufficient bearing capacity, which is verified by calculation.
In rooms where the temperature is positive all year round, the strength of the soil and the depth of groundwater affect the depth of the foundation. Under favorable conditions, the minimum distance between the bottom of the foundation and the planning mark at the outer side of the wall should be 0.5 m.
If the building has interruptions in heating in winter and within 2 meters under the stove there are soils with water: sandy loam, silty and fine sands, loams, clays, the depth of the foundation is taken to be greater than the calculated freezing depth of the soil. For sands, it is 1.8 m, for loams, clays - 1.6 m in central Russia.
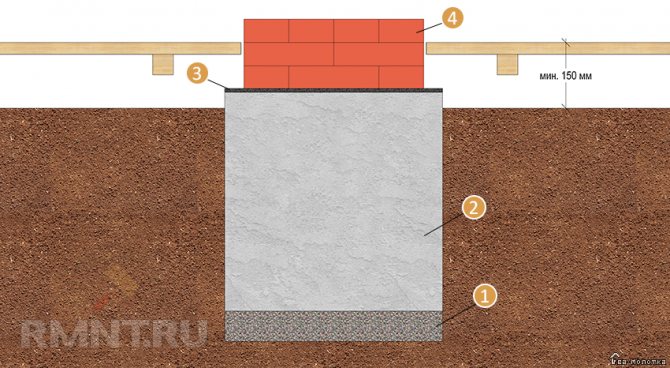
1 - sand and gravel pad 150-200 mm; 2 - concrete foundation; 3 - waterproofing of 2 layers of roofing material; 4 - oven brickwork
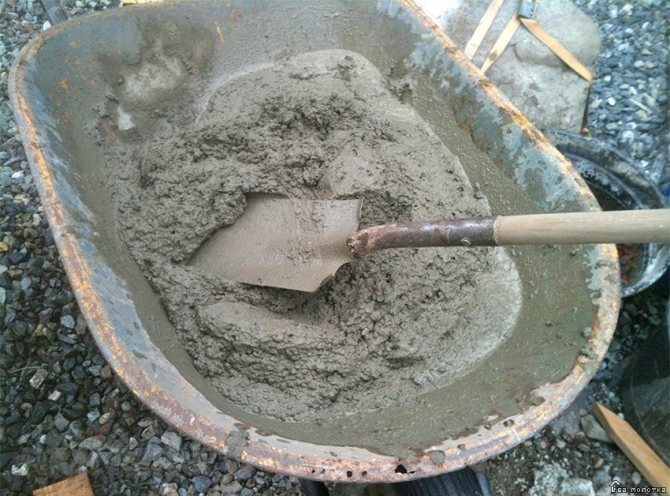
If the concrete mixture is prepared independently, then it will be required for 1 m3 of concrete:
- Cement M400 - 325 kg.
- Sand of medium size - 1300 kg.
- Crushed stone or gravel - 1300 kg.
- Water - 205 liters.
Important! All ingredients are subject to requirements that comply with SNiP and GOST standards.
For concreting, you will need the following tool:
- Shovel for laying the mixture.
- Trowel for smaller jobs.
- Homemade rammers or vibrator for compacting fresh concrete.
- Concrete mixer, or a container for preparing concrete mixture.
- A smoothing trowel for leveling laid concrete.
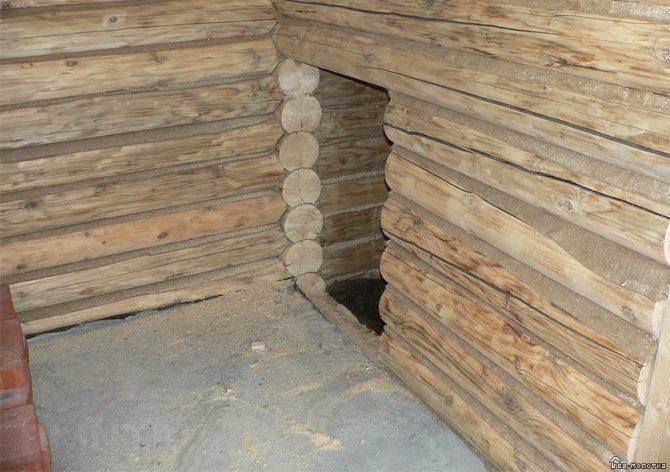
In dense, non-crumbling soils for placing concrete, formwork can be omitted. The hole is dug according to the size of the foundation. In terms of plan, it exceeds the size of the oven by 10 cm along the entire perimeter. A gravel (crushed stone), sand-gravel or sandy compacted cushion 15–20 cm thick is laid on a compacted soil base.
In crumbling soils, formwork is required. If the stove is installed near the wall, under which a continuous strip foundation is laid, then the concrete base of the stove should be 5–10 cm away from it. The groove between them is filled with compacted sand. It is better to lay both foundations together so as not to weaken the wall structure.
To ensure the strength of the entire foundation of the furnace, it is better to lay the mixture at one time. The process of placing concrete is carried out in layers with compulsory compaction with rammers or a deep vibrator.
Stripping can be done if there is no danger of destruction of concrete that has not gained sufficient strength. At temperatures above +5 ° C, this is possible after 1–2 weeks.
From the moment fresh concrete is placed, it needs to ensure a normal hardening regime. It is insulated at temperatures below +5 ° C and watered when it is hot and windy, at least 3 times a day.
The foundation concreting ends at a mark 15 cm below the finished floor. Next, 2 layers of waterproofing (roofing felt) are laid on the surface of the base of the furnace.