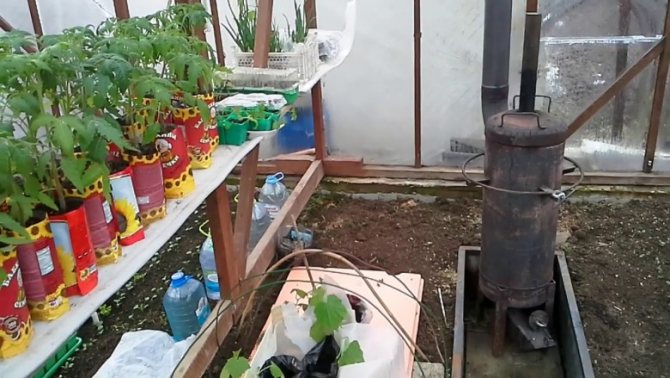
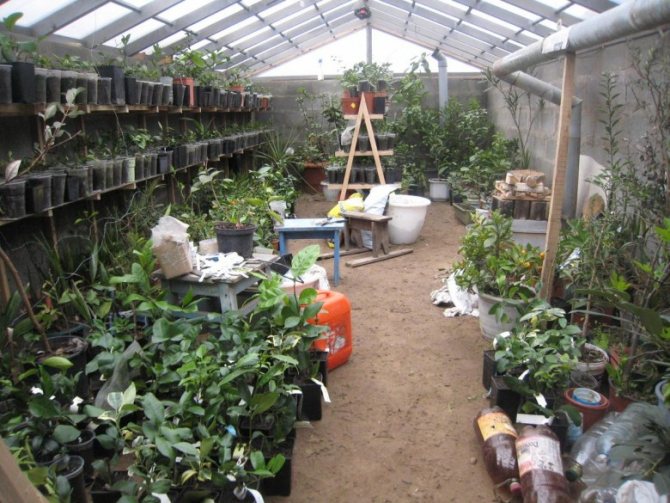
Greenhouse - rescue in adverse climatic conditions, in some areas it is impossible to get a high-quality harvest without installing it.
Equipping the greenhouse with a heating stove additionally expands its capabilities - Plants are no longer afraid of long periods of lower temperatures, when an ordinary greenhouse inevitably gets cold.
The use of the greenhouse becomes possible even in winter, that is year-round... The greenhouse oven also allows for cultivation more exotic thermophilic varieties vegetables and fruits.
Odnoklassniki
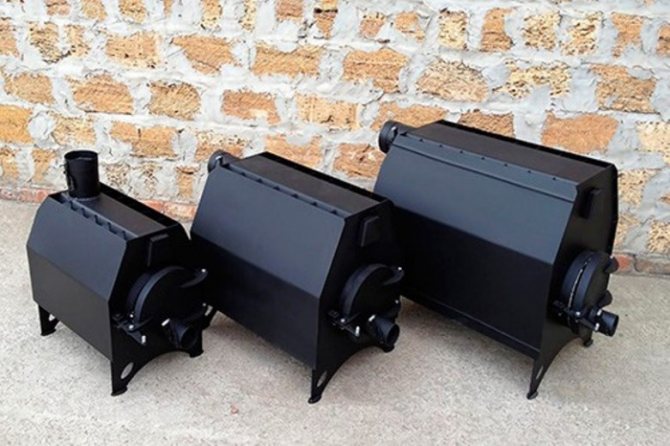
Wood burning stoves for heating greenhouses
The choice of options for heating devices for the greenhouse is also variedas for home. Most often, factory models are used, which are purchased in stores, but the manufacture of such a device is available with your own hands.
Furnaces differ as by fuel type - wood, gas or electric, and by material of manufacture - metal or brick.
Most often they choose for self-construction solid fuel apparatus, which is heated with wood, pallets of chips, husks, dry pieces of peat.
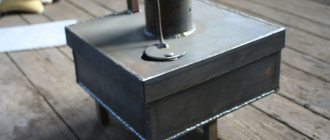
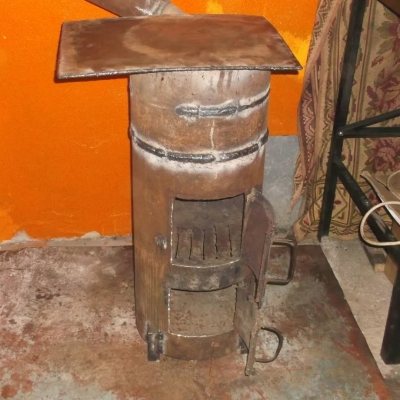
Plain greenhouse stove
This type of device can be made of metal or brick.
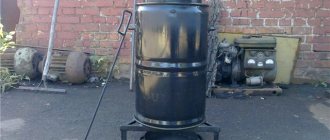
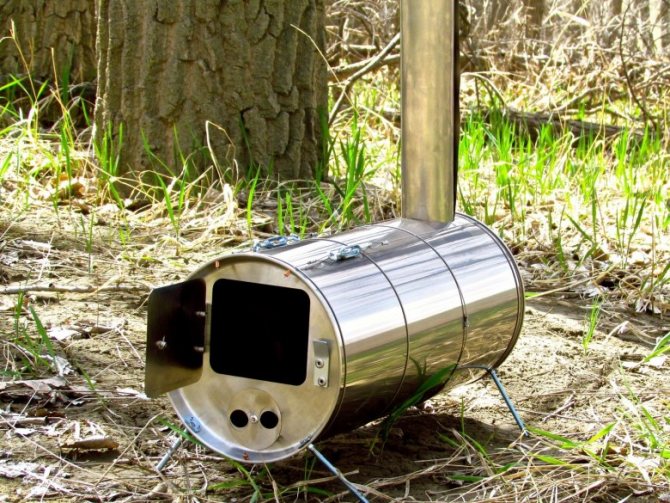
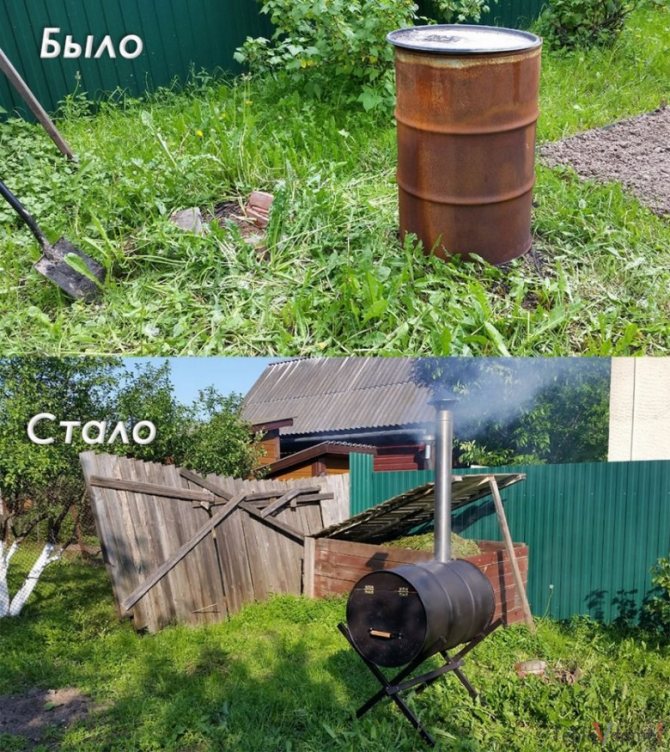
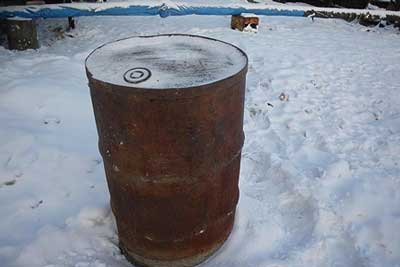
Metal a potbelly stove is quite simple to build, it is recommended to cook it from an old barrel or gas cylinder, size 1.5 mx 0.5 m... A distinctive negative feature will be the inability to retain heat, therefore, as soon as the fuel in the stove burns out to the end, the greenhouse begins to dry out.
Has the meaning uneven heating - the stove has a high heat transfer due to the metal body, therefore, the air in the immediate vicinity of it overheats greatly, which negatively affects the soil and plants.
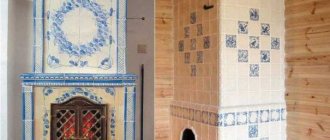
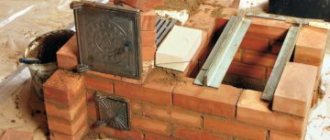
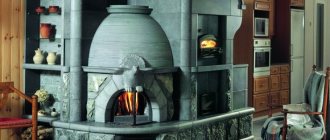
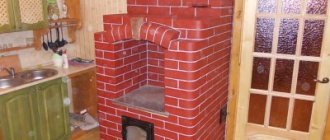
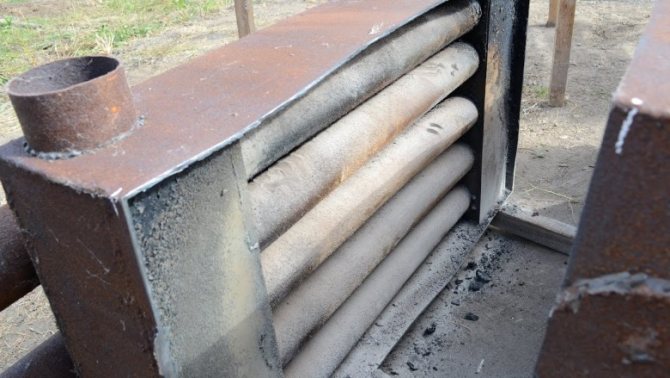
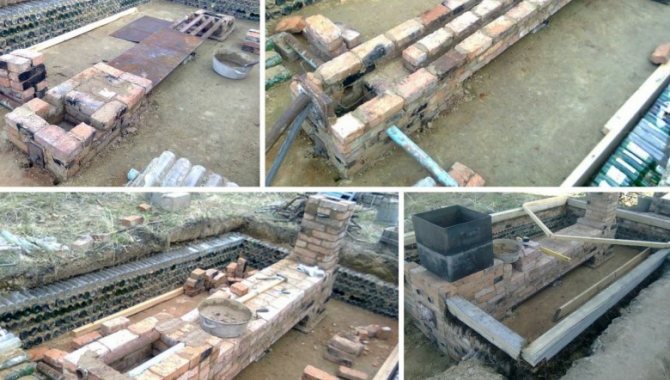
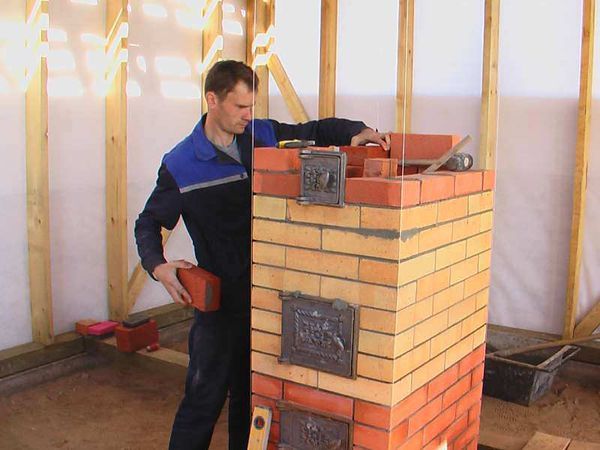
Furnace construction brick will allow you to get longer, gradual heating premises, as well as long-term heat transfer after the firewood has already burned out. The construction of an elongated horizontal smoke channel will significantly increase these indicators.
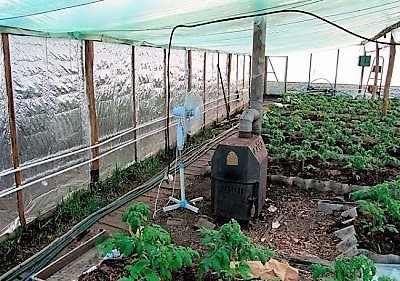
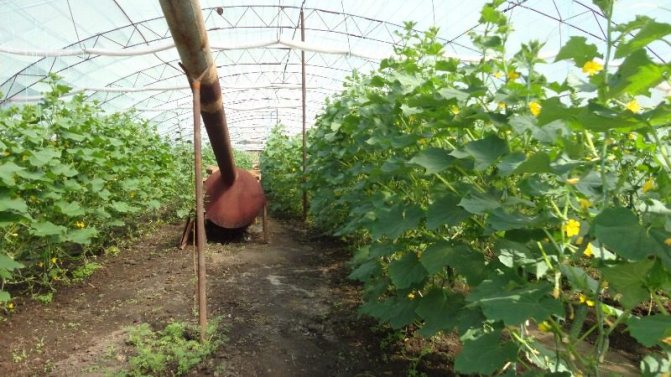
The dimensions of such a device can be different, depending on the area of the room, smoke channel usually gives all the best the entire length of the greenhouse - being located in the center, it contributes to high-quality, uniform heating of the air.
Important! The task of the greenhouse oven is primarily warming up the soil, therefore, the smoke channel and the device itself are located as close to the ground as possible.
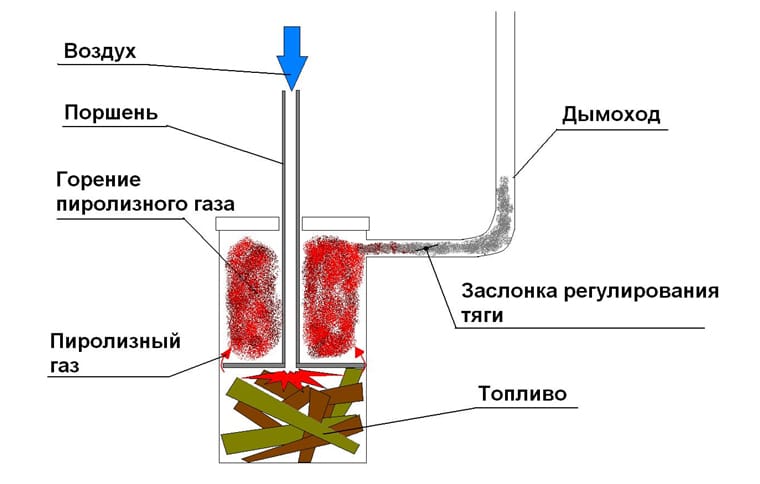
Long burning device diagram
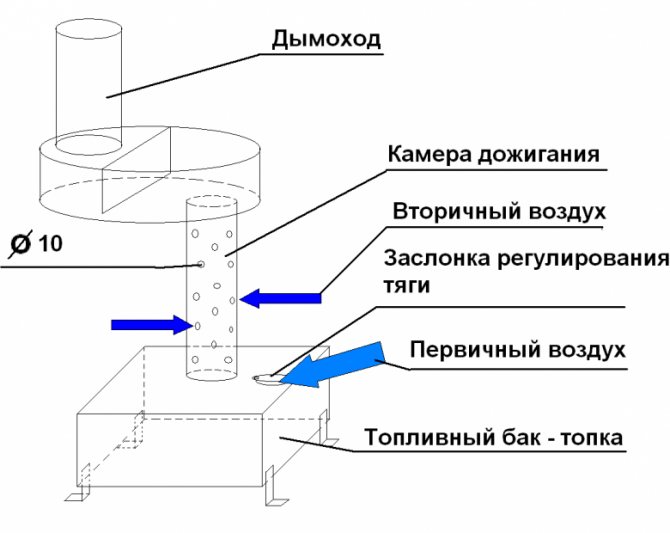
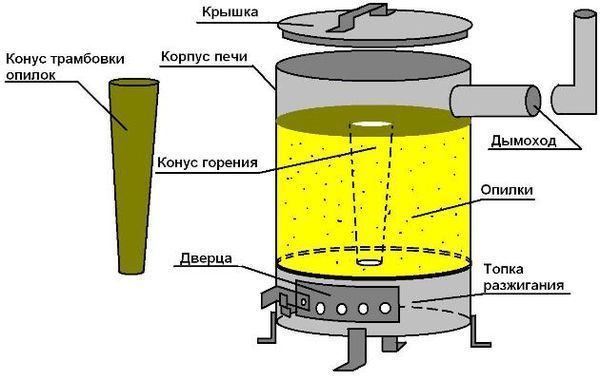
To improve the efficiency of the oven, it is often equipped with double combustion chamber - this allows to extend action of one bookmark of firewood for 12-18 hours... This is achieved through the process pyrolysis - due to the controlled ingress of air into the furnace, the wood does not burn in an open flame, but smolders very slowly, emitting a large amount of smoke and hot gases. Second chamber the furnace is used for the final combustion of the released combustion products.
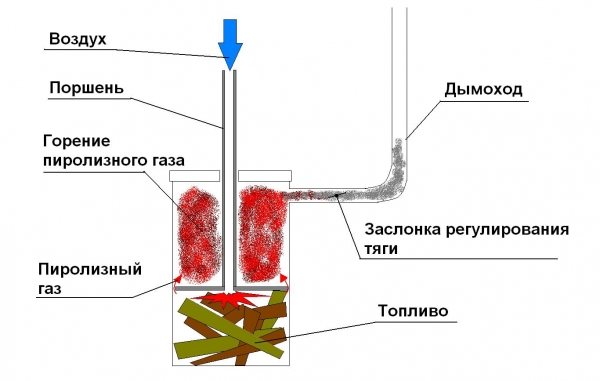
Photo 1. Diagram showing the device of any long-burning furnace with limited oxygen supply.
With this heating method, you have to report fuel much less often, and pyrolysis combustion leaves almost no waste, therefore you do not have to often clean the furnace from ash... The savings in fuel and time required for maintenance make this option the most sought after option. Dimensions (edit) can be quite small - 1.5 mx 1 m, more efficient air heating will be provided by the installation horizontal smoke channel.
Features of the
There are a huge number of versions of greenhouse heating systems. All of them are based on the principle of heat transfer from a heating unit. The main details of almost all greenhouse heaters are unchanged:
- fuel combustion chamber;
- channels that distribute warm air;
- convection jacket.
Depending on the type of stove, it can be supplemented with some different elements that are designed for better heating of the room.
Knowing the size of the expected heating area of the greenhouse and the nature of heating, it is really possible to make the ideal stove just for your case.
Making a stove with your own hands
The choice of the project of the future device is mainly depends on the conditions and the desired functions... If heating is required small greenhouse, the device will work only periodically, for example, to ensure an earlier sowing of seeds in the spring, a small potbelly stove of a simple design will do.
With constant use of heating, for heating large areas, a significant amount of fuel consumption, the most suitable option will be economical designs based on pyrolysis combustion. Compactness and ease of installation are important - small device of steel easier to install and commission, brick the structure, due to its massiveness, will require laying the foundation, and the construction work will be more labor-intensive and time-consuming.
Preparation of materials, tools, places
The following materials are suitable for building a furnace:
- metal barrel suitable diameter;
- trimming metal pipes;
- steel in sheets sufficient thickness;
- old gas bottle.
To make the body of a long-burning furnace, a barrel or cylinder would be a suitable option. volume of 200 l for body and pipe cutting for chimney equipment, pieces of steel, fittings.
In addition to materials, you need to prepare special tools:
- marker for marking;
- Bulgarian with discs for cutting steel;
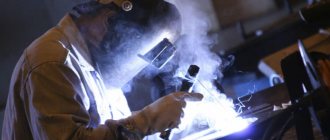
- welding machine;
- protective gloves and mask.
Then a place is selected and prepared - it would be best to install the oven in the middle of the greenhouse... Required the foundation is being built... Although an apparatus made of metal does not have such a large mass as of a brick, a reliable base must be made for it - it will do paving slabs, bricks... The materials are laid out in even rows on a compacted, leveled piece of land.
Assembly order
The work starts from the body:
- From a balloon the upper part is cut off, in lower part an aperture is cut out for storing fuel, sideways - hole for chimney equipment.
- The resulting metal circle grindso that it passes freely into the barrel.
- The circle is carved blower hole, the circle itself becomes heavier fittings or pieces of metal.
- Welded to the lid pipe cut with a damper that acts as a blower.
- Welded chimney, doormade from a bent sheet of steel or a barrel wall.
- Is attached metal fittings or legs.
Operating principle such a home-made device - providing smoldering firewood with a limited supply of oxygen. Under its weight, the lid gradually lowers, at the same time showing the level of fuel burnout.

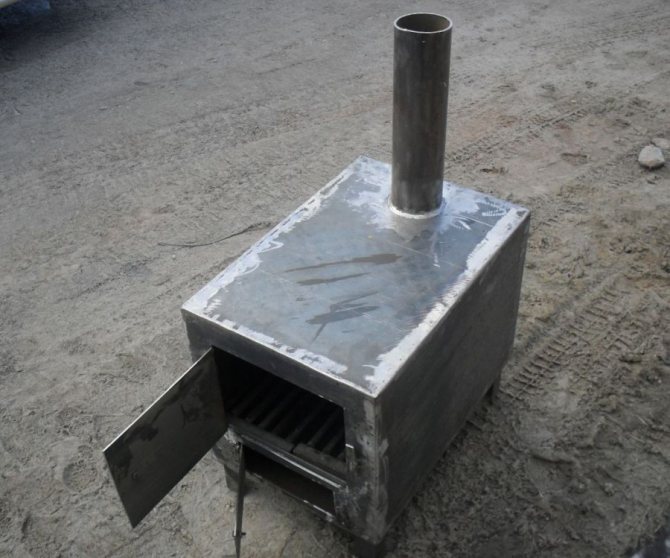
Stove from a pipe
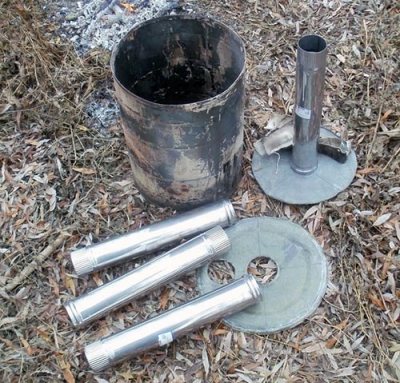
You can make a greenhouse oven that will run on sawdust from a thick-walled pipe. The step-by-step process of making a furnace looks like this:
- It is necessary to prepare three pieces of pipe of different diameters. The first one is for the fuel compartment (diameter 0.4 m), the second one will be used to make a chimney (diameter 0.1 m), the third one - any, for the supply of oxygen to the stove.
- At the top of the largest pipe, a hole is cut into which the chimney will be mounted.
- To make the bottom of the furnace, you need sheet steel (0.5 cm) from which you need to cut a circle equal to the diameter of the fuel compartment.
- Further, in a thin pipe, you need to drill up to 50 holes with a diameter of 1 mm.
- We weld the bottom to the largest pipe, and insert the prepared pipe inside the structure into a pre-drilled hole. The top cover is also made of sheet metal. There should be exactly the same hole in the middle of the lid as in the bottom of the oven. The second hole is closer to the edge. With its help, it will be possible to regulate traction.
- To make the shutter, you should use a regular tin can.
- Now it's time to move on to installing the chimney. For this, the branch pipe and the pipe (0.1 m) are connected with a clamp and sealed with a heat insulator. This piece is welded to the side hole at the top of the oven.
The final touch is the manufacture of oven legs, which are essential as an added safety measure.
No posts related to this topic.
Possible difficulties
When assembling, it is advisable to avoid the following mistakes:
- Placing directly on the base causes overheating, bottom burnout; there must be an outflow of hot air from the bottom, so the device is placed on strong legs.
- Furnace installation near unprepared walls may be unsafe as steel devices become very hot and therefore there is a high risk of fire if placed near objects.
- Excessively large blower diameter leads to the flow of excess oxygen, which is why the firewood ignites, and does not smolder; corrected with well adjustable gate valve.
The device has quite simple design, so if you approach your work carefully, you can avoid most of the mistakes.
Long burning oven: first acquaintance
How does a conventional oven work?
Firewood is placed on the grate and set on fire from below. The combustion process spreads in a natural direction - from bottom to top. The rate of fuel combustion can be partially regulated by limiting the air flow: it is enough to cover the blower located below the grate, and the flame will decrease.
Useful: the grate is needed not only for efficient transportation of air to the combustion site. It provides ash removal: unburned fuel residues fall through the grate and are removed from the ash pan when the furnace is reloaded.
The main disadvantage of such a scheme is that the combustion process spreads too quickly in its natural direction. Firewood burns out in 2-3 hours, after which a new tab is needed. Moreover, it is useless to increase the volume of the firebox: this will increase the thermal power, and not the burning time.
Engineers of the Lithuanian company Stropuva at one time thought: what if you set fire to a large volume of fuel placed in the furnace from above? In this case, the combustion will be much slower.
However, such a scheme will create several problems:
- The ash will fill up the fuel and interfere with the combustion process.
- The problem will be to provide air supply to the flame: if the firebox is covered with chips or sawdust, the air from below simply will not pass through a large volume of fine-grained fuel.
Both problems were successfully solved by a simple, in general, innovation: the air supply is organized from above directly to the combustion center. The air duct passes through the furnace lid and ends with a massive metal disc that distributes oxygen over the entire surface of the insert.
Schematic diagram of upper combustion devices.
The disc diameter is slightly less than the furnace diameter. Since with limited access of oxygen during the smoldering process, organic fuel burns to the state of the smallest ash, the ascending air flow does not allow fuel residues to interfere with combustion.Ash is carried away into the chimney.
The obvious problem with the fact that in the process of burning out the fuel, the combustion center will move from top to bottom, and the supply of air will be disrupted, was also solved simply and elegantly. The air duct is not fixed and falls as it burns out.
The holes made under the firebox cover will provide an inflow of additional oxygen, which will help to burn off the gaseous products of incomplete combustion. Thus, the furnace turns into the simplest natural draft gasifier.
However, the original stoves Stropuva there is a serious drawback - the price. For a 10-kilowatt product, you will have to pay at least 50 thousand rubles, which is clearly a lot for a greenhouse. The way out is obvious: knowing the schematic diagram of the upper combustion devices, we organize the oven heating of the greenhouse with our own hands.
Work order
If the principle of the product is clear, the assembly instructions will not seem complicated.
- Cut off the lid with a grinder. The cut should be as even as possible: although tightness is not needed - the gap between the lid and the barrel will become an additional air intake for afterburning the furnace gases - it should not be too large.
Tip: it is better to leave a bead of 1-2 centimeters at the lid. It will give thin steel additional rigidity: there is less chance that the metal will lead when heated.
- We weld the hole from the cork; in the center, we drill and cut a hole for the pipe - the air duct with a roller cutter. A pipe with a diameter of 108 mm should be able to move freely in it. If you have a piece of pipe with a slightly larger diameter, you can weld it to the lid as a guide.
- With a turbine, cut a hole for the door and the door itself is a little larger. We bend it in the shape of a barrel and weld canopies with a latch.
- Cut out the stascoblin from the five sheet. Its diameter should be less than the inner diameter of the barrel by about a couple of centimeters. In the center we make a hole for the pipe.
- We weld on the duct pipe. Its length is 10-15 cm more than the height of the barrel.
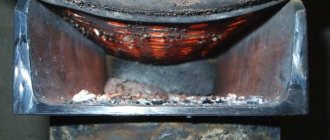
- We weld the sections of the profile to the stascoblin from below, creating a gap for combustion.

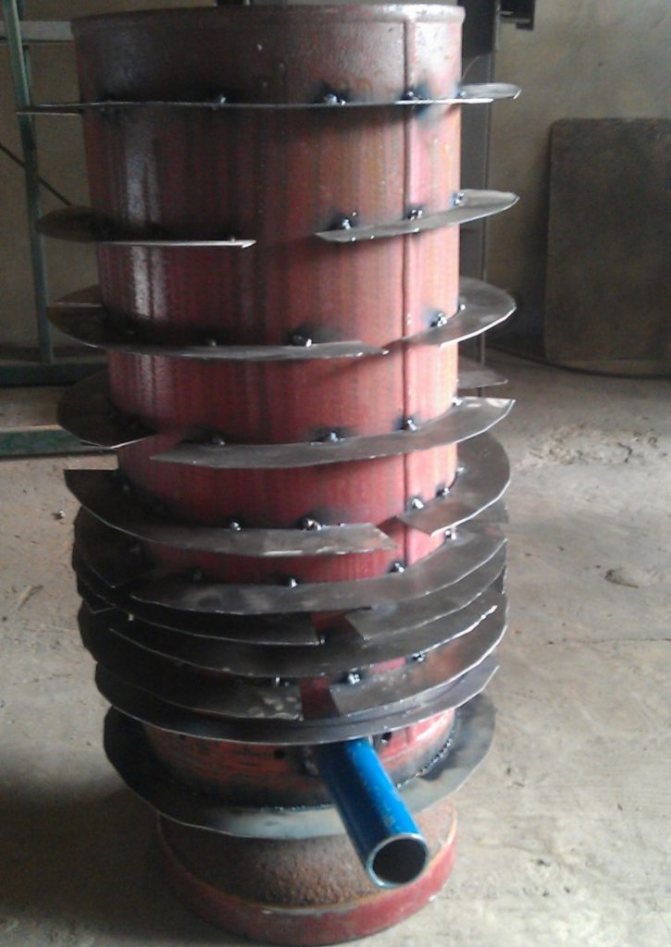
The result is clearly visible in the photo. Here, however, turned steel is used, which will greatly reduce the life of the furnace.
- Having made a hole for the chimney in the wall at the upper edge of the barrel, we weld it.
- We weld the legs. Our do-it-yourself greenhouse stove is ready. It remains only to install it in a winter greenhouse and bring the chimney to a height sufficient to create a constant draft.
Preparation
What do we need to implement the project?
Materials (edit)
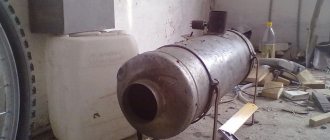
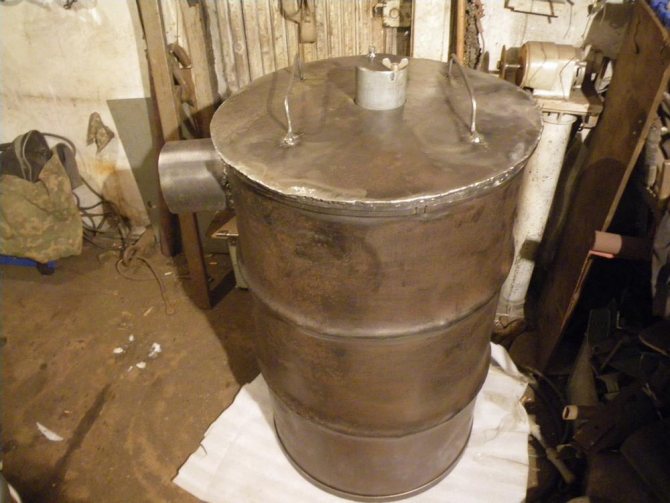
- Large cylindrical container. As a rule, the do-it-yourself oven we are describing in a greenhouse is made on the basis of a 200-liter barrel.
Blank for the oven.
- A little corner or channel, which we use as legs. It is clear that you should not put the bottom of the stove directly on the beds. In addition, under the plate of the air distributor, stops are needed to create space for fuel smoldering.
- A small steel sheet 3 mm thick, which will be used to make the ash pan door.
Please note: the word "Ash pan" in this case, rather a tribute to tradition. The ash itself, as we remember, is carried away into the chimney. The door serves for periodic cleaning of the firebox from non-combustible debris.
- Steel awnings and door latch.
- Chimney and air intake pipe. A diameter of 108 mm is sufficient.
- A piece of steel sheet thick 5 mm... It will go to the air distributor disk (the so-called stascoblin). Of course, you can use a lower thickness; but a thin pancake will burn out very quickly.
- A pack of electrodes - triplets.
Instruments
What tools are needed to build a do-it-yourself greenhouse oven?
- Welding machine. Better - an inverter for a current of at least 160 A: with a small-sized transformer, sticking electrodes can bring the welder to a slight hysteria.
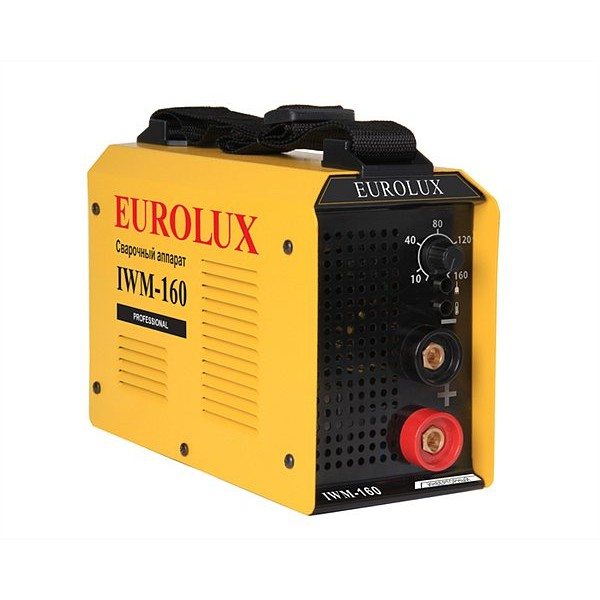
The inverter welder provides high current in a compact size.
- Bulgarian with a circle for metal.
- Drill with drills and cutters for metal.
- Roulette, square, ruler and scribe.
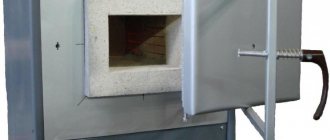
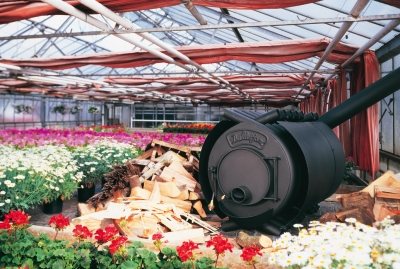
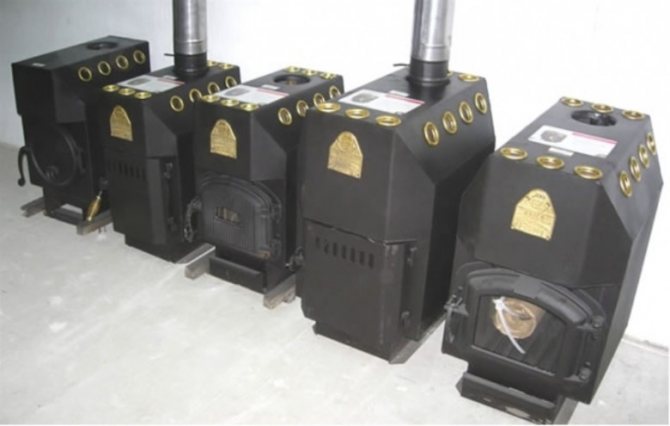
Overview of species and producers
A stove for a long-burning greenhouse is the best choice for a domestic gardener. However, the range of such devices is so wide these days that acquiring a quality copy is a serious task for both a professional and a beginner. It is imperative to study the technical characteristics and main advantages of the most popular manufacturers. This way you will surely know which heating system to connect in your own winter greenhouse.
Furnace "Kuznetsov"
Many domestic gardeners prefer to put the Kuznetsov stove in the greenhouse, since this instance is very popular among the owners of winter greenhouses. The principle of operation of such a brick boiler is such that in this case two hoods function at once. This device can even be used to water plants with warm water.
"Raketa Stove"
Often such a heater is made from a capacious gas cylinder or a metal barrel. These containers are used as outer caps. For the construction of the furnace, you will also need sheets of metal, steel pipes of various diameters, and also insulation.
"Vologda"
Such an oven for a winter greenhouse made of polycarbonate has a number of the following advantages:
- she has a fairly high heat transfer;
- its cost is quite democratic;
- there is no need to constantly monitor the operation of the device. All that is required from the gardener is to put fresh firewood in the oven every few days;
- the efficiency indicator is about 80%.
Interestingly, if you purchase a complete set for this instance (water circuit and radiators), it can be used not only for heating the greenhouse, but also for installation in a residential building, for example, in a summer cottage.
"Butakov's stove"
In terms of its technical characteristics and the principle of operation, this model practically does not differ from the previous copy. It is effective in heating a greenhouse, but requires serious and constant monitoring.
"Slobozhanka"
The Slobozhanka brand wood-burning stove differs from the others that have already been considered, at least in that the logs are loaded vertically into this device. In addition, there is a cylinder in the boiler itself, which, during the operation of the stove, goes down, putting pressure on the burning wood.
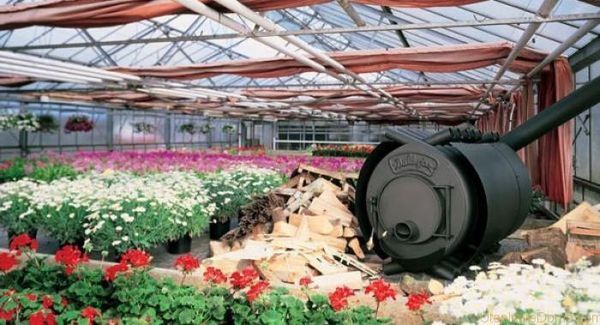
Buleryan
Such a long-burning stove is not so often used to heat a greenhouse, but it also has many advantages. But before buying it specifically for a greenhouse, take into account the following points:
- you need to constantly monitor the operation of the device;
- installing the stove is problematic;
- there is no way to measure or somehow regulate the heating temperature.
It is quite possible to solve the problem of too frequent control. To do this, you need to load brown coal or hard logs into the boiler.
"Bubafonya"
An ordinary potbelly stove for heating will certainly not work, but its improved version is a good choice for a gardener. This model has a valve that regulates the air supply. In this case, the design has become much easier to use.
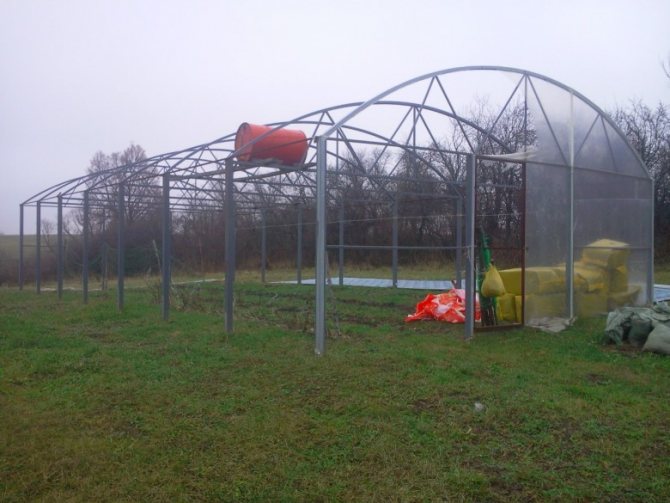
Choosing a location for installation
The main task of the oven is to uniformly heat the soil. Experienced gardeners recommend placing the unit in the center of the greenhouse so that the heat from it spreads in all directions equally.
If the floor and the lower part of the walls in the greenhouse are lined with bricks or tiles, you can install the stove in the corner. But in any case, precautions and fire safety measures should be followed in order to save the premises and future crops from an accidental fire.
It is important to extend the flue pipe horizontally away from the stove and then attach the vertical pipe through the adapter.This will prevent carbon monoxide from entering the greenhouse. Although a small amount of smoke inside the building will not interfere with the plants. If the length of the chimney is more than 6 m, the draft in the chimney will become much worse.