

Decorating the stove in the house with your own hands. The presence of a primordial Russian stove in the interior of a private house fills it with a unique coziness, and a wide selection of facing materials allows you to create a stylish element that is combined with the room. Due to the fact that the stove surface is exposed to sharp temperature changes, doing it yourself is a painstaking process that requires strict adherence to technology.
The Russian stove is an interior decoration and a mascot of the house.
Furnace design planning
Before choosing the material from which the finishing will subsequently be made, it is worth paying special attention to the design of the room. Most often, the presence of a Russian stove implies a rustic kitchen style, embodied in a rough finish on walls and floors, a whitewashed ceiling, chintz curtains and wooden floorboards. However, imagination and a little effort will allow you to create other unique design options that perfectly fit into the environment.
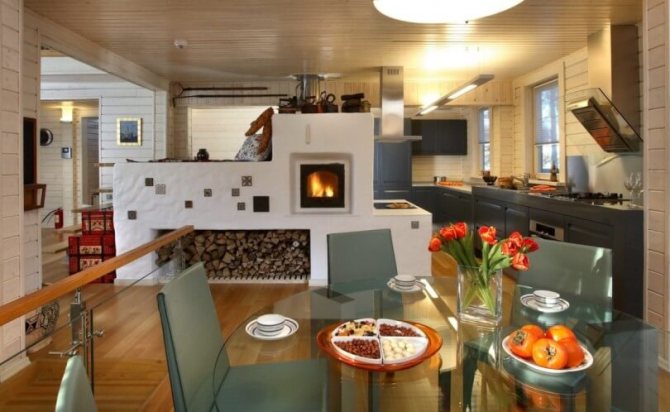
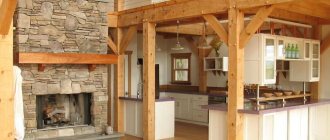
Russian stove in the interior of modern kitchen
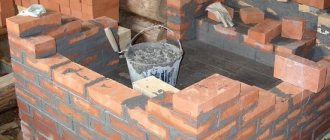
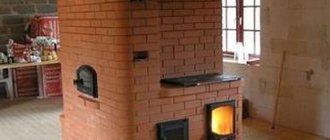
Most often, refractory bricks are used to lay the stove with their own hands. As a rule, it does not need additional cladding and can be used as an independent decorative element. But, in the case of an obvious dissonance with the design of the kitchen or a violation of the integrity of the surface during the period of operation, the material needs additional finishing.
There are plenty of options: the stove can be lined with tiles or stone, used tiles in the decor, or simply plastered and painted in any of the colors presented in the palette. The choice will depend only on the complexity and cost of the work.
Pros and cons
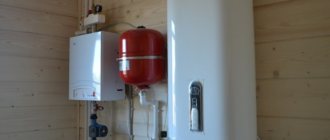
Stove heating does not depend on engineering networks
The main advantages of stove heating:
- Autonomy. There is no dependence on the centralized heating system (planned outages, breakdowns).
- Economy. Solid fuel heaters are in significant demand. Heating with gas is not always possible due to the lack of a gas pipeline, and heating with electricity is not available to everyone due to the high cost. The stove can operate on different materials: coal, dry branches, fuel oil, wood.
- The ability to independently regulate the heating mode. With modern systems, it is easy to correct the indoor temperature value.
- Interior decoration. The classic stove is an excellent design solution that is currently in trend.
When installing the stove in the future, you may encounter the following difficulties:
- Soot may collect inside the room. This happens in case of improper use of the chimney, use of poor quality fuel.
- There is a possibility of carbon monoxide poisoning if the damper is used incorrectly. The difficulty lies in the fact that the burnout is not felt, does not cause severe symptoms.
- Stove heating with an open fire is dangerous for wooden houses from a bar. Even a small spark can start a fire.
- Structural elements include parts that are easy to burn when heated. Young children are at greatest risk.
- With regular use, the chimney should be frequently cleaned of soot. Otherwise, pollution will cover the room furniture, walls. They are not easy to clean up afterwards.
- To maintain combustion, it is periodically required to wipe the grates, which leads to a coating of the surrounding surfaces with a layer of ash. In this case, there is a need for unscheduled cleaning.
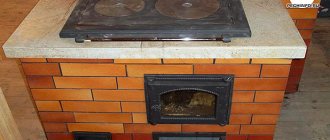
Furnace surface finishing with plaster
Decorating a design with plaster is the easiest way to finish.Previously used clay compositions have already lost their relevance, due to the appearance of dry heat-resistant mixtures.
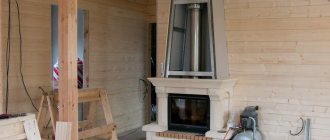
Russian stove finished with plaster and decorative tiles
It is important to remember that before starting the facing work, it is necessary to withstand a month from the date of the end of the laying of the furnace. This interval is necessary for complete shrinkage of the structure.
Before you start plastering brickwork, it is necessary to carry out certain preparations:
- remove residual solution and dust;
- deepen all seams by 10 mm;
- evenly prime the surface;
- cover the structure with a fine-grained mesh;
- heat the stove and moisten the walls with water.

The plaster is applied in several layers until an even layer is obtained.
The direct process of plastering consists in layer-by-layer application of the solution at intervals of 4 hours - for complete drying of each layer. The first batch of the solution must be sufficiently liquid. Its task is to level the surface and form corners. On average, three to four coats are applied to obtain an even surface. The result of this work will be a durable finish.
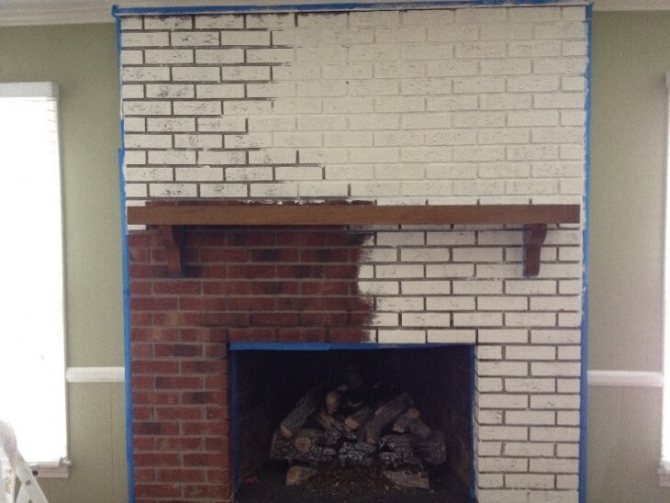
Furnace dyeing process
The basis for painting a stove in a private house can be both a plastered surface and brickwork in its natural form, provided that its integrity is not violated. There are many options for paints and whitewashing. You can choose a suitable option for painting the stove surface, taking into account the level of complexity of the work, the financial base and the general design of the kitchen.
Lime staining of the kiln
The easiest way to paint the stove with your own hands is to whitewash chalk or lime. To strengthen the composition, salt is added to it, which during the operation of the structure will prevent the coloring composition from shedding. It is necessary to paint with a chalk or lime composition in several layers, this will determine not only the quality of the coating, but also the aesthetic appearance of the furnace.
There are also a number of heat-resistant paints, which are distinguished by their ease of application and a wide range of colors. The most common types among them are:
- alkyd;
- organo-silicate;
- silicon organic.
Painting the oven after preliminary preparation
With their help, the surface of the stove can be painted in any color, as well as make a unique painting with your own hands. The painting process itself is not difficult, it is only important to carry out preliminary surface preparation. For this you need:
- remove the remnants of the previous finish (if any);
- wash the surface thoroughly;
- if there are greasy stains, remove them with a soda solution.
Note: The oven can be painted without prior priming.
The stove surface (brickwork or plaster) is painted with a medium-pile roller. The brush is only used to paint seams and hard-to-reach areas.
It is best to paint the oven with your own hands in several layers, at intervals to dry completely.
Tip: Before you start painting, it is advisable to heat the stove a little. Any paint adheres better to a warm surface. But after the completion of the work, the oven can be heated no earlier than after 2-3 days.
How to lining a brick oven in a house
- If you decide to choose the option of painting and whitewashing, it is necessary to wipe and moisten the surface of the brick oven with liquid, this in order to reduce the roughness. You can also spend more and priming... The oven must be coated with a compound based on heat-resistant glue. Let's say whitewashing (as a rule, it is made with slaked lime, ocher, red lead or blue can be added to the solution). Metal parts such as grate or cast iron door can be painted heat resistant black paint.
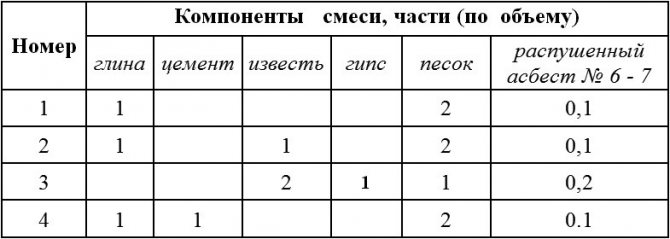
- If you decide to plaster your heating structure, then especially for you, the specialists have made several recommendations that must be followed for the high-quality preparation of the required mixture:
- All components are necessary sift through a sieve dry and mix thoroughly with each other.
- The resulting composition must be mixed with thick aqueous clay solution (the latter can be replaced with lime).
- Separately from the solution, gypsum must be diluted, its purpose is to add it to the ready-made lime mortar (due to the fact that the gypsum composition sets in a short time, it is necessary to prepare such an amount of solution so that the mixture can be applied to surface in 5-7 minutes).
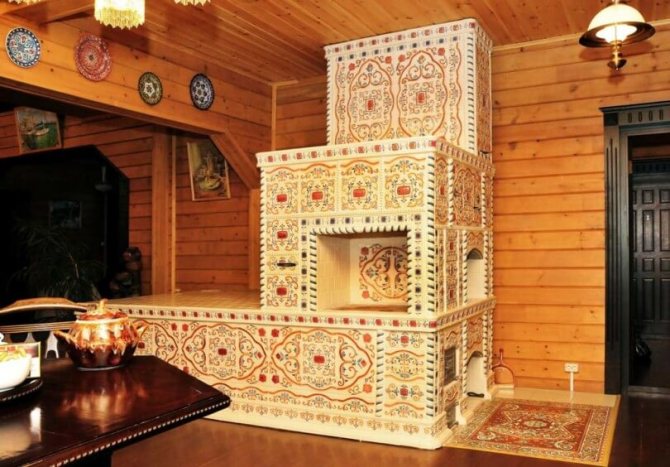
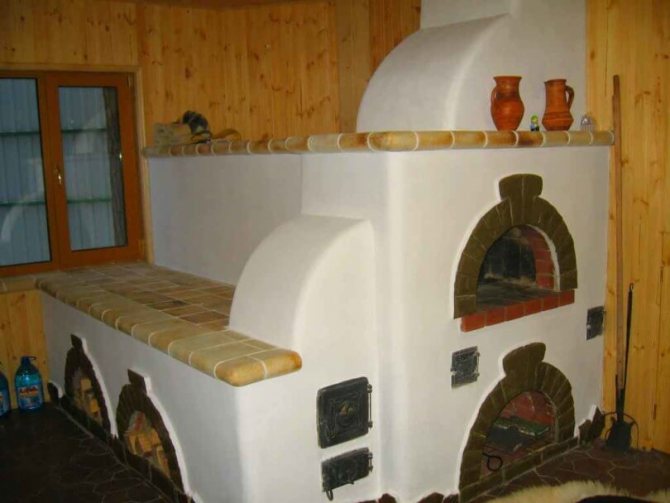
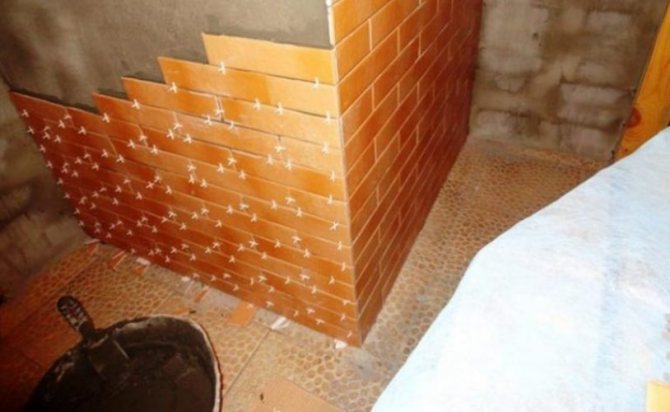
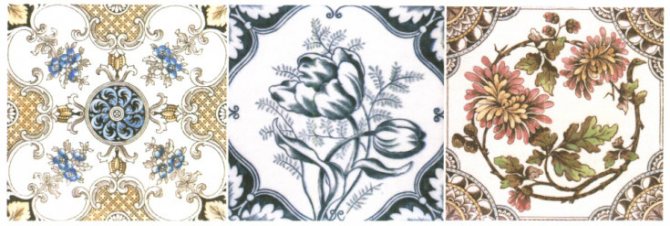
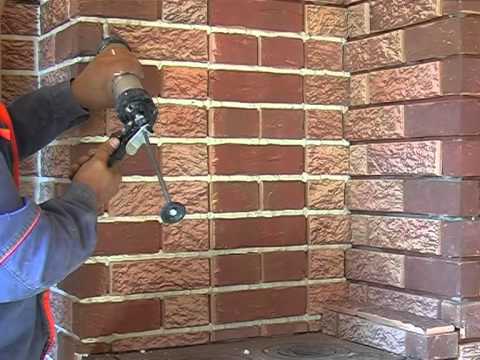
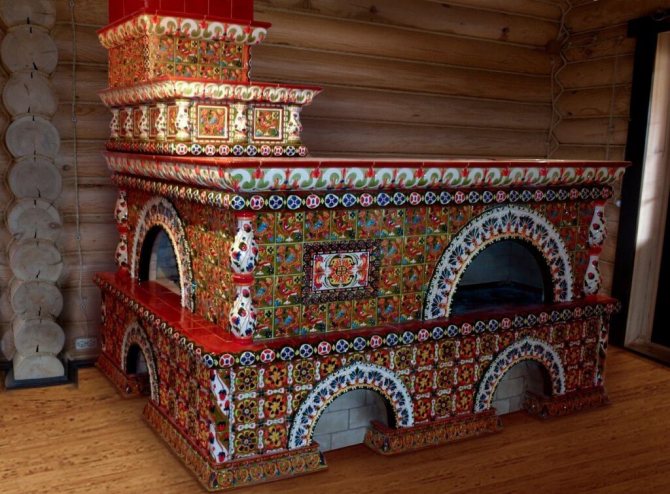
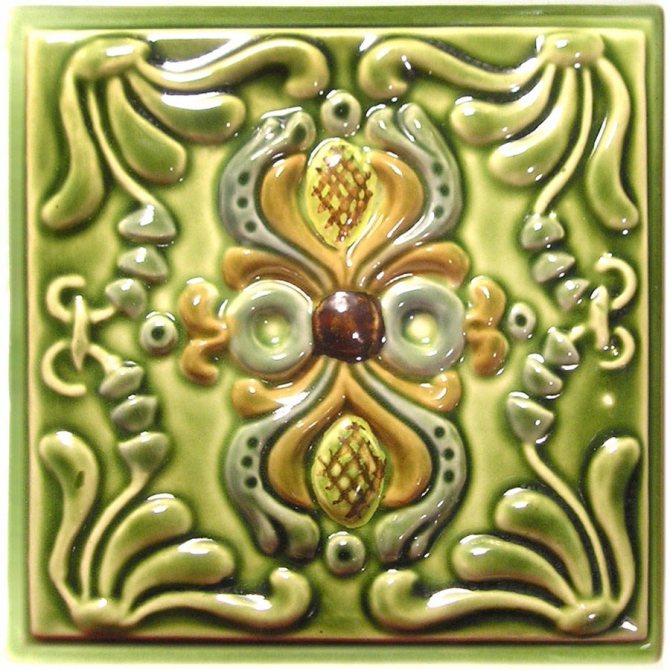
Facing the stove with tiles
Tiles are a unique and antique type of decoration. The material is presented in the form of ceramic tiles on one side, and on the other - a rump, with the help of which the installation process is carried out.
The color scheme of the tiles is varied, in addition, they can have a different relief and pattern. A stove lined in this way will have a unique look. However, the cost of the material can significantly surpass other types of cladding. This is due to the fact that the painting of the finished tile is carried out manually.

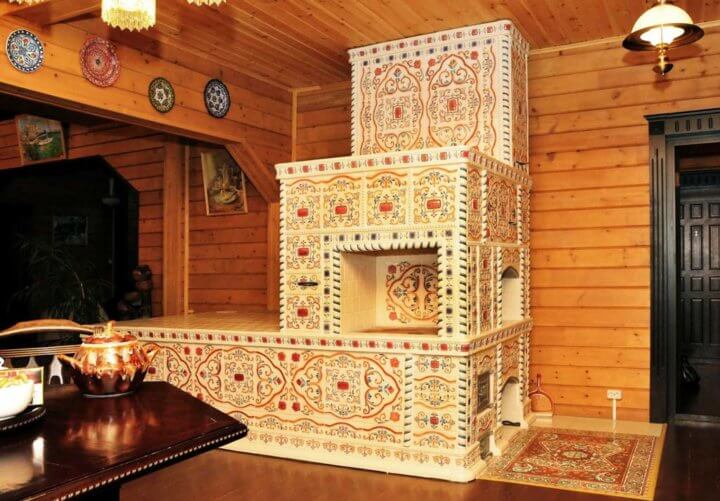
Russian stove is decorated with tiles
To cover the stove with tiles, you must adhere to certain technical recommendations and follow it in the following order:
- The tiles must first be soaked in water. Then you should overlay them on the oven without using a solution - for even distribution of parts. Next, you should remove all the rows, except for the bottom one.
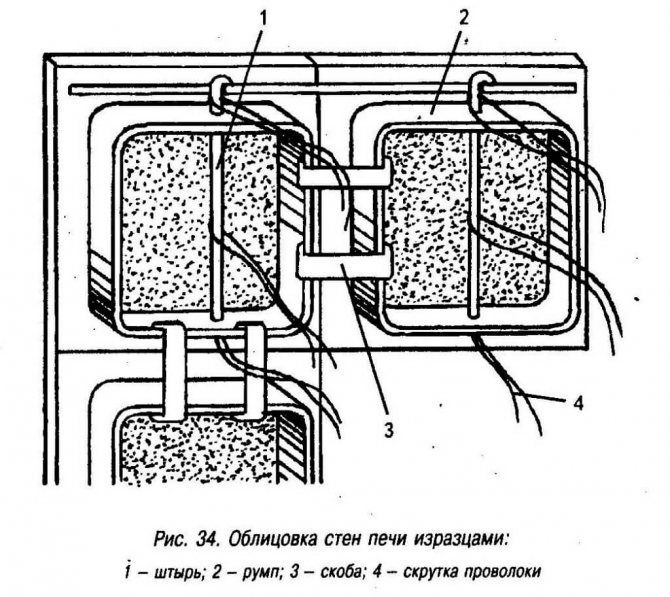
- Laying the rows, starting from the bottom, on a clay mortar. In this case, the steel pins inserted into the holes of the tiller must be connected to each other with a wire, pressing the tiles to each other.
- Adjacent tiles are additionally fastened together with elastic steel brackets.
- The final stage is grouting with clay mortar.

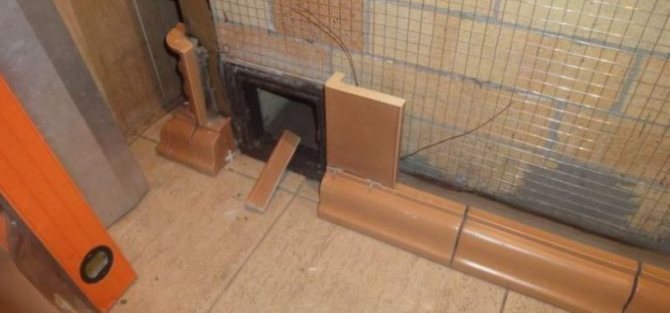
Scheme of fastening tiles to the surface of the stove
Important advice: Horizontal joints are trowelled with a gap of a few millimeters, taking into account the shrinkage of the tiles.
A stove faced with tiles in a private house is a reinforced, monolithic structure with an almost unlimited service life.
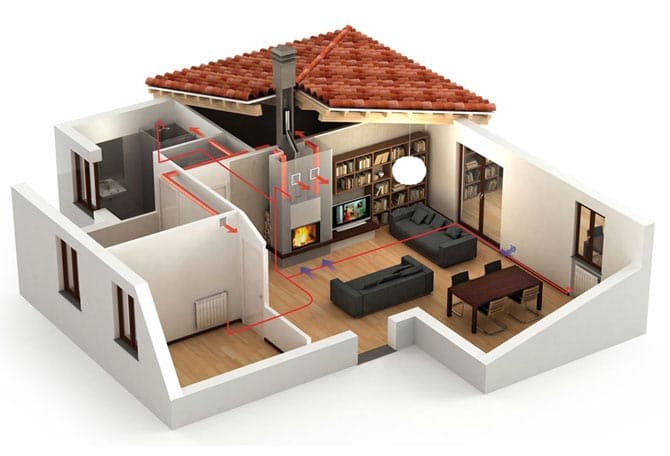
Features of projects of houses with stove heating
When designing larger homes, you need to plan more carefully. Let's make a reservation right away: we provide the most simplified layouts with the expectation of maximum savings on heating costs. And with stove heating - the simpler the better. It is also for this reason that we recommend equipping a canopy (vestibule) in a house with stove heating.
As you can see, the pictures show four basic home options with a grubby area of 64 square meters. Of course, for a family with children, such a house will not be too large, because the children are growing up. But it is cheap to heat and build quickly - after all, this is a one-story house 8 * 8. I know examples of the construction of such houses with a budget of 500-700 thousand rubles. This, you see, is very affordable.
Let's look at each example separately. Figures 1 and 2 show the same layout with different oven layouts. In the first case, the stove is retracted into a corner. This is convenient when the stove performs not only a heating function, but also, for example, with a stove bench - it is more convenient to place it aside. This is all thought out in private.
We offer you to familiarize yourself with the Legalization of Redevelopment in Non-Residential Premises
The second option illustrates the location of the stove closer to the doors of the bathroom and bedroom. Here we free up all the walls for arranging the kitchen-studio, recreation areas, windows and more.
In the third and fourth versions, we equip two small bedrooms and reduce the studio. Thus, the recreation areas partly "go" into the bedrooms. However, the studio can accommodate a kitchen and a small sofa.What is the difference between the third and fourth options? If you want warmth in the living room and sleep cool (20-21 degrees) then this option is for you.
The same layouts can be extrapolated to houses up to 100 sq. M. Just proportionally increasing the room and the power of the stove, respectively.
Each of the previous examples of the layout of a one-story house can be made two-story - just think over the place where to build the stairs. The specific layout depends on the wishes of the owners, the composition of the family, the lifestyle and work of adults, the age of the children and many other nuances. Therefore, there can be a lot of options.
Let's take one of the options as an example. For example, a home for a family with two or three fast growing children.