Today, the heating appliance market offers a wide range of various solutions to the problem of heating a house, one of which is steel heating radiators. Due to their high heat transfer, reliability and low thermal inertia, they have rightfully taken their rightful place among heating devices.
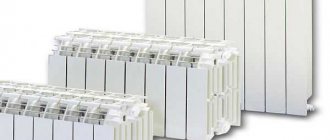
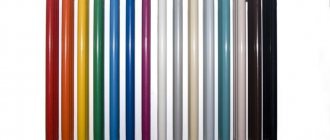
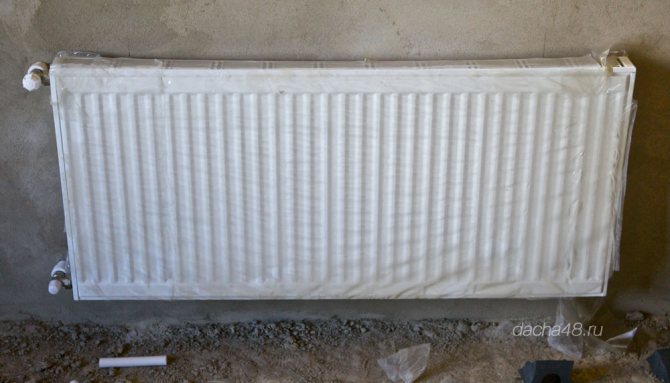
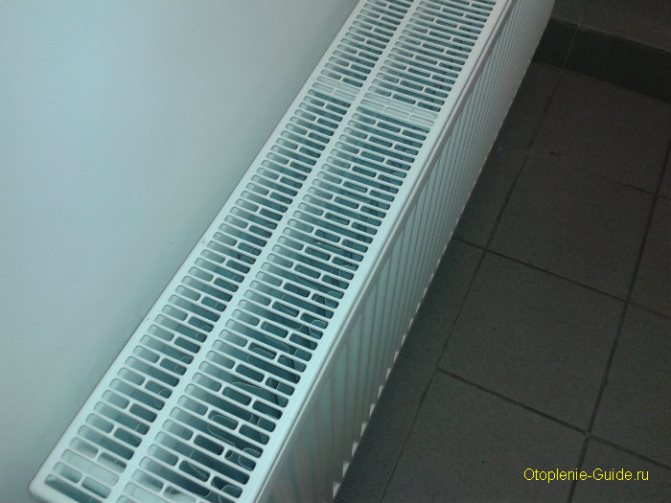
Steel panel battery.
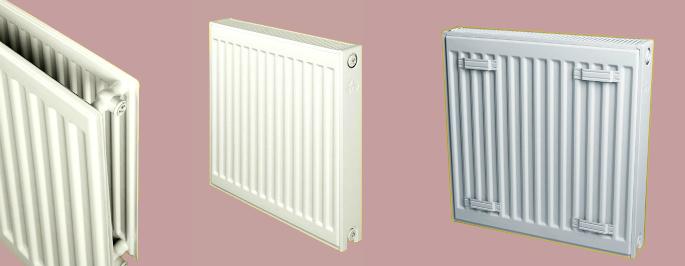
Today there are three types of steel radiators on the market: panel, tubular and sectional. The sectional view is the least demanded, because is made of steel sheets by stamping and is not able to withstand pressure over 6 atmospheres. Such pressure hardly makes it possible to install them only in private houses or in summer cottages, but in no case in multi-storey buildings with central heating.
Choosing a place for installation
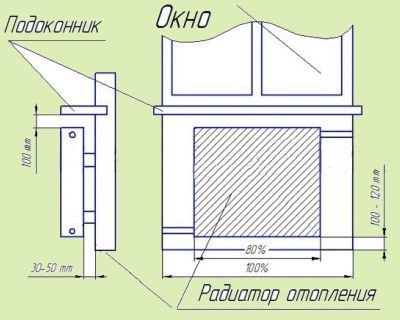
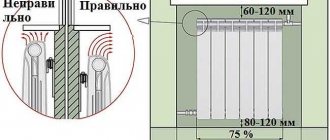
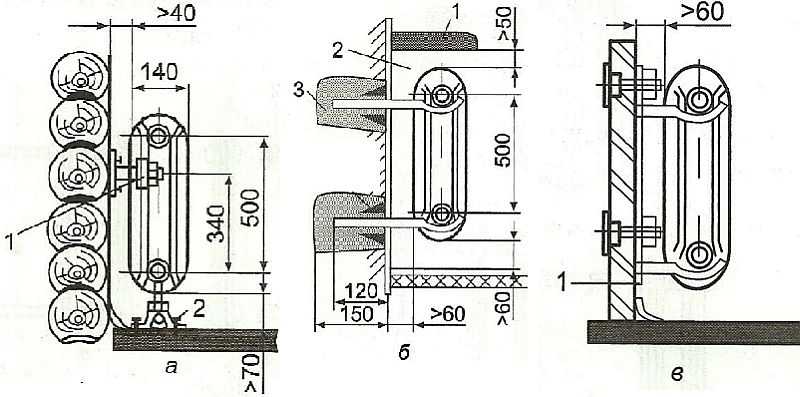
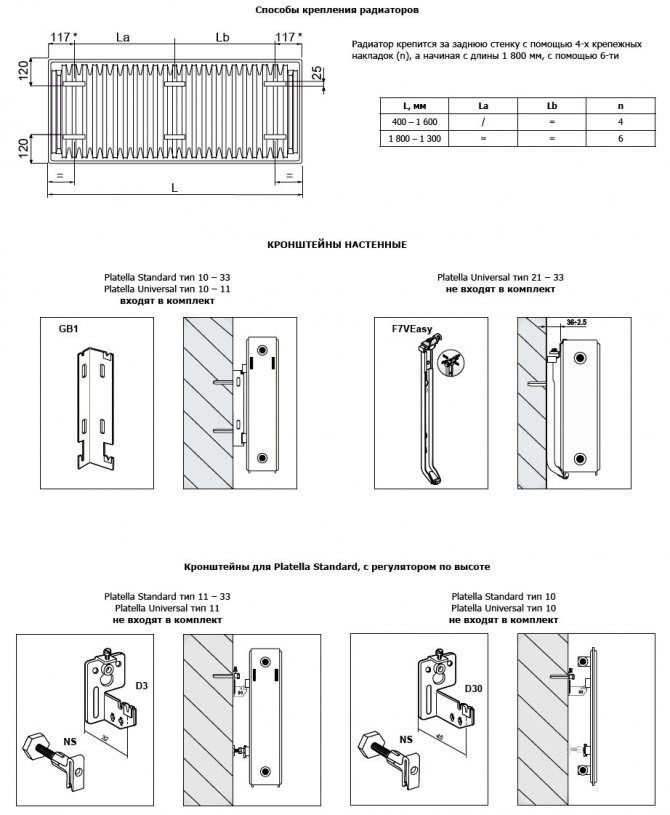
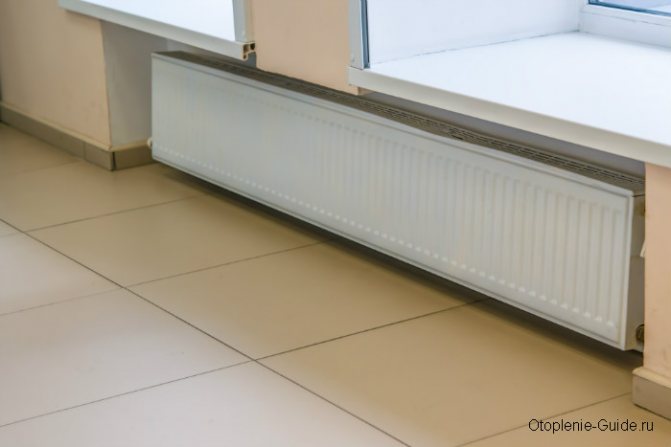
- For the best heat transfer and convenient cleaning of the room, you need to raise the radiator above the floor by 100-120 mm;
- You need to go down 100 mm from the level of the window sill. This is necessary for the free flow of heat from the radiator upwards;
- Finally, the distance from the wall to the radiator should be at least 30-50 mm. Closer approach to the wall will disturb the conversion of air and the wall itself will be heated, not the room.
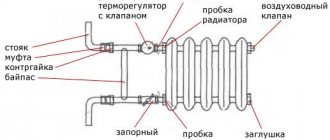
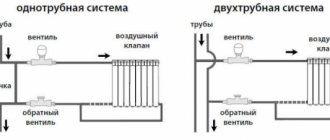
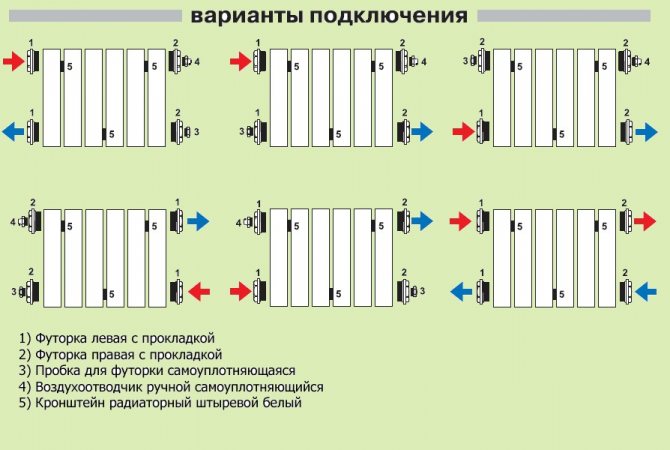
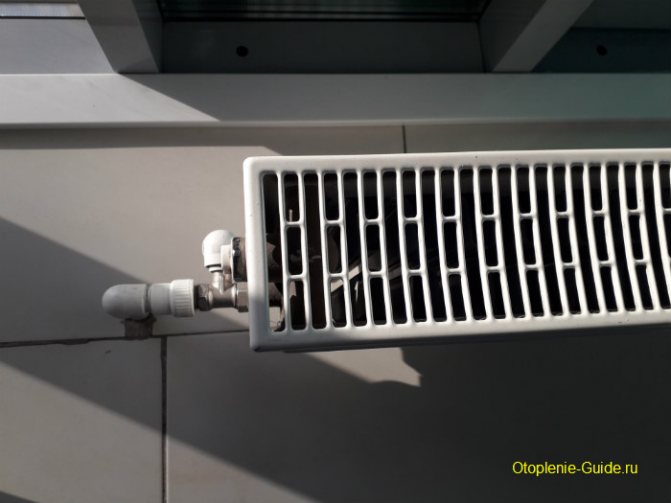
Let me remind you that installation of a steel radiator is possible in three ways: piping from below, from above, from both sides. There are several more connection options.
Installation
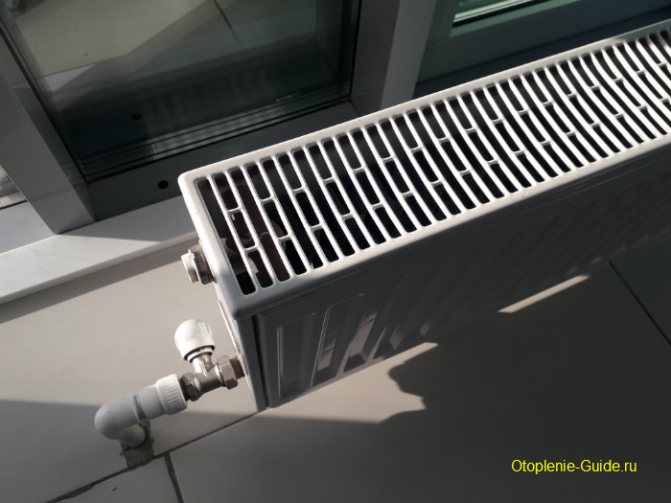
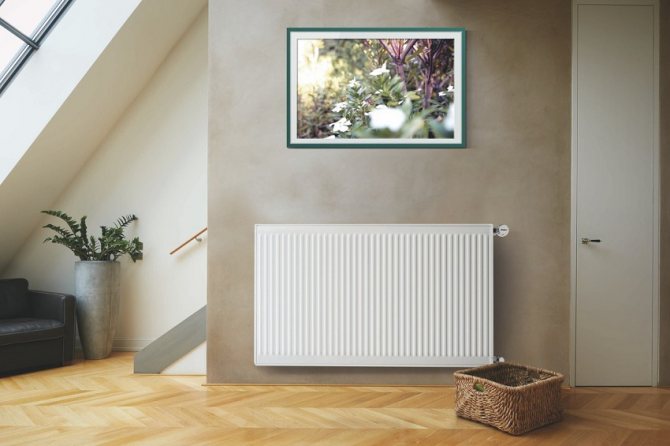
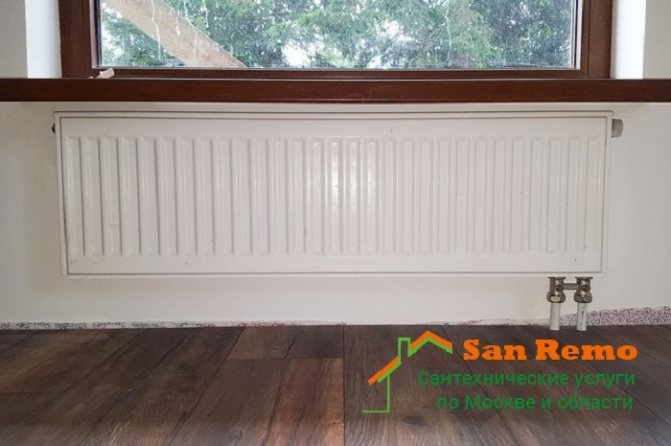
The most advantageous place for installing the radiator is under the window, under the window sill. This creates a "thermal curtain" in the path of cold air coming from the window.
The installation process of steel panel radiators consists of the following steps:
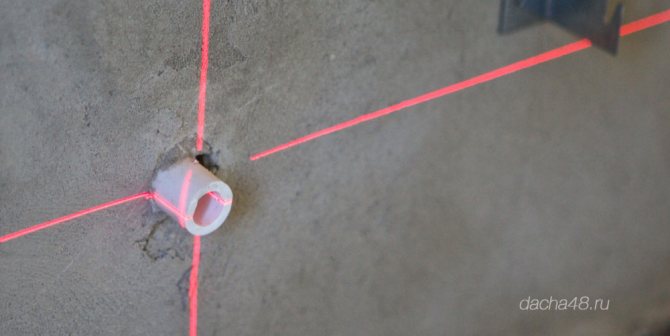
- Depending on the model of the device, it is necessary to mark the places for drilling the holes for the fasteners so that 110 mm remains from the floor to the bottom of the device (the distance from the top to the window sill should be 100-150 mm). This distance is sufficient for the convection process to take place. In addition, this distance makes it easier to clean the space under the appliance. The battery should not be mounted too high (no more than 200 mm from the floor), because in this case, the temperature spread between the upper and lower parts of the room will increase;
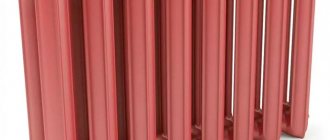
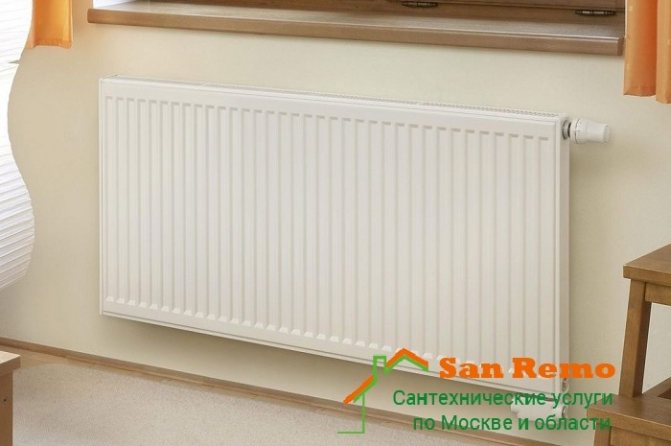
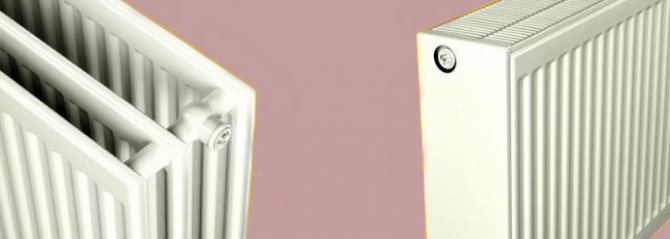
Type 22.
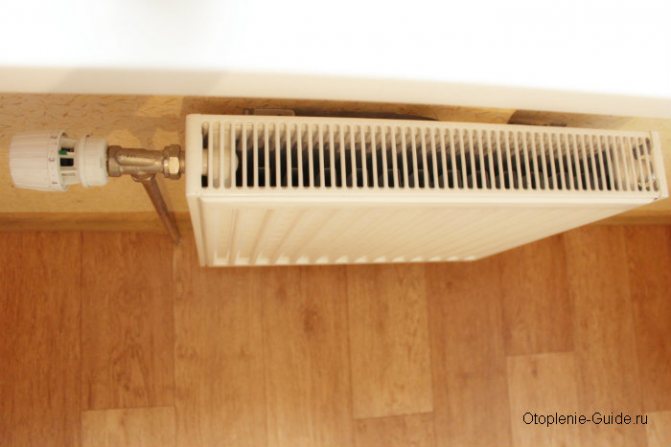
Important! The distance from the wall to the back of the radiator must be at least 25 mm. Failure to follow this recommendation will reduce the heat dissipation of the device. In addition, it is prohibited to cover the steel panel radiator with decorative "screens", curtains or other interior items, this leads to a decrease in heat transfer and incorrect operation of the temperature sensor.
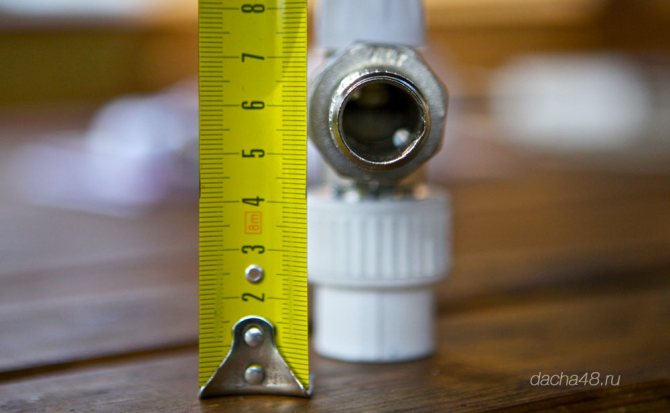
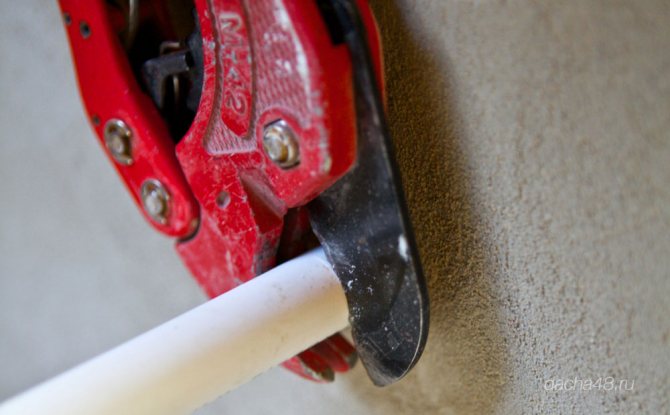
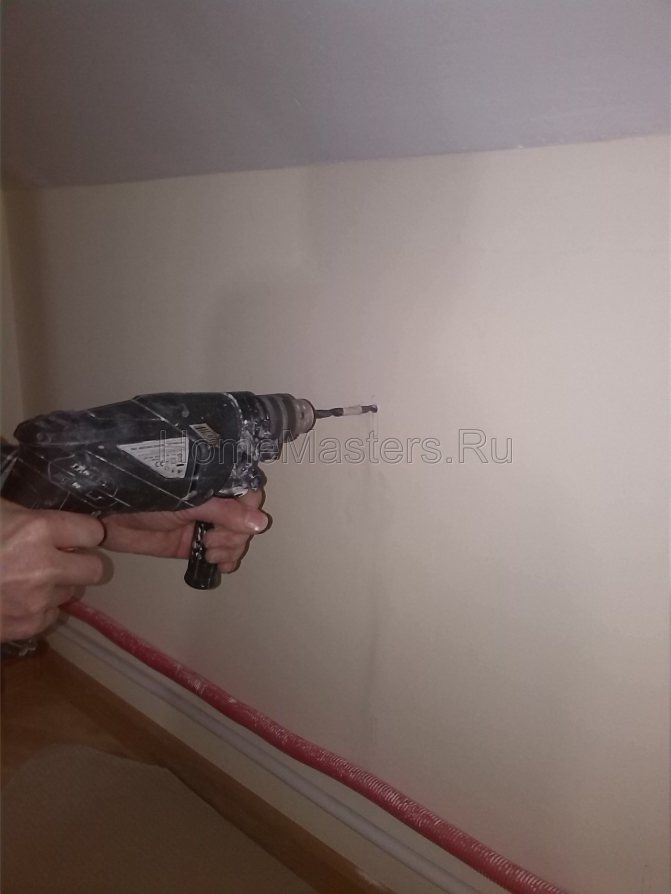
- Using a drill or hammer drill (depending on the wall material), drill holes with a diameter of 10 mm. For devices with a length of 1800 mm, 3 mounting holes are required;
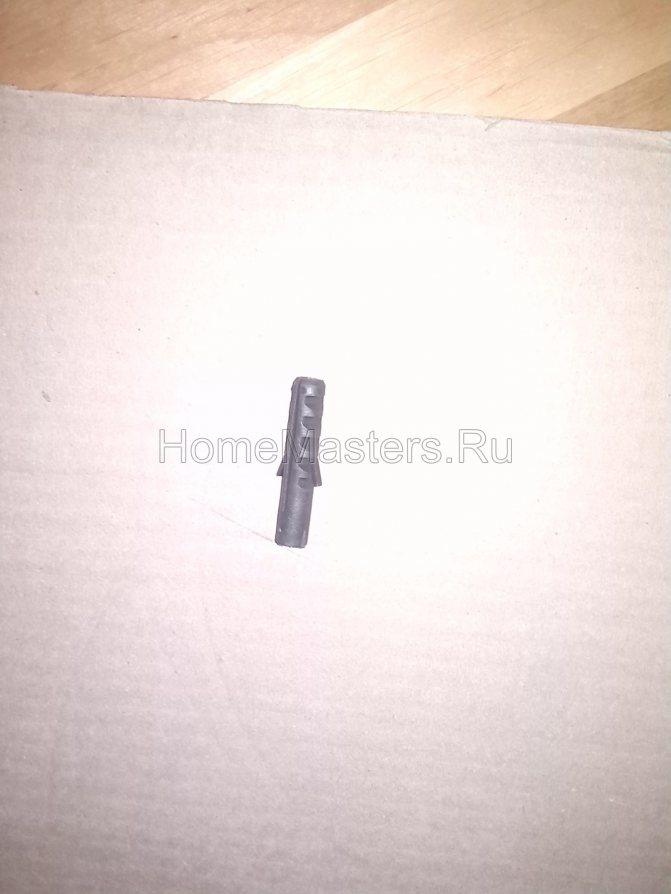
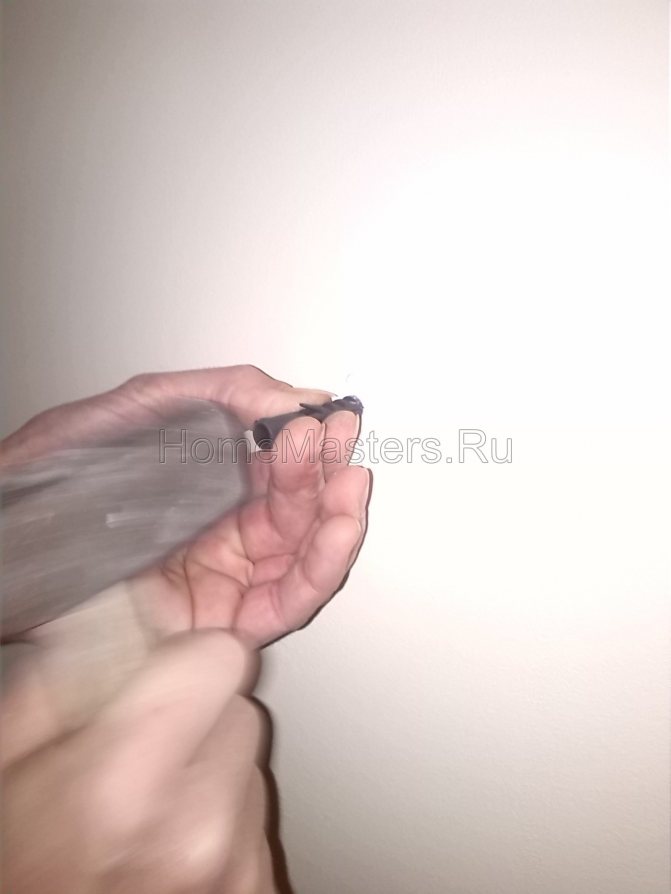
- Drive the dowels into the holes and screw the self-tapping screws into them. In this case, the self-tapping screws are not screwed in all the way, but in such a way that a distance of 4-5 mm remains between the wall and the self-tapping screw;
- Next, you should put on the fasteners and screw in the screws to the end;
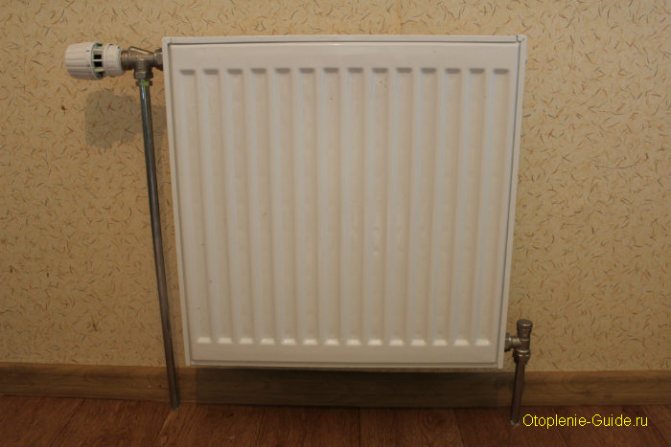
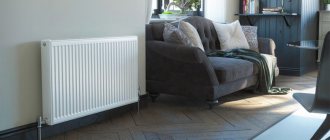
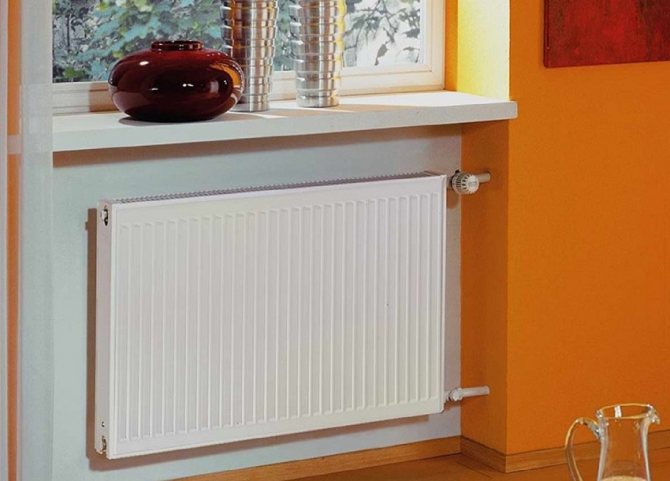
Steel radiator with Danfoss thermostat in the apartment.
- Hang the device on the fasteners. The upper mounting bracket has a "accidental dismantling" lock, therefore, before installing the radiator, the upper mounting grip must be pulled up and locked in this position. After that, hang the device on the lower fixing grip, while the upper grip will automatically snap into place and the radiator will be firmly fixed on the brackets;
- Put spacers on the lower brackets of the device and adjust the distance from the battery to the wall;
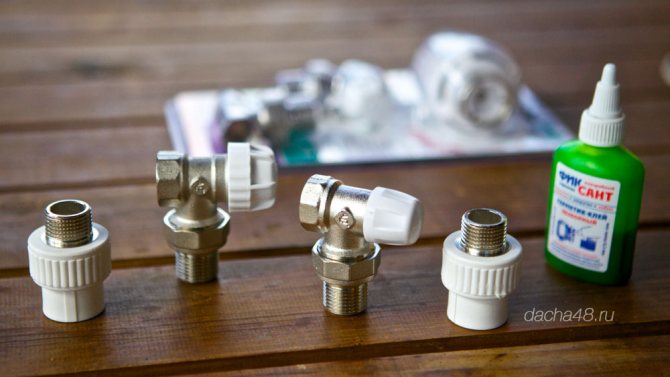
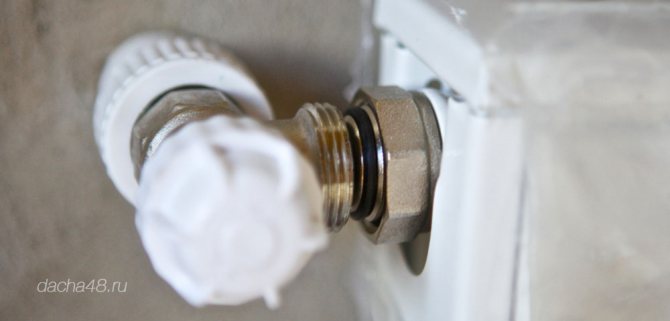
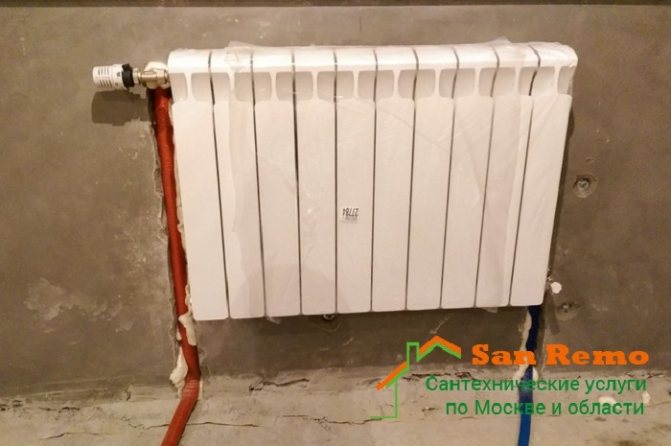
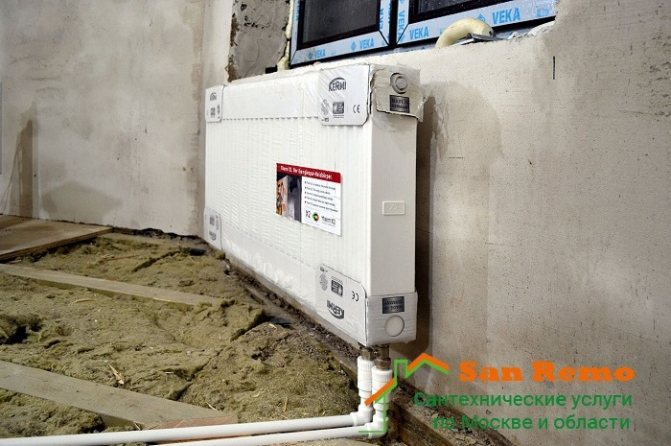
- Connect the battery to the pipes of the heating system;
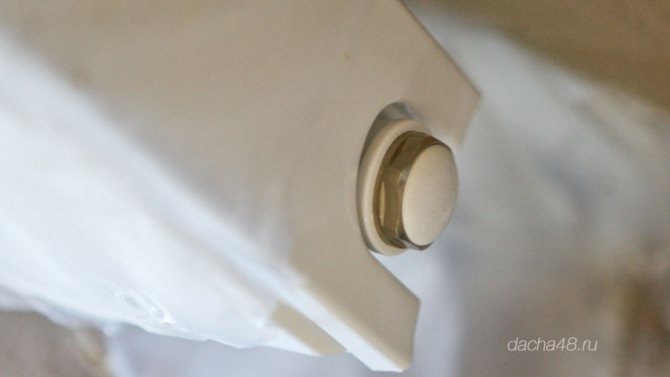
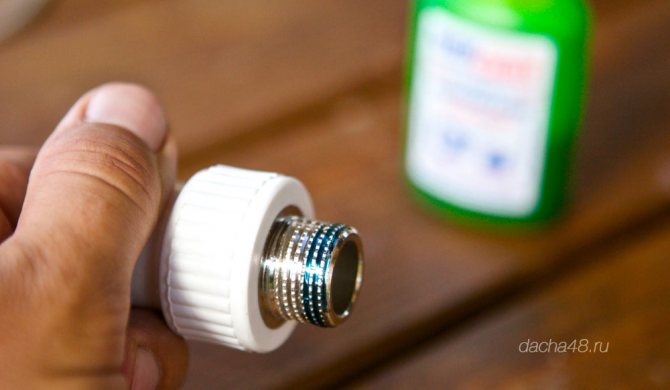
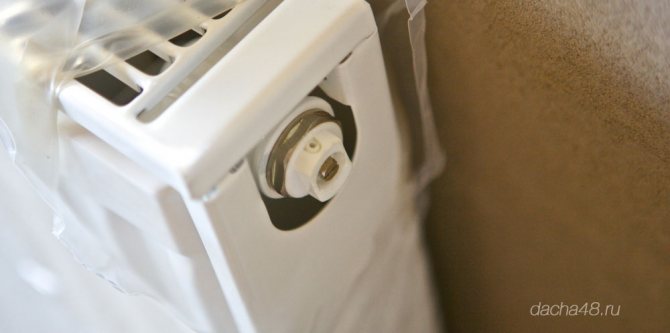
- Install the supplied air vent in the upper plug. The air vent is equipped with an O-ring, so there is no need for other sealing materials such as Tangit, PTFE sealing material, flax, etc.
Advice! The installation of a steel heating radiator should be carried out without removing the protective film (except for the points of attachment and piping). It is recommended to completely remove the packaging only after the complete installation of the heating system, as well as the finishing work. This will reduce the likelihood of contamination or damage to the instrument.
Panel radiator in the Pyaterochka department store.
Important! If copper pipes are used in the heating system, then when connecting them to steel radiators, it is recommended to use bronze or brass fittings. In addition, flax should not be used as a sealant. this can lead to the destruction of the fittings, it is recommended to use sealants instead of flax.
After the end of the heating season, it is recommended to disconnect the steel panel radiators (by closing the ball valve in front of the device) from the rest of the heating system. In this case, it is imperative to open the air vent, this will avoid rupture of the device.
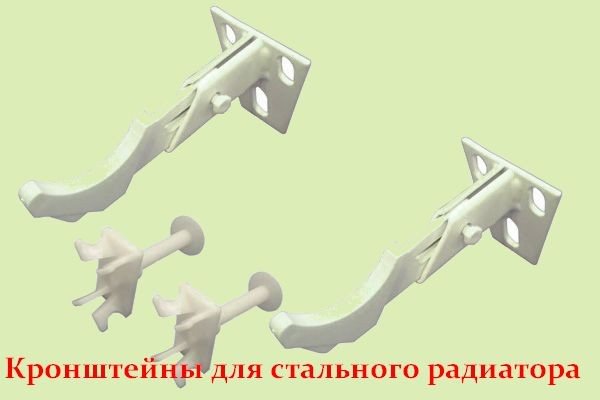
Installing the radiator mount
When the radiator is purchased, you can start installing it, but for this you need to choose the right place where the fasteners will turn.
If the walls are made of plasterboard, special “butterfly” dowels are used, if the walls are made of gypsum or slag blocks, then plastic dowels must be used. For brick and concrete walls, metal anchors should be used. It is forbidden to target the radiator brackets with a construction gun.
Note. For drywall walls at the stage of their installation, it is better (necessary) to lay power guides in the drywall construction at the radiator mounting points.
After the selection of the fasteners, the marking is done, then the holes for the radiator fasteners are drilled, the selected fasteners are hammered in and the radiator suspensions are screwed on.
It is believed that radiators should be installed with a slight slope in order to avoid the formation of air locks. It is wrong. The tilt will not eliminate traffic jams, but will lead to a disruption in the circulation of the coolant and reduce the thermal performance of the system. (SNiP 3.05.01-85 "Internal sanitary systems")
The holes for the fasteners should be drilled with the same drill size as the fastener itself, and the fastener must fit snugly into the wall. After the dowel is inserted, it must be cased (hammered all the way).
All strips (brackets) from the kit must be placed in their places and must be fixed with bolts that are also included in the kit. You can use an adjustable wrench to tighten these bolts and push them tightly into the wall.
How much does it cost to install a steel radiator
We offer low prices in Moscow and the Moscow region for the installation and connection of panel steel batteries, which are distinguished by high heat transfer and quickly heat up. The cost of work depends on the size of the radiators, their number, the need for pipe laying and other related operations. To find out the exact prices, contact our manager and call a measuring master to your address.
The main advantages of the company, thanks to which we manage to attract new customers, include:
- low prices;
- accuracy of actions;
- prompt execution of work;
- reliable fastening of radiators;
- high-quality connection to the system, etc.
We give a guarantee for every job, so you don't need to worry about anything.
Assembling, connecting, crimping the radiator
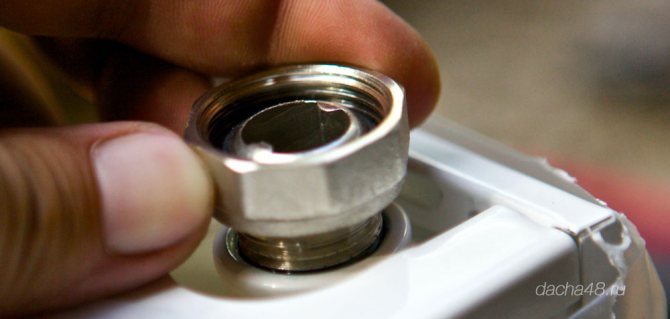
- Before installing the radiator, unscrew the plugs that are located at the top and bottom at the ends of the battery. It is imperative to unscrew them, since they are made of plastic, and they cannot withstand the temperature in operation.
- Instead of plastic plugs, Mayevsky taps and steel plugs, as well as shut-off and control valves, are installed on the radiator. Installation of taps and fittings is carried out depending on the installation scheme.
- Now, when the radiator is assembled, it is hung on the brackets and connected with squeegees to the heating pipes. Before connecting, you need to check the installation level of the radiator.
- After connection, a pressure test (check) of the connection connections is carried out and then the heating is started.
Note. In apartment buildings, the pressure in heating systems reaches 10 atmospheres, and when heating is turned on / off, water shocks are not uncommon. Therefore, it is recommended to install bimetallic radiators with a pressure of up to 16 atmospheres in apartments, while steel and aluminum radiators are best used in private houses and cottages.
© Obotoplenii.ru
Features of steel radiators
Before buying and hiring a person to install steel batteries in an apartment, consult with experienced craftsmen. Each plumber will confirm that for apartments with central heating, such radiators are considered not the best choice due to the weak spot in the form of welds. They are susceptible to corrosion when in contact with a low-quality coolant and are afraid of high pressure surges, which are not uncommon in central networks.
If you have a private house or apartment with an autonomous heat source, feel free to contact our company to order installation and connection of steel panel radiators of any standard size.
Methods for installing decorative screens for batteries
The way of fastening decorative elements covering heating batteries depends on their design.
For example, mounted options are often performed in such a way that they do not require fastening at all.
They are simply hung on the radiators, holding onto them thanks to the curved shape of their upper part.
This option is very convenient for cleaning, especially if the product is small in size. It can be easily removed and cleaned with a jet of water.
If the product is made in the form of a box, then the manufacturers provide holes in them for fixing to the wall. The main task in this case is to transfer the location of these holes to the wall, placing them so that the fixing lines are strictly horizontal. To check, you must use a level. Then, in the marked places, holes are drilled and fasteners are installed, on which the structure is hung.
Since the range of protective and decorative grilles for batteries is large, each consumer can choose the most suitable option for him, based on his taste, needs and financial capabilities.
The following videos show you how to assemble and install decorative battery screens yourself.
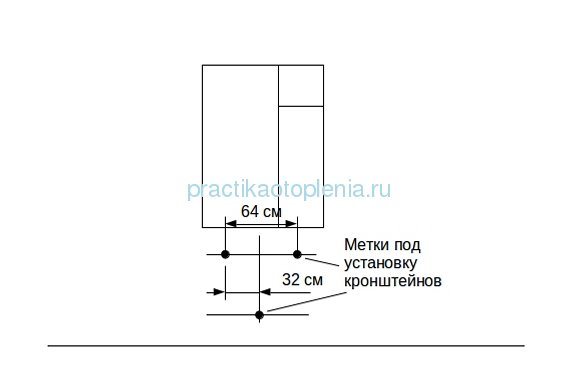
Calculation of the required number of brackets
Now you need to mark the brackets.
It must be remembered that the number of brackets depends on the number of radiator sections:
- 3 sections - 2 pieces,
- up to 12 sections - 3 pieces,
- over 12 sections - 4 pcs.
Suppose we want to install a heating radiator with 10 sections, so we need 3 brackets - 2 on the top and 1 on the bottom. The upper brackets should be installed one section away from the edge of the radiator, and the lower one - in the middle of the radiator.
To mark the places for the brackets, you need to measure the width of one section of the radiator, usually this distance is 8 cm, but some manufacturers allow up to 7-7.5 cm, and this is a tangible difference.
Knowing the width of the section, we consider: 8x8 = 64 cm - this is the distance between the brackets.64/2 = 32 cm is the distance from the vertical line to the bracket.
This is also interesting Typical piping schemes for heating devices (boilers and boilers)
Mounting features
Radiator grilles should be mounted so that you can easily and quickly access heating devices and pipes. From time to time, at least twice a year, the elements of the heating system must be cleaned of dirt and dust, so access is necessary. In addition, emergency situations arise from time to time. In this case, a quick reaction is required and there is no time to unscrew the fasteners. Therefore, try to come up with a mounting system that allows you to remove the screen in one motion.
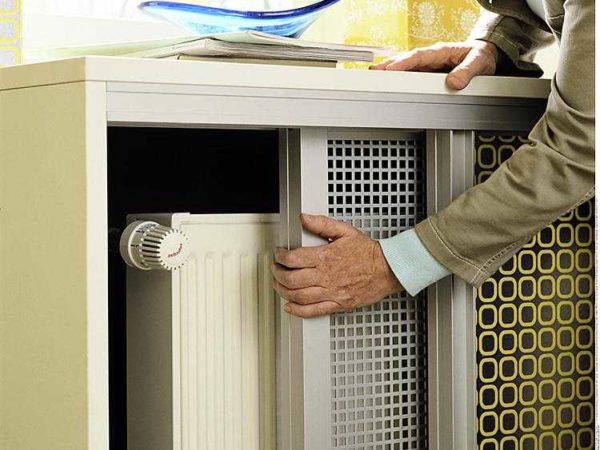
Attached and mounted
The easiest way is with hinged or attached screens. They take off / move back in seconds. But the flat, covering radiators in niches and box screens, which are attached to the wall, are the most problematic. But here, too, everything is solved simply. You can fix the box to the wall using two strips: one on the box, the other on the wall. The whole secret is that the planks have a beveled upper edge (you can see it in the figure). The one that is nailed to the wall has a slope towards the wall, which is on the box - the bevel is towards the lattice. When the box is installed in place, it turns out something like a lock.
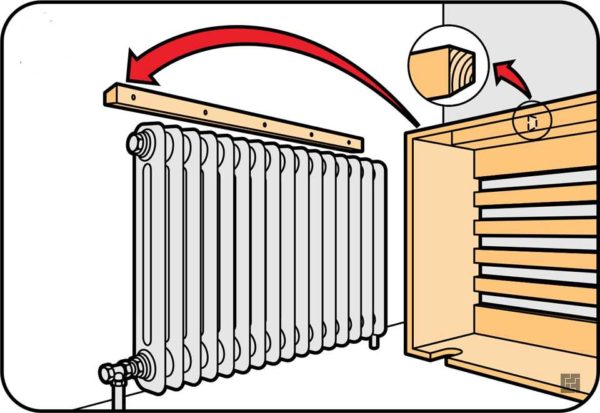
How to fix a screen box for a heating radiator on the wall
Another option is to fix metal plates on one of the strips, and magnets on the other. Or attach not a wooden plank to the wall, but a metal corner, for example.
In the case of flat screens, the solution can be the same - metal plates and magnets. Another option is hooks and loops. It is easy to implement, but not very convenient to use: while you get into the loops, you have to suffer. There is also a difficult to install, but convenient way: to make a screen like a sliding door.
Sliding screens for radiators
You can take the guides that are sold for furniture doors, install them, insert the screens into the corresponding grooves. If you do not plan to actively use a niche near the battery, you can not install the roller mechanisms, but it will be difficult to move it away. This method, by the way, can be applied to the lattice-box. Then it can be nailed to the wall "tightly", and the front wall can be made movable.
A little about heating technology and battery grids
Even if you need radiator grilles for decoration, do not forget that the batteries must heat the room. Any screen reduces heat transfer, even the most delicate and thin. Another question is that one will reduce the amount of transferred heat by 10-15%, and the other - by all 60% or even more. It is unlikely that you will want to sit in a beautiful, but cold room, so when choosing a decorative grille, you should also take into account how the heat will spread.

The principle of heat transfer from a heating radiator without a grill is shown in the figure. The main idea is that the air should flow from below, pass along the battery, heat up, go up. This is how our heating works. When choosing a lattice or screen, keep this in mind. For normal air circulation, it is necessary that there is a gap at the bottom, and there is no cover at the top. As a last resort, the cover should have a large perforated area.
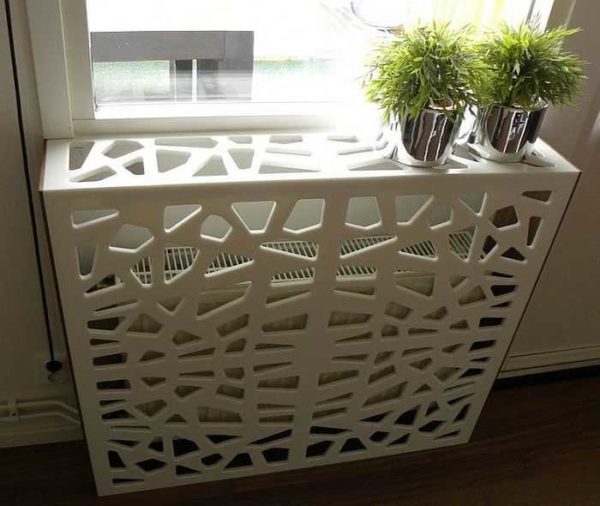
Not a bad option - large openings allow air to move freely
But if you look at many of the decorative grilles, you can immediately tell that it will be cold in the room. This is especially true for the grilles for heating radiators in the form of a box, which have walls on all sides. If they are very delicate, as in the photo above, there is not much trouble, but if they are made of solid wood (as in the photo below), with almost no perforation or with minimal holes, be prepared for heating inefficiency.
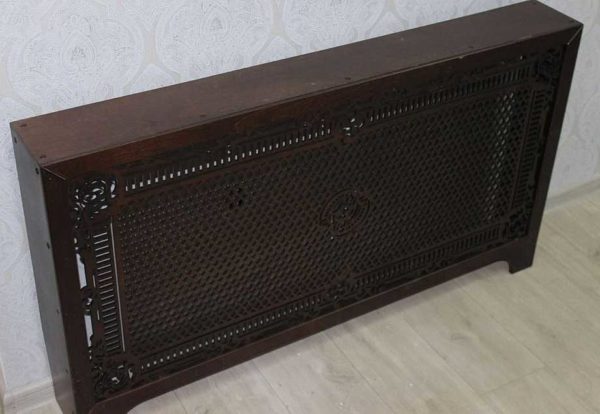
The top of the battery is covered with a solid layer of wood without holes
Wood, of course, is an aesthetic material, but it has a high heat capacity. Until the wood is heated, the room will be cold. And since the array is located above the radiator and there are no holes for circulation, the radiator under such a grill will be hot, but it will be cold in the room.