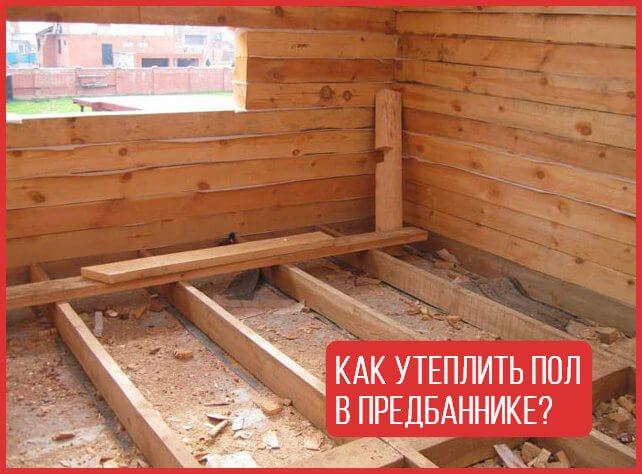
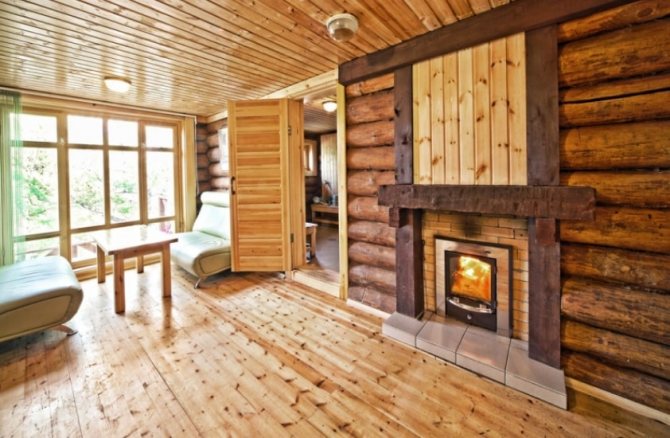
How to insulate the floor in the dressing room with your own hands? In the Russian bath, without fail, there is another room where you can relax after the steam room. Such a room protects the bath itself from cold air from the outside, entering through the doors. The warm floor also affects the comfort in it.
In such a room, the base does not heat up very much. Typically, the temperature on the coating does not exceed 30 degrees. To insulate the dressing room with your own hands, you can use different materials:
- The flooring is made of wood.
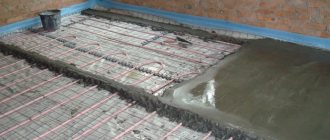
- Concrete screed.
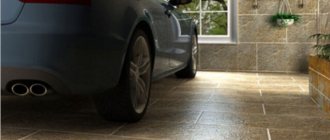
- Ceramics.
It is also important to create a slope at the base along which water will flow.
Experts say that for arranging the floor in the dressing room, it is worth abandoning the use of materials that can melt, for example, linoleum. When heated, it can also release toxic substances into the air that are harmful to humans.
How to insulate a dressing room?
Before doing any work, it is worthwhile to initially lay down a plan. It must be created even before construction begins. This is necessary in order to navigate when choosing a heater, since the installation of each of them requires adherence to a certain technology.
There are many different options for insulating such a room. But when using any type of thermal insulator, you will have to remove about 15 centimeters of the base. If the floor is supposed to be made higher than the foundation, then you can backfill the space with bulk materials, such as:
- Land.
- Expanded clay.
- Slag.
After filling, these mixtures will need to be tamped.
The ideal insulation for the floor will be a material that is durable and fire resistant. It must be inorganic, so it can be:
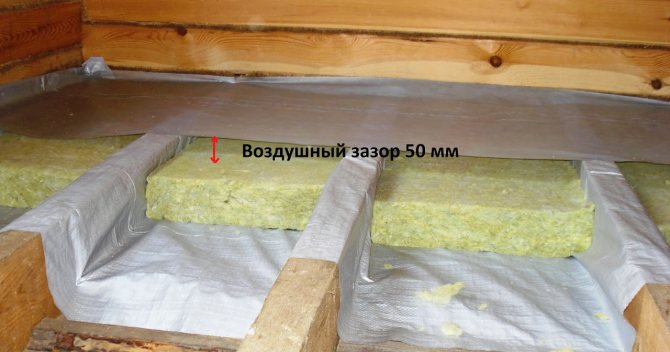
- Minvata.
- Perlite.
- Glass wool.
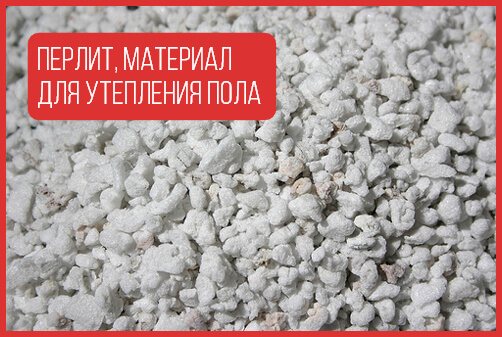
Such elements are not susceptible to decay and microbes and / or fungi cannot spread there.
Dressing room functions
This room in the bath can perform different functions, but the main ones are:
- Water treatments after the steam room. Everyone knows that after the steam room you need to plunge into cold water or douse yourself with it, as this has a positive effect on human health. If there is no pool in the bath, you can pour water from the barrel in the dressing room.
- Shower room. There you can wash off the dust in a day and you don't have to go to the bathhouse.
- Storage of utensils. You can store chuyki, gangs, brooms and more.
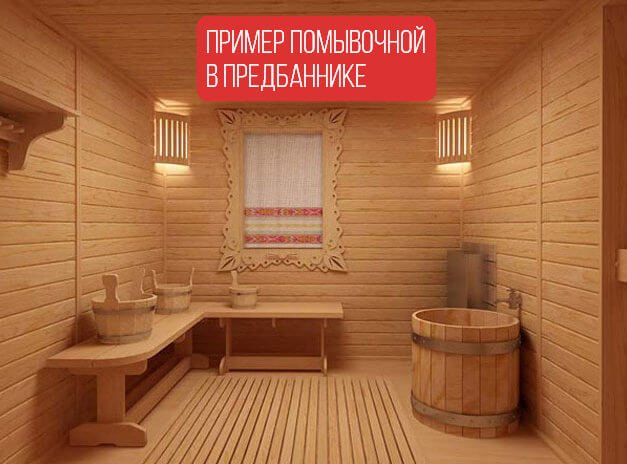
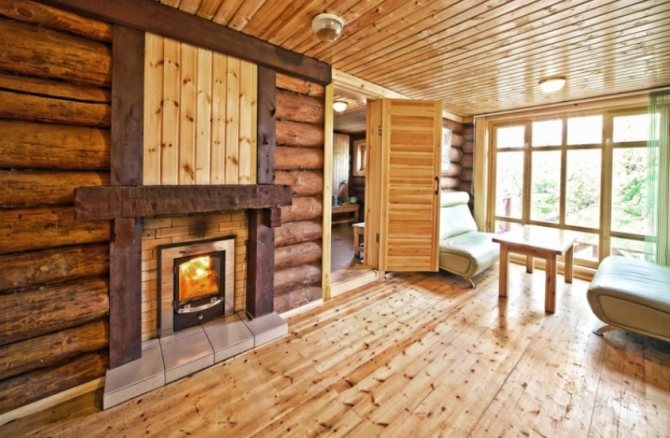
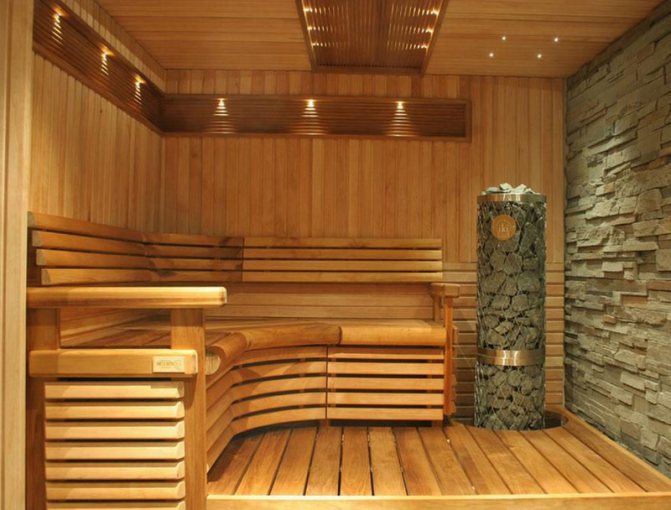
Therefore, this room must be built as comfortable and warm as possible, so that you can relax there after the steam room, drink tea or pour yourself over with ice water.
Useful Tips
It is necessary to take care of floor insulation not only in the steam room, but also in all rooms of the bath. Particular attention should be paid to the choice of insulation. So, for a sink, steam room, it is best to use materials that have a closed cellular structure such as foam, extruded polystyrene foam. But it is not worth considering mineral varieties.
Mineral wool or expanded polystyrene are perfect for arranging a warm floor in a recreation room. This is due to the lack of a high level of humidity in such rooms. Minvata can be safely used for floor insulation in a bath on the ground, on logs, on a concrete surface.
Floor insulation
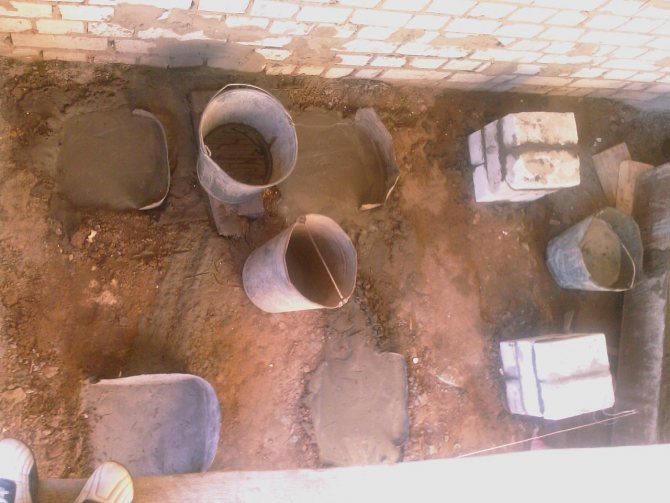
How to insulate the dressing room? The simplest and cheapest option is an earthen floor. But when water gets on it, the appearance of dirt cannot be avoided. A clay floor will not allow moisture to pass at all, and therefore it will constantly accumulate on its surface, which is also not good.
When arranging the base, you should pay attention to the following points:
- Water should be freely drained from the room, since when it accumulates, after a while it will begin to stagnate and emit unpleasant odors.
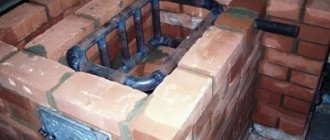
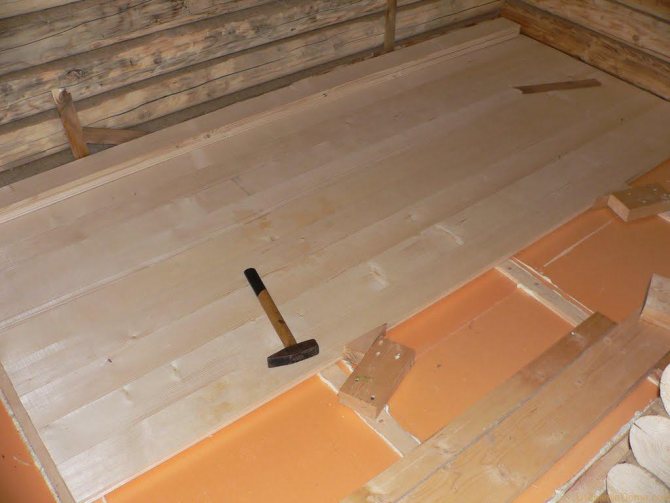
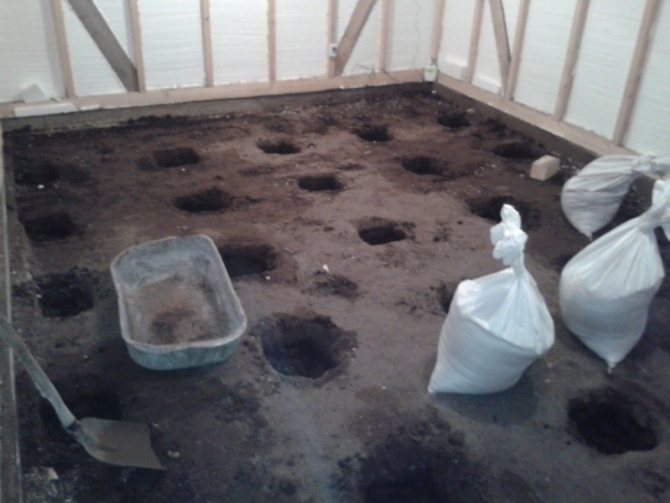
- You can build a pillow under the floor. To do this, you need to remove about 30 centimeters of earth and fill the hole with slag and sand. Such a mixture will allow moisture to pass through well and will not allow it to accumulate on the floor.
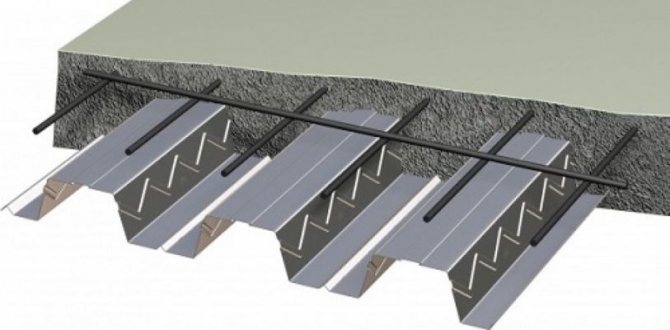
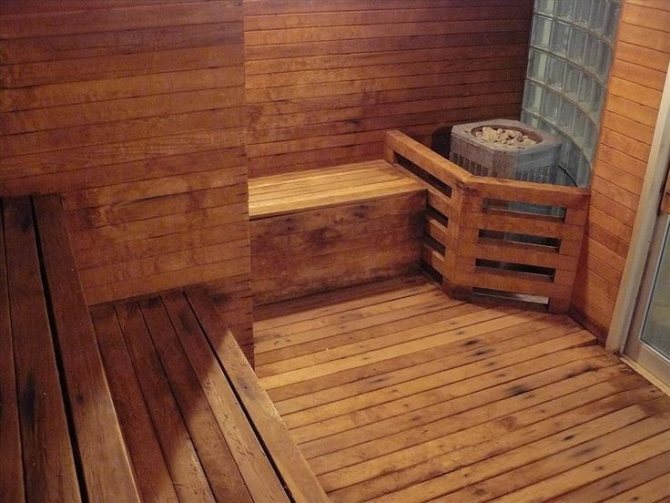
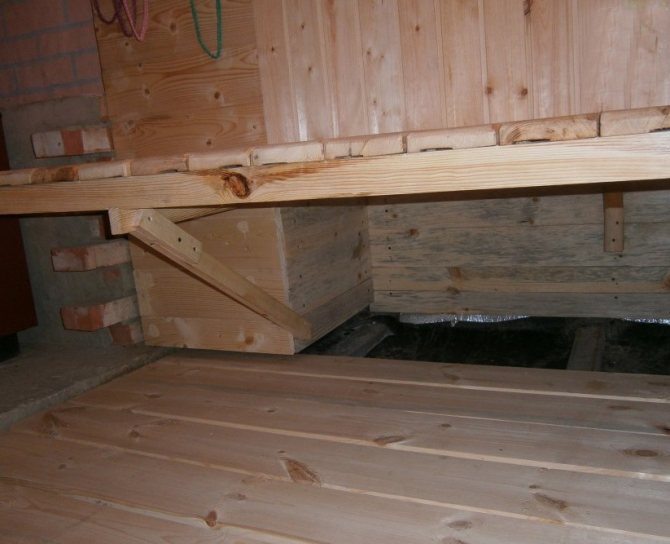
- Floors can be made of concrete. The top is finished with tiles, on which wood shields are placed. Here, too, it is important to build a high-quality water drain.
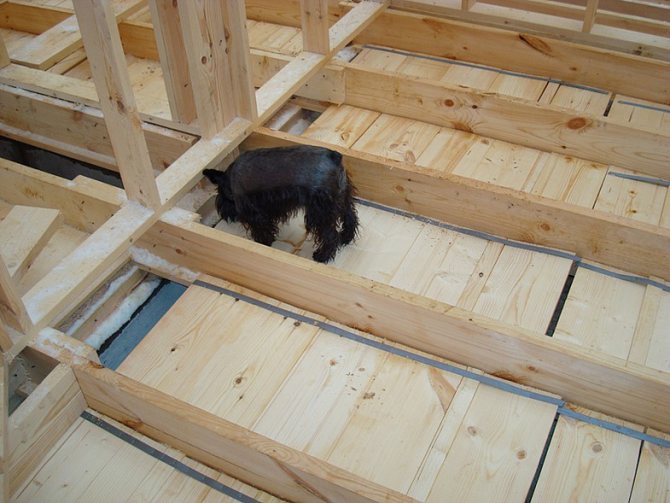
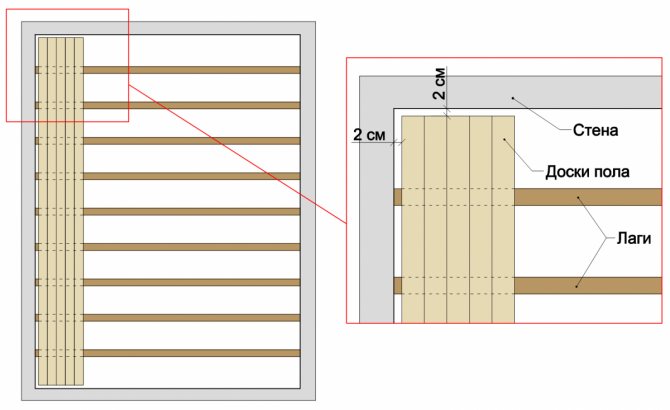
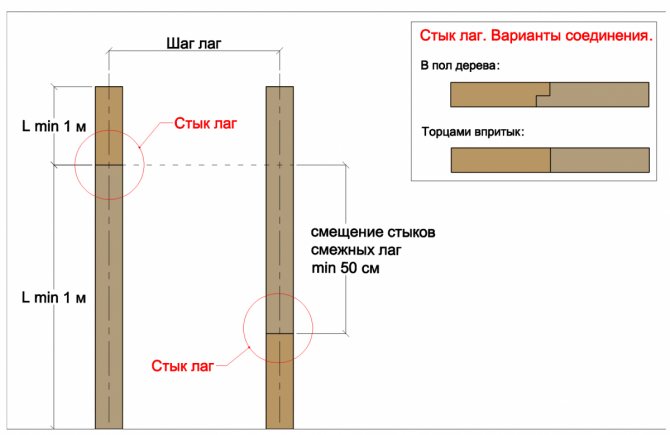
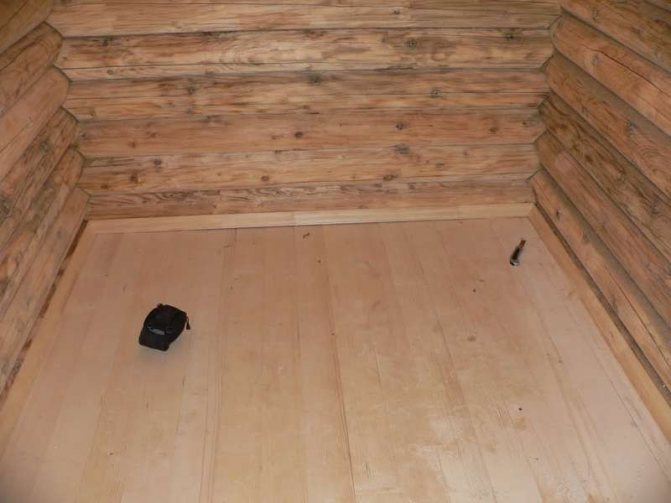
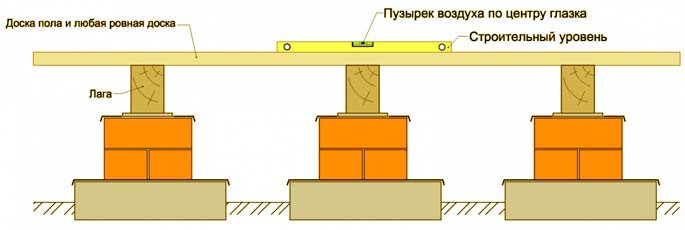
- Laying boards on logs is one of the acceptable options. The distance between the boards and the pillow should be at least 10 centimeters. It is important to remember that when moisture gets in, the boards will expand, and therefore the gap between them must be left at least one centimeter.
- A rough floor covering that does not absorb moisture.
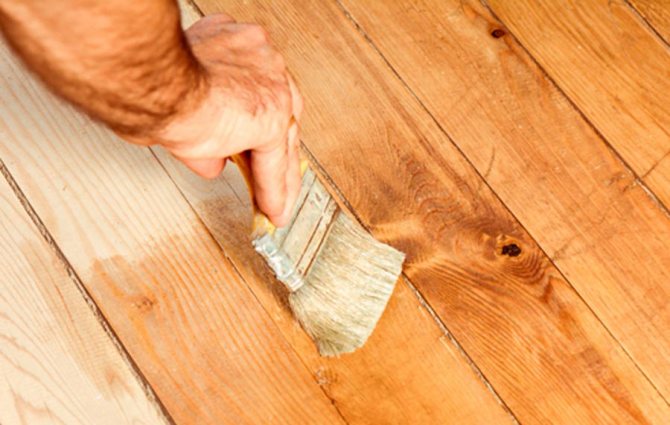
- The gutters and wood must be soaked in mixtures that will prevent bacteria from multiplying there.
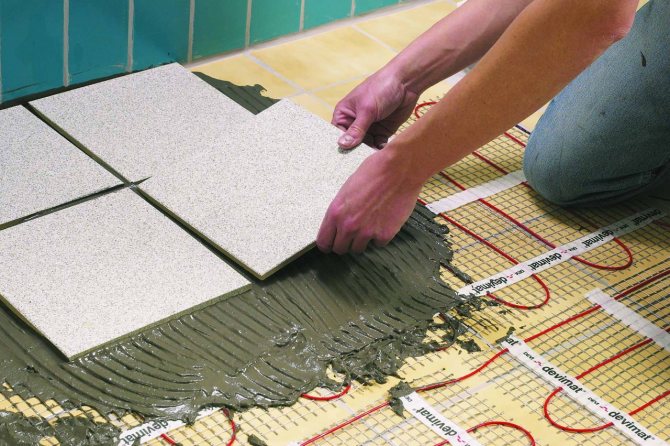
What type of heating is optimal for a sauna?
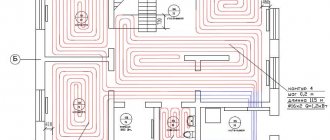
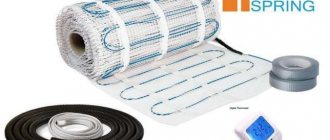
So, which type of floor heating should you prefer - water, cable or infrared? Let's compare their characteristics in the following table:
| Factor | Water heating | TOcable heating | Film heating |
| Utility room | Need a boiler room | Not required | Not required |
| Floor thickness with screed | 110-120 mm | 50-100 mm | 5-10 mm |
| Installation time | 4-5 days | 1 day | 1 day |
| When to get started | After 28 days | Immediately | After 28 days |
| Reliability | If one of the parts is damaged, it immediately fails. | If one of the parts is damaged, it immediately fails. | Even if a significant part of the system is damaged, other elements continue to work |
| Service | Required | Not required | Not required |
| Freezing in winter | maybe | Absent | Absent |
| Heat distribution | Depends on the installation method | Uneven | Uniform |
| Zoning | Room zoning is not possible | Possibility of organizing separate point zones | Possibility of organizing separate point zones |
| Installation costs | High | Relatively low | Relatively low |
| Operating costs | Minimum | Payment for electricity (high consumption) | Electricity payment (low consumption) |
| Repair costs | High | High | Minimum |
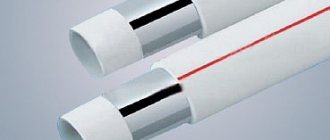
The most economical option for this type of premises is a water underfloor heating, but its installation is a rather laborious process that requires significant efforts and time-consuming. For the installation of a water heated floor, it is necessary to design a rather complex scheme, in addition, it will significantly reduce the space in the bath due to its thickness. If you are able to be attracted by the ease of installation, it is better to choose a film infrared floor, the advantage of which is the readiness for use immediately after installation.
Warming of the dressing room outside
These procedures are worth performing in order to reduce the amount of heat loss. It will also make it possible to keep the same temperature in the steam room itself. You can insulate the dressing room with your own hands both from the inside and outside.
Walls
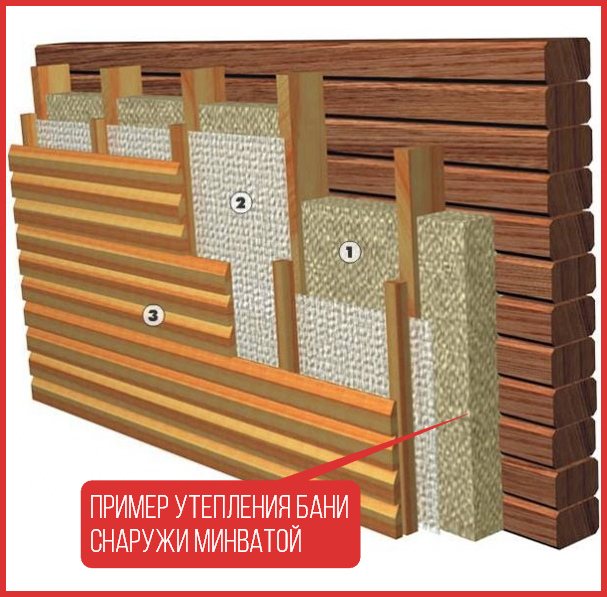
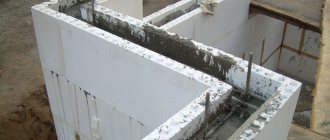
They do not need to be treated with any impregnation on the inside, since in most cases it contains substances that can evaporate when heated. It is possible to insulate the walls from the outside with foam or other thermal insulation, which is used to equip ordinary buildings, since the high temperature will not affect the insulation material from the outside.
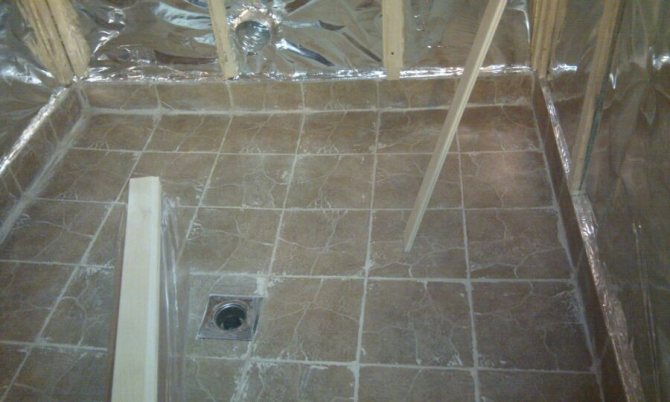
It is important to lay on the walls and vapor barrier. It will not allow moisture to penetrate the walls and form condensation. This will also prevent fungi from growing there. The vapor barrier is pressed against the base using a wooden bar.
Ceiling
Some of the warm air can escape through the roof. It is possible to reduce the amount of lost heat by building thermal insulation in the attic.To do this, in the attic you need to create a frame made of wood for laying insulation. It is recommended to make two layers, sprinkling them with expanded clay. A waterproofer is also placed under the thermal insulator, which will not allow moisture to flow from the steam room. At the end of such work, the attic floor is covered with boards.
A video on how to do such work is below:
Installation of an interior door
Door structures in a home play an important role. They divide the room into rooms, protect from cold, moisture, unpleasant odors.
All designs are divided into types according to the type of opening:
- swing (classic models);
- sliding (compartment);
- folding (book, accordion);
- pendulum (open in both directions);
- telescopic.
By the number of leaves:
- single-leaf;
- bivalve;
- book;
- harmonic.
The choice in this case depends on the room. For small rooms, compartments, books, accordions are an excellent way out. They do not require much space for operation, are compact and easy to use. Classic swing models will never lose popularity, as they are easy to use and install.
But it is equally important what the interior doors are made of. The further successful use, functioning, service life of the product depends on the correct option.
Consider the types of interior doors by material.
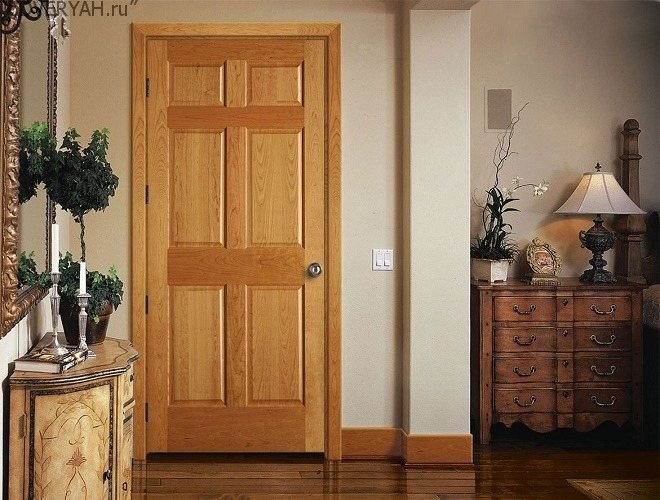
Solid wood
Wood is one of the most popular materials for manufacturing. First of all, this is influenced by its natural origin. For the manufacture of used massifs of oak, walnut, ash, pine, alder, cherry. Rare varieties of trees are often used, but this significantly affects the price.
Benefits:
- long service life;
- immunity to moisture;
- practicality;
- increased heat and noise insulation;
- environmental friendliness;
- appearance.
The performance properties of products often depend on the type of wood from which they are made. The most durable and reliable models are rightfully made of oak. But the price for them will be appropriate. The available material is pine, but it is less durable, does not like high humidity.
Interior partitions made of wood can transform a room thanks to a variety of colors and finishes. Recommended for use in rooms where residents are prone to allergies.
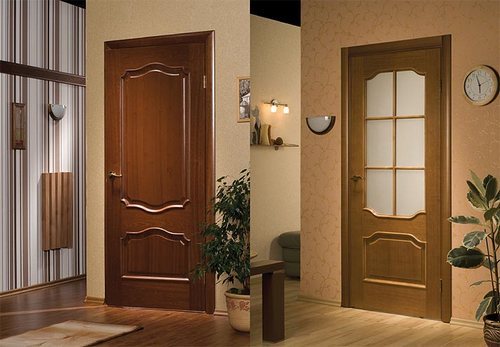
Veneered doors
Veneer is a thin layer of wood that covers a door structure made of any other material. Veneered models are cheaper than wooden ones, but they look no less impressive.
Benefits:
- environmental friendliness;
- affordable price;
- even color;
- moisture resistance;
- attractive design.
The basis for these models is most often MDF, which is covered with veneer sheets. The veneer is treated with varnish, which increases the service life of the product and its performance. The weight of the door structure is significantly lower than that of a fully wooden structure.
The lamination process involves covering the base with a special film. The base is usually a wooden frame filled with cardboard and MDF panels. The film has a protective and decorative function.
The advantages of the models include low weight, ease of maintenance and installation. In appearance, they do not differ from veneered ones.
These units have a number of disadvantages:
- artificial materials in the composition;
- low level of strength;
- short service life (up to three years).
Laminated structures are covered with the following types of films:
- paper;
- melamine;
- fiberglass;
- dvuhrom;
- PVC.
Each film is different in performance and characteristics. More detailed information can be requested from the manufacturer.
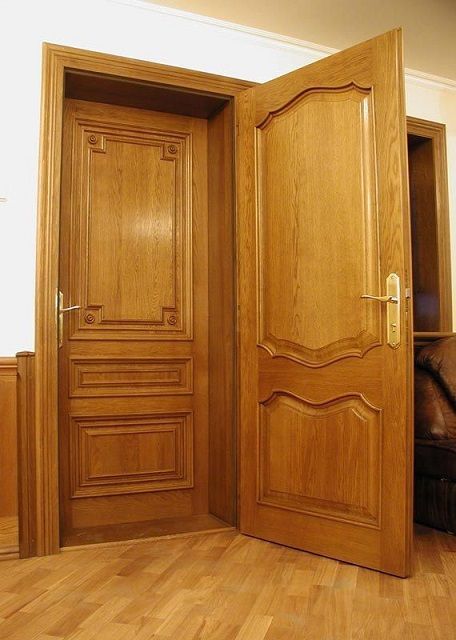
Bar Doors
Otherwise, these structures are called paneled. A special feature is the production process. Wooden bars are glued together, creating a solid canvas.When the goal is not to provide complete sound insulation, if this is implied by the interior, then they can be left in this form, without additional finishing.
Paneled products are one of the most popular for installation in living quarters. This is facilitated by their natural origin, reasonable price, original look.
Plastic doors
Models are usually used to organize office space or for bathrooms, toilets. They consist of a metal frame and filling. PVC or glass is used as a canvas.
Benefits:
- increased moisture resistance;
- ease of care;
- immunity to aggressive mechanical stress;
- a light weight;
- heat and sound insulation.
Among the disadvantages are:
- susceptibility to scratches;
- the presence of chemicals in the composition;
- mandatory presence of a threshold.
Recently, plastic products have begun to be used in residential premises. This is due to the low price and good design. Plastic is painted, giving it any color, so you can show your imagination when creating an interior.
Glass doors
The glass model will become an elegant design solution for a house or apartment. This is due to the ability to transmit and diffuse sunlight, while visually expanding the space.
The designs differ in the way of opening, as well as the degree of transparency of the glasses and can be:
- transmitting light;
- matte;
- with adjustable transparency.
They are made of ordinary or impact-resistant glass, depending on the place of installation. All canvas is glass, with the exception of fittings, and there is also a certain part of it. Glass structures are made of hinged, sliding, folding. This is due to either the increased strength of the starting material, or the presence of an iron or wooden frame.
MDF is a fiberboard. It comes in different thicknesses and densities. It is made by pressing a mixture of sawdust and adhesive. A very popular material, as it is easy to manufacture and process.
Products made of MDF have the following advantages:
- immunity to temperature changes;
- environmental friendliness;
- affordable price;
- light weight.
Disadvantages:
- able to absorb water, swell;
- increased fragility.
Reference! A product made of MDF, not decorated with trim, looks unpresentable. The material serves as a basis, and accompanying details help to improve the visual part: veneer, laminate, etc.
Metal doors
Durable metal models are usually used as input. This is due to the inexpediency of installing such a strong and heavy device for zoning the space inside the house.
For the interior space, aluminum products are used. They are immune to stress, mechanical stress, do not deform, do not lose their attractive appearance. Aluminum sashes can be painted or left as they were. Most often, metal is used to create light accordions for a loft-style interior.
To make a panel door with your own hands, you will need: plywood 8-10 mm thick, 20x40 mm slats, PVA glue, 3x25 mm screws, door hinges, latch with handles, expanded polystyrene, wood putty, varnish, self-adhesive film.
Required tools:
- carpentry square;
- pencil;
- meter;
- joiner's hacksaw;
- drill, drill;
- screwdriver;
- awl;
- chisel;
- a hammer;
- bit;
- sanding paper.
1. Start by determining the size of the door leaf. Usually doors are produced in standard sizes (600x2000, 800x2000 and so on). Accordingly, the width of the existing door frame will be 5 mm wider. Based on the required dimensions, markings are performed on plywood sheets.Next, the parts are cut out, making sure that the hacksaw blade moves along the edge of the applied line, otherwise, due to the width of the cut, the door will become slightly narrower, which will lead to an increase in the gap.
2. Then proceed to the manufacture of the strapping. You will need two longitudinal strips with a length of 2000 mm and four transverse ones (their size should be 80 mm less than the width of the web). Holes for screws are drilled in them. Since plywood is a fairly strong material, there is no need to make a frame using tenon joints, which greatly facilitates the work.
3. Assembling the door leaf. The plywood is placed on the work table and the strips are glued along the perimeter, additionally fixing them with self-tapping screws through the prepared holes. Screws are screwed in from the side of the rails, due to which there will be no heads on the surface of the canvas and they do not have to be hidden with putty. In the same way, two internal transverse strips are attached, giving the structure a rigidity.
4. At the place of the inset, the latches with handles are additionally glued on two short bars and, according to the marking, part of the wood is cut out in the long longitudinal strip. This will further save you from the laborious operation of gouging the hole for the latch, which is shown below in the photo.
5. The existing voids are filled with polystyrene foam plates of appropriate thickness.
6. Coat the slats with glue and apply a second sheet of plywood. Self-tapping screws are screwed into the prepared holes, making sure that their heads are slightly recessed. The resulting grooves are carefully putty. After drying, the surface is cleaned with a sandpaper.
Before the final finishing (covering with decorative foil), it is necessary to prepare the holes for the hinges and the latch. They make accurate measurements and determine the location of the loops. Hinges are applied to the side edge of the door leaf at the required distance from the end and their contours are drawn. The boundaries are cut with a chisel, after which a sample is made: a layer of material is removed to a depth equal to the thickness of the loop card.
Next, mark the places for the handles and drill holes. A latch is inserted into the previously prepared slot and the contours of the fastening strip are marked with a pencil. A recess is cut under it.
After completing the preparatory work, they begin to cover the door leaf. To create a perfectly smooth surface, plywood is sanded with a fine-grained sandpaper, wiped and covered with a layer of varnish. It is more convenient to paste with an assistant who will hold the free part of the film and separate the paper backing.
If you have no experience with self-adhesive film, you can watch the video and study the nuances. To avoid the appearance of wrinkles and small bubbles, the film should be glued evenly over the entire width, carefully smoothing, but not allowing stretching. On the side edges of the door leaf, the film is tucked up and glued with an overlap. After completing this crucial process, the hinges are screwed in with screws and the latch with handles is installed. They hang up the door.