To insulate a balcony yourself, you do not need to be an experienced craftsman or professional builder. The insulation technology is quite simple, so you just need to familiarize yourself with the stages of work and stock up on the necessary materials. It is best to use penoplex as insulation - a lightweight, durable, easy-to-use material that effectively retains heat in the room. Even in the absence of experience, insulating a balcony with penoplex with your own hands will not cause great difficulties.
Insulation of the balcony with penoplex
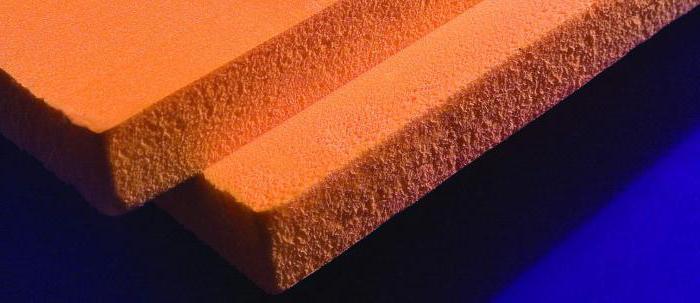
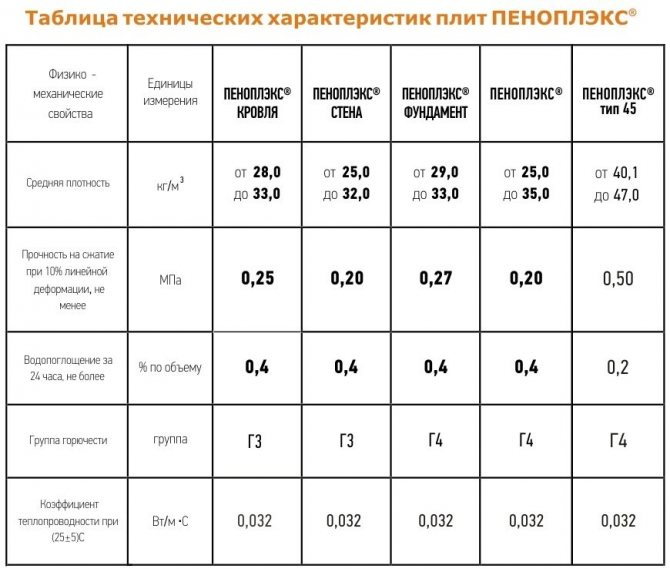
The main characteristics of penoplex
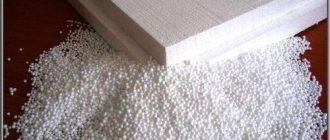
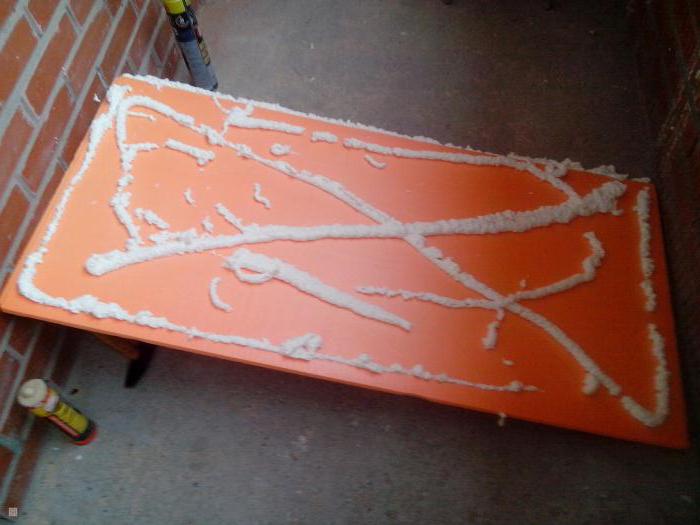
Penoplex is a foamed extrusion material that is gas-filled. It is made of expanded polystyrene by extrusion and possesses moisture resistance, thermal conductivity and great strength.
Due to its characteristics, the material can withstand maximum loads, therefore it is suitable for floor insulation. Penoplex is thinner than polystyrene, which allows it to save indoor space when used. Despite the high cost of insulation, due to its properties, it is widely used for insulation of various kinds of premises.
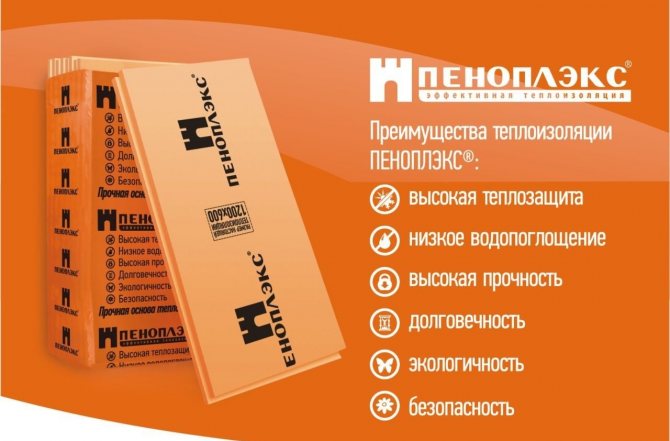
Penoplex advantages:
- Insulation is stronger than mineral wool and foam. It can withstand high compressive loads and is resistant to deformation.
- Penoplex is a very light material, which is important for its use when insulating balconies.
- Insulation, consisting of dense balls with air, therefore does not absorb water at all. Thanks to this property, it can last for at least fifty years.
- Penoplex, which contains flame retardants, is non-flammable. When buying material, you should pay attention to the marking, which should contain the letter C.
- The environmental safety of this insulation is higher than that of other similar materials.
- Penoplex has a convenient size, it is easy to cut and fasten, so you can use it to insulate the balcony with your own hands, without the help of professionals.
Along with its advantages, Penoplex has several disadvantages. Firstly, the material does not tolerate contact with petroleum products and solvents, and secondly, it is unstable to sunlight.
Outdoor insulation technology
Do-it-yourself insulation of the balcony with penoplex involves the use of ladders and scaffolding, but this is true only if the apartment is on the first or second floor. Insulation with foam can be divided into three stages. The first is preparation, at the second stage, the insulation itself is carried out, finishing manipulations will be the final work.
General rules when working with penoplex
Before starting work on the insulation of the balcony, it is necessary to completely empty the room and clean the surfaces of all coatings.
When working with penoplex, you should adhere to a few rules:
- All surfaces on which the insulation will be installed must be free of protruding screws and cracks.
- For better adhesion, it is recommended to coat walls, floors and ceilings with a primer.
- If the surface is flat, then the penoplex can be mounted with glue. Otherwise, the material is attached with mushroom dowels.
- When using foam, you should pay attention to the fact that it should not contain tolour, which is often found in all-purpose or winter polyurethane foam.
- Whole tiles that do not fit are easy to cut with a knife.
- To make the edges of the tiles even, they can be glued with tape.
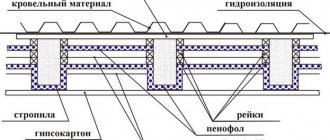
- For protection against moisture and additional insulation, foil-clad polyethylene can be placed on top of the foam. But this is optional.
- Insulation can be covered with drywall or specialized plaster.
It should be borne in mind that you should not lay the penoplex using a crate. In this case, wooden or metal slats, on which the material will be laid, will become cold bridges, which will reduce the effectiveness of the insulation.
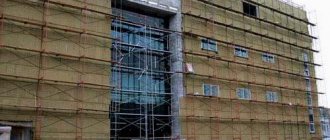
External thermal insulation of the balcony
If the balcony is located no higher than the second floor, it is best to insulate it from the outside. This will save space and simplify the whole process. At a higher height, it will not be possible to install insulation without special devices, so you will have to hire specialists. When carrying out work on the first and second floors, a reliable, solid step-ladder will be sufficient.
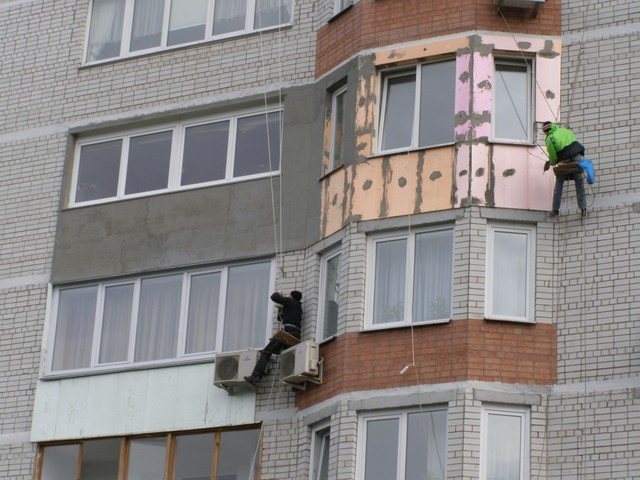
External thermal insulation of the balcony
For external thermal insulation you will need:
- foam plates;
- foamed polyethylene with a foil layer;
- timber with a section of 40x25 mm;
- screws and dowels;
- screwdriver;
- construction tape;
- primer;
- foam glue;
- polyurethane foam without toluene;
- sand-cement mortar;
- materials for outdoor decoration.
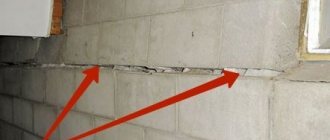
The quality of thermal insulation largely depends on the preparation of the surface, because even small errors can reduce the effectiveness of the insulation at times. Loose fit of the material, gaps at the joints, and a fragile base under the insulation are the main causes of heat leakage.
So, work begins with the preparation of the outer walls of the balcony.
Step 1. Surface preparation
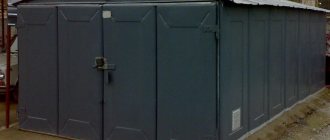
The walls of the balcony must be made as flat as possible. The brick surface is treated with a primer, cement mortar or polyurethane foam, all holes between the floor and the parapet are sealed. You can use mastic and polyurethane sealant, as long as not a single gap remains. If the walls are very old, and the masonry is chipped in places, these areas should be leveled with cement-sand mortar and primed.
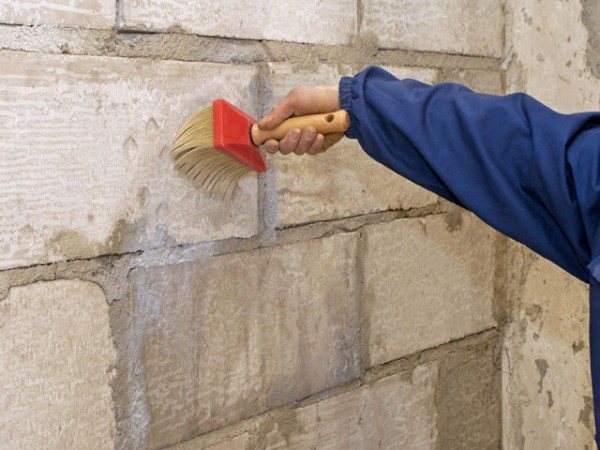
Surface preparation
Walls made of metal gratings are sheathed with plastic, sheets of drywall or boards, which are pre-treated with an antiseptic. The seams should be as tight as possible, the sheathing is attached very tightly to the gratings. Drywall must be chosen moisture resistant. After leveling or sheathing, the walls of the balcony are checked with a building level, the detected defects are covered with mortar or foam, all excess is cut off.
Step 2. Installation of thermal insulation
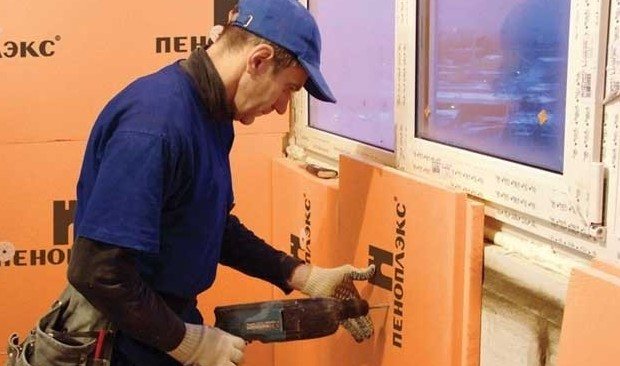
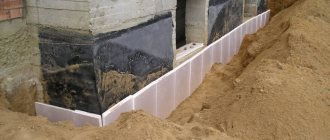
Fastening Penoplex panels
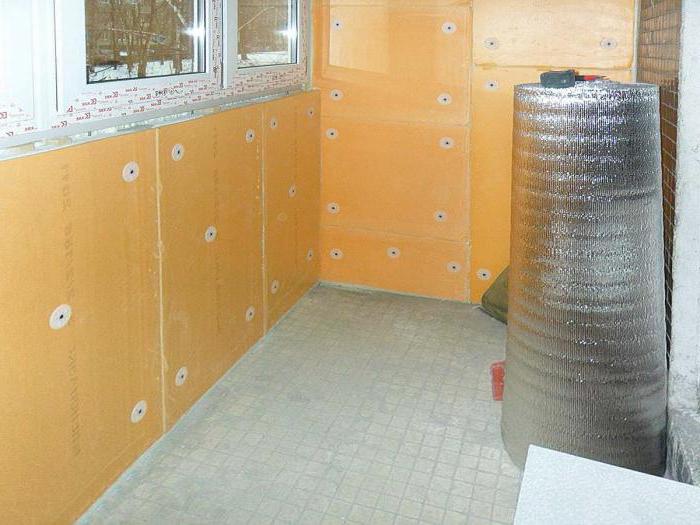
Insulation starts from the corner. A section of the wall is covered with glue: from 5 to 7 points of glue or 2-3 zigzag strips are applied per square meter of area. The penoplex plate is applied to the surface, leveled and pressed very tightly against the wall. At the corners, the sheet is fixed with dowels. The following sheets are attached in the same way, while the seams between them should be as tight as possible. After sheathing the balcony with insulation, the joints are sealed with polyurethane foam.
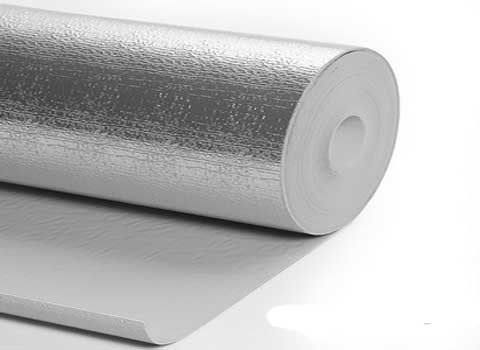
On top of the foam, polyethylene foam is attached with a foil layer outside
On top of the penoplex, the foamed polyethylene is attached with a foil layer outward. It is also laid on glue, adjacent strips are attached end-to-end. It is very important that the joints of the top layer do not coincide with the seams on the insulation and do not fall on the corner of the balcony. For sealing, the joints are covered with construction tape. The foil material should completely cover the penoplex, but not go beyond the balcony. The formation of folds, crumpled areas, gaps should not be allowed.
Step 3. Assembling the battens
The thermal insulation layer must be closed; to fix the trim, you will need to install a crate.If siding is used as a finish, the beams are stuffed perpendicular to the arrangement of the panels. The moisture content of the tree should not exceed 14%; before assembly, the timber is impregnated with an antiseptic and dried.
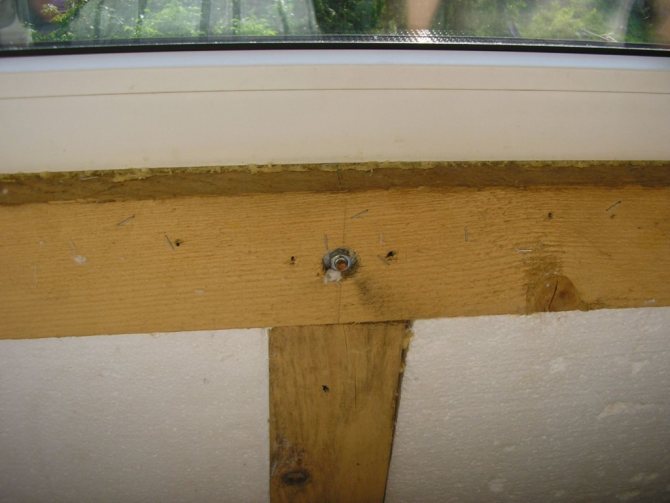
Lathing
First, the bars are fixed along the perimeter of the balcony, around the windows and at each corner, then intermediate bars are screwed every 40 cm.If the balcony is often subjected to strong wind load, the pitch of the battens is reduced to 20 cm. The self-tapping screws are screwed in at a distance of 50-70 cm from each other. More frequent fastening reduces the tightness of the inner lining.
Step 4. Finishing
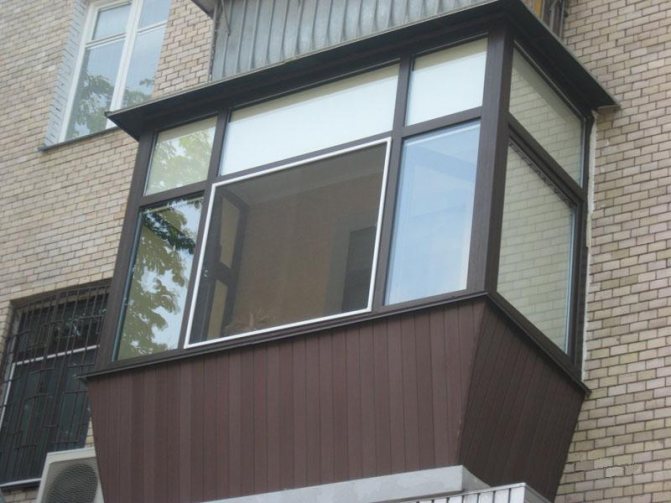
Finishing
Plastic panels or siding are mounted on top of the lathing - these types of finishes are the most practical and attractive. When covering the balcony, special attention is paid to the corners and areas adjacent to the windows. All joints must be carefully closed with special strips, the panels must be reinforced.
Preparation of a loggia or balcony for insulation
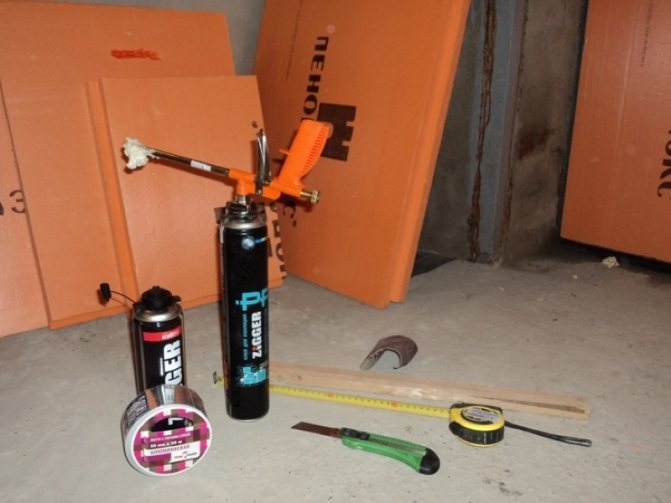
First of all, you should purchase the materials and tools that will be needed during the work.
Required tools:
- construction knife;
- electric drill;
- puncher;
- a hammer;
- level;
- ladder.
Before starting work with insulation on a loggia or balcony, you need to prepare the surface. They must be made even and durable, then the insulation will hold on to them reliably.
Preparatory work:
- Unevenness on the walls is leveled with plaster mortar.
- Loose areas, cracks, potholes and fragile areas of the wall are eliminated and sealed with putty.
- The floor is leveled with a cement screed.
- The ceiling of the balcony does not need preparation, as it already has a smooth surface. It will only need to be coated with an antifungal or bactericidal primer.
After the floor, ceiling and walls of the loggia are prepared, you can start installing the penoplex, having previously prepared materials required for this:
- dowels with wide caps;
- self-tapping screws;
- dry adhesive for tiling;
- polyurethane foam.
Carrying out finishing works
The technology of insulation of the balcony with penoplex cannot exclude finishing work. To the base, using self-tapping screws, you need to fix the crate, which will consist of a wooden bar with a section of 40x25 millimeters. If the balcony is located on the first floor, then you will definitely need to take care of the floor insulation. These works are carried out according to the same method as described above. When carrying out work using scaffolding and ladders, you need to enlist the help of a second person, which will guarantee safety and comfort.
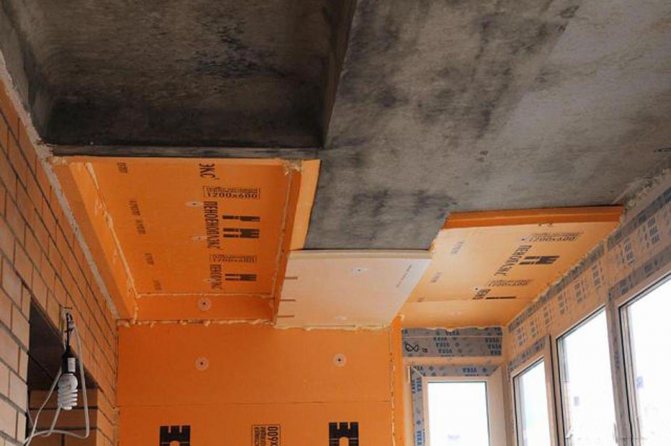
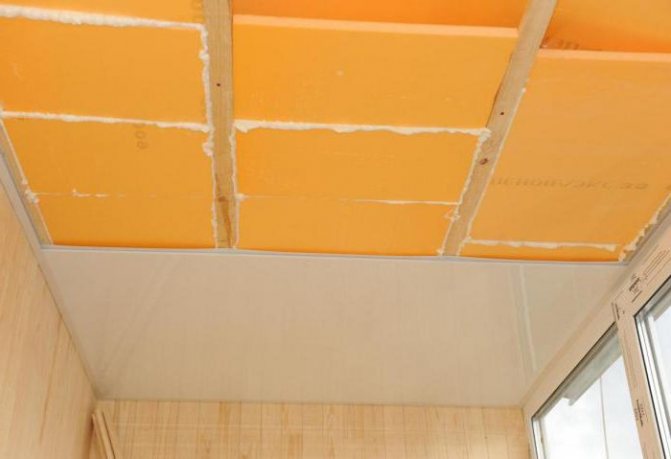
Do-it-yourself ceiling insulation
You should start insulating a loggia or balcony from the ceiling.
Stages of work:
- The first penoplex slab fits into the corner of the balcony, then the next sheet of insulation is closely inserted into its groove.
- If decorative panels or drywall are to be installed on top of the insulation, then the foam sheets should be fixed using dowels in the form of fungi.
- To attach the panels with dowels, a hole is drilled into them and only then a nail is driven in. Five dowels are taken on one sheet.
- If putty is applied to the installed penoplex, then it should be mounted first on glue, and then on dowels. For this, the sheet is treated with an adhesive, pressed tightly against the ceiling and screwed in with dowels.
If the slabs need to be cut, then it should be done with a construction knife, cutting them along the entire length and breaking them with your hands.
Practical tips for thermal insulation of a balcony
- When insulating with penoplex, you cannot use polyurethane foam with toluene: this component destroys the structure of the insulation.
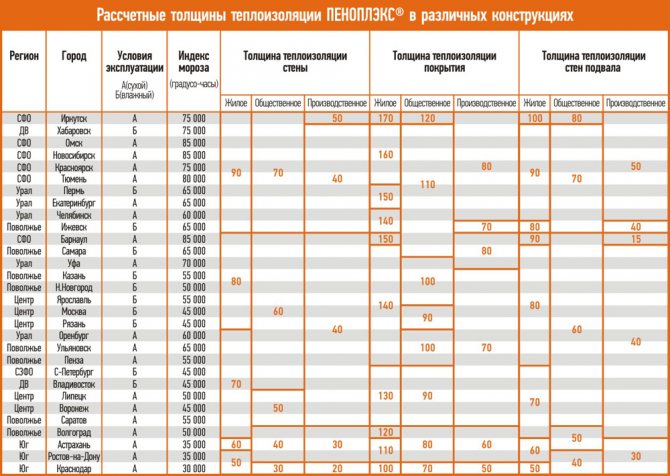
- In cold regions, for walls, you should choose 40 mm thick penoplex or lay two layers of insulation with a thickness of 20 mm, overlapping the seams of the lower layer with whole plates.
- To insulate the ceiling, one layer of foam boards 20 mm thick is enough.
- The vapor barrier material can be glued to the insulation using double-sided tape.
Compliance with technology and high-quality implementation of each stage will allow to properly and permanently insulate the balcony, make it more comfortable and functional.
Balcony
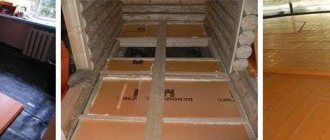
Do-it-yourself floor insulation with penoplex
This is a fairly simple job, since it is not necessary to fix the insulation with glue or dowels to the floor. Penoplex sheets just need to be connected with grooves and tightly laid.
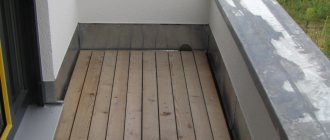
The wooden floor on the insulation is mounted without preparation. For ceramic tiles, the floor is pre- filled with a screed from cement mortar, the thickness of which must be at least four centimeters.
After all the slabs are laid on the floor, the gaps between them must be blown out with polyurethane foam.
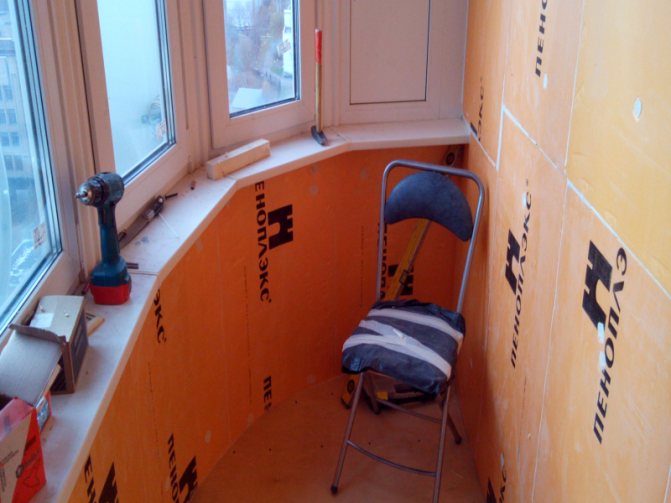
Carrying out internal insulation
Insulation of the balcony walls with penoplex may involve internal work. This approach is used when it is impossible to carry out external manipulations. Quite often, these techniques are used in combination. First you need to think about how exactly to lay the communication lines, namely, electricity, television antennas, Internet wires. Among other things, with this approach, it is quite often provided for a warm floor or other heating method. Double-glazed windows will need to be installed before the start of thermal insulation work.
Insulation of the balcony walls with penoplex
You need to install insulation on the walls with your own hands immediately after applying foam to the floor. It shouldn't have time to dry.
Stages of work:
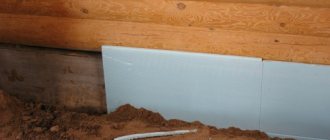
- The first sheet should be placed end-to-end, placing it directly in the foam. As a result of such actions, the effect of the solidity of the floor with the walls will be obtained.
- It is necessary to mount the material on the walls using dowels. And if finishing materials are installed on the penoplex, then the sheets will need to be pre-treated with an adhesive mixture.
- For better insulation of the outer wall, it can be pasted over with two layers of foam. To do this, the sheets are installed so that their seams are not aligned and the second layer is attached using polyurethane foam.
- So that the vertical seams do not coincide with each other, it is recommended to fasten the insulation panels "apart".
If desired, a foam foam vapor barrier can be installed on top of the penoplex, which is attached with metal tape with the foil side outward. However, in this case, it will be problematic to hide penofol with some finishing materials.
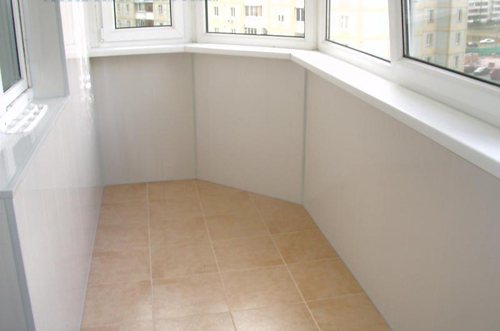
Surface finishing after balcony insulation
After installing the insulation, the surface of the balcony or loggia should be refined with decorative materials.
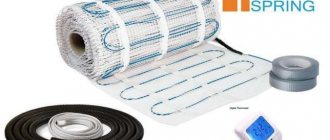
On the screed sex any material can be laid - ceramic tiles, linoleum, laminate, wood flooring. You can also install underfloor heating based on heating mats or infrared underfloor heating.
On the ceiling and walls finishing materials are mounted using a frame, which is erected from narrow boards treated with an antiseptic. The frame is installed on a penoplex, which makes the structure strong and reliable.
Most often, wooden lining, drywall or plastic panels are chosen as a decorative material for the ceiling and walls. If drywall is to be used, the crate should be made of metal profiles. The lining will not only look beautiful on the walls, but also keep the heat in addition.
After the decorative material is installed, you will need to attach the baseboards for the floor and arrange the corners between the walls.
Expert advice
Do-it-yourself insulation of a balcony with penoplex may involve the use of foil-clad material, which can be expanded polyethylene, while siding can be used for the exterior decoration of the balcony. Among other things, for the installation of the lathing, you will need a beam, tools, fasteners, construction tape, a primer, polyurethane foam, mortar and mastic. When choosing a polyurethane foam, you should make sure that it does not contain toluene.
Why foam concrete?
For those who do not know the features and advantages of the material, we will briefly describe its origin and advantages. Aerated concrete is aerated concrete made from the same materials as conventional concrete grades. But during the manufacturing process, a substance that forms a foam is added to the concrete mass, due to which the foam concrete receives a porous (cellular) structure, weighs several times lighter than ordinary concrete or brick. On average, the air content in foam concrete is up to 85%. At the same time, other technical and operational parameters remain at their best:
- foam concrete and foam blocks derived from it - a high-strength material that can withstand heavy loads, including the weight of a window block with glazing;
- it is an excellent heat and sound insulator that reliably protects the room from the cold;
- this material is non-flammable, environmentally friendly and safe for humans and the environment;
- ease of installation is another advantage of foam blocks, which have typical sizes;
- affordable cost completes the list of advantages of foam concrete.
Results on the topic
To close the question of self-insulation of the balcony, it is necessary to draw the following conclusions:
- Thermal insulation of a balcony does not require special knowledge and can be done independently.
- A large number of materials can be used for insulation. The choice is made based on the budget and the owner's security requirements.
- The simplest and most effective way of insulation is with penofol.
- The best way to heat this room is to use the IR underfloor heating system.
For a better understanding of the process of thermal insulation of a balcony, we recommend watching a training video.